
Hello Sweet Friends,
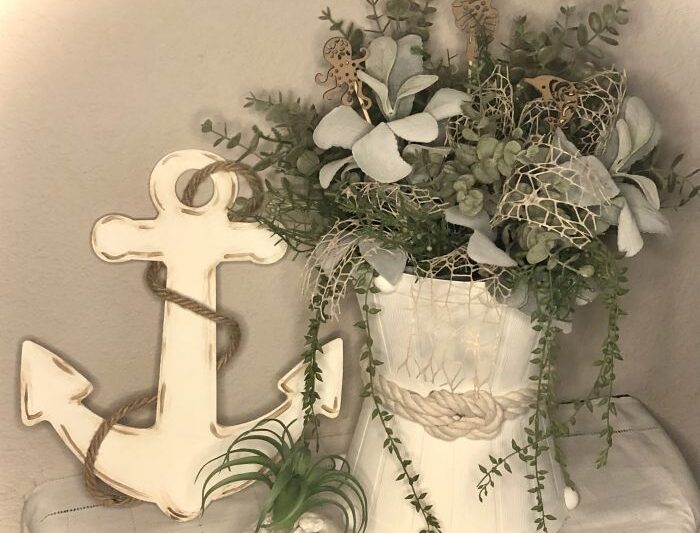
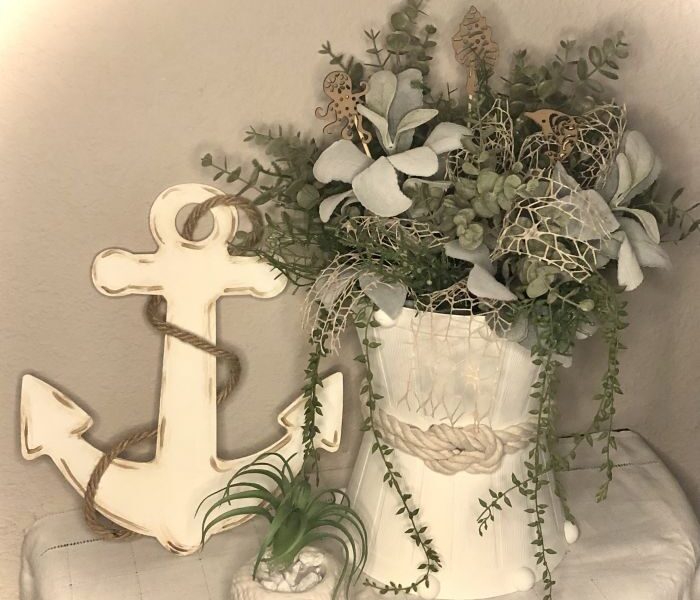
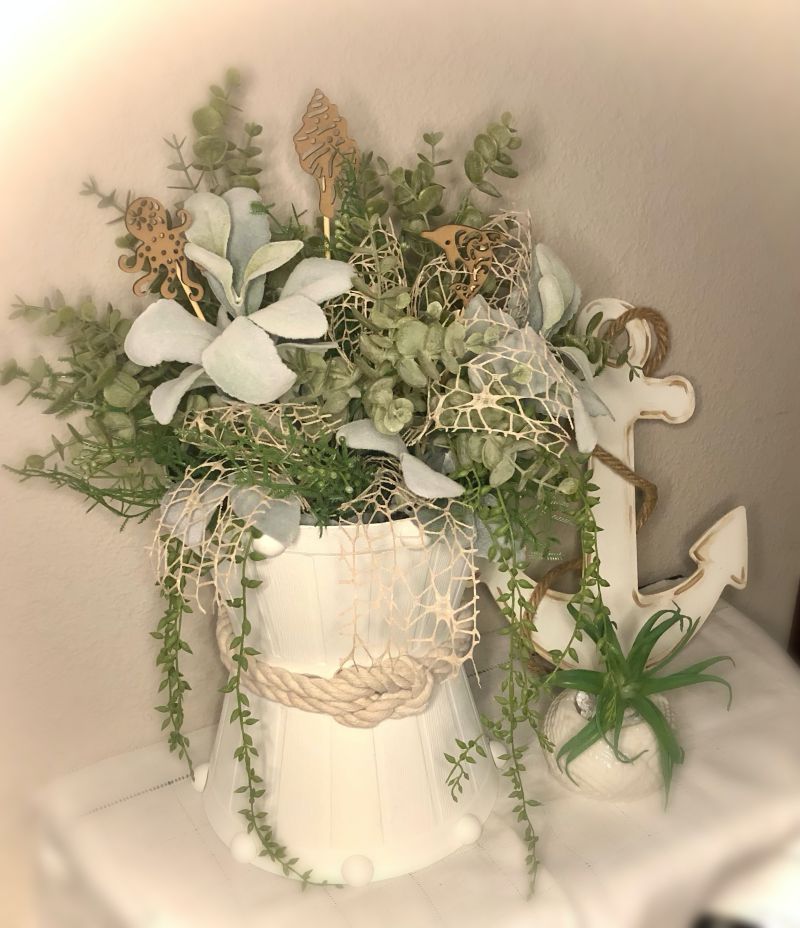
The DIY project I’m featuring today is a coastal planter using Dollar Tree buckets. If you’ve been following me for long, you already know that I simply LOVE the farmhouse coastal look. And this project fits right in with my other coastal DIYs. A few coastal decor pieces added to your home provides the perfect added accent for summer, so follow along and see just how EASY it is to create this planter.
Supply list
- 2 plastic buckets from Dollar Tree
- white paint
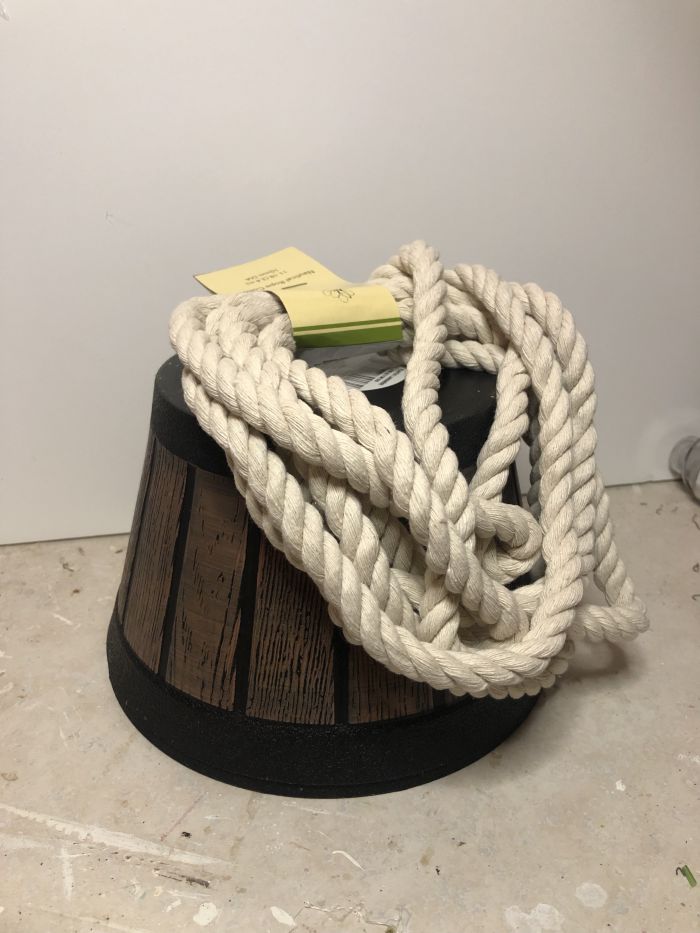
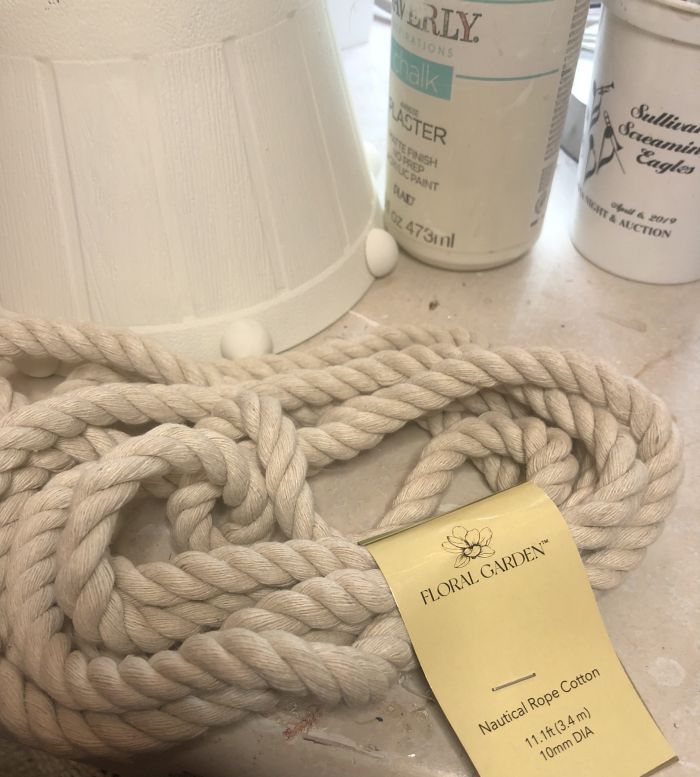
- Dollar Tree nautical rope
- flat beads
- floral foam
- glue gun
- moss
- assorted faux foliages
- seashells or nautical embellishments
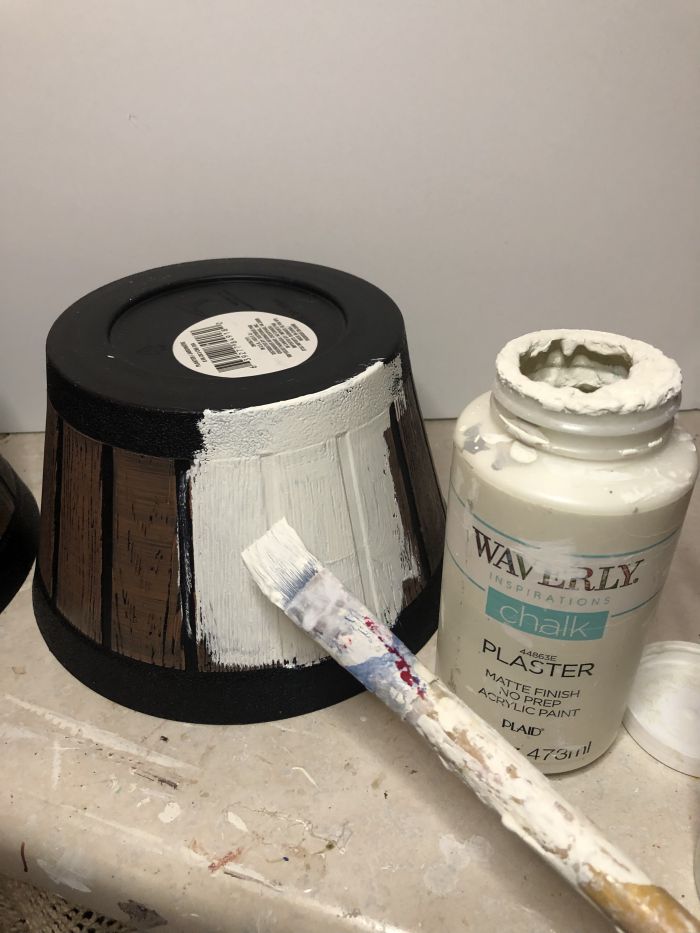
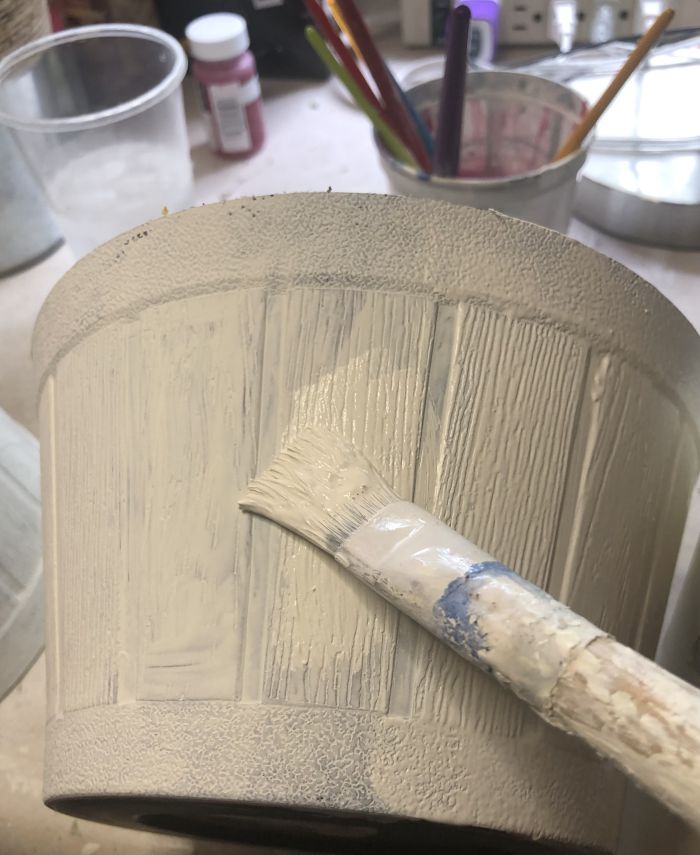
The first order of business was to paint the two buckets with white paint. As always, I used Waverly chalk paint in the color plaster. It took two coats, with ample dry time in between.
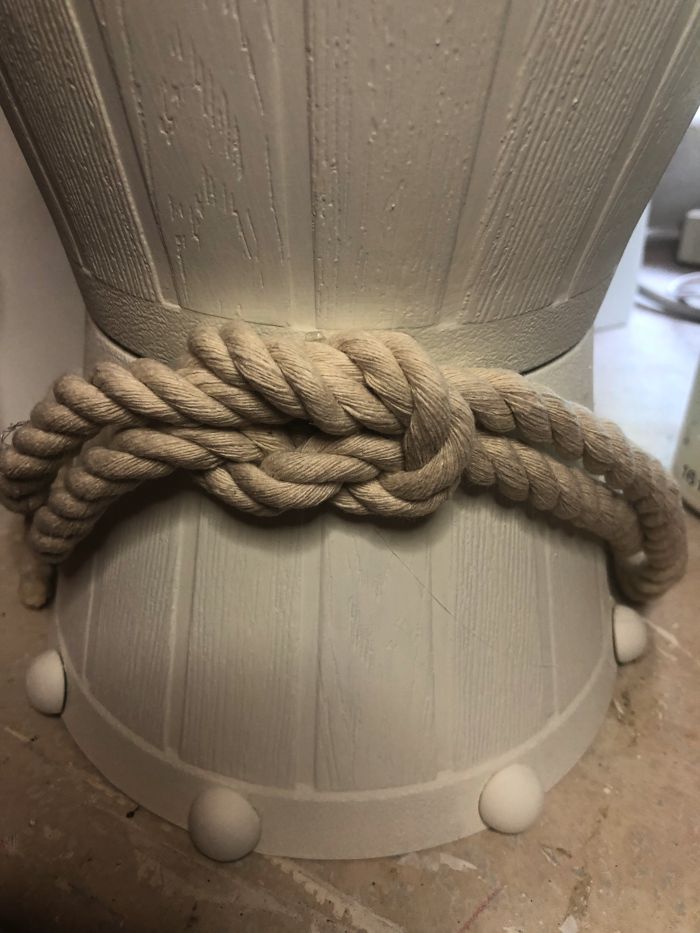
After the paint had dried, I glued the flat wooden beads around the rim of each bucket, evenly spacing them apart.
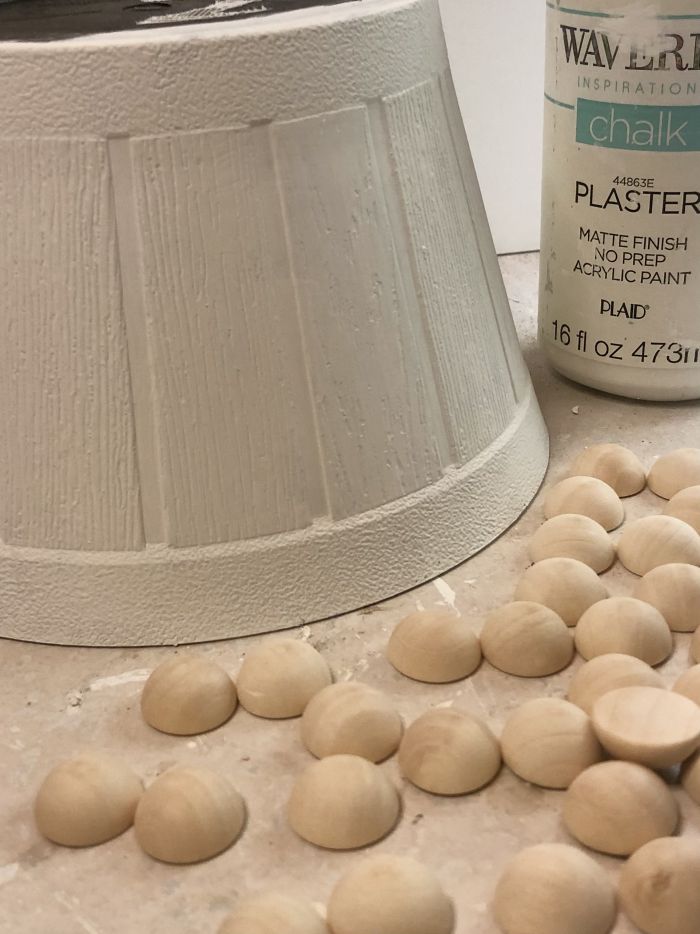
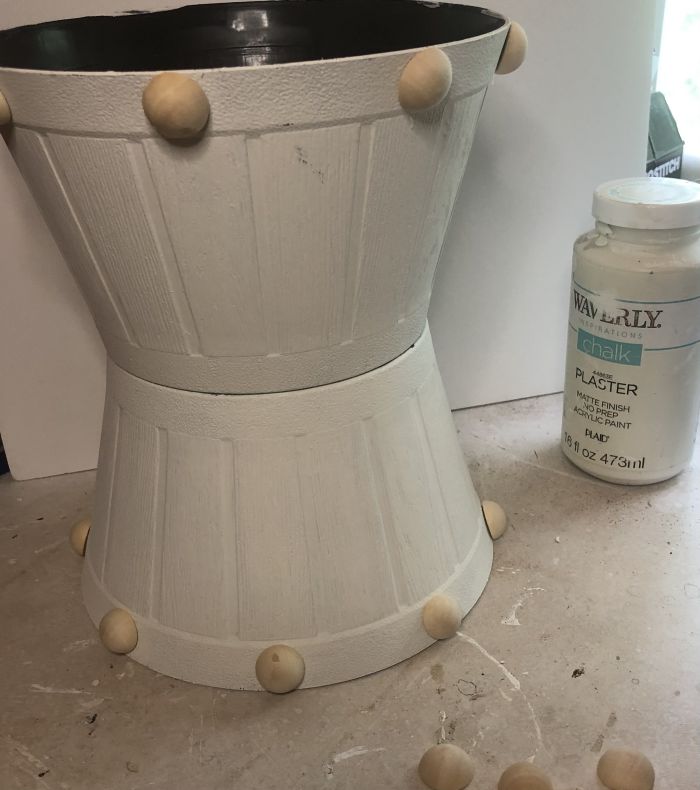
For the next step, I painted the beads with the same off-white paint. I also glued the two containers together (as pictured) with hot glue. It is a good idea to also use a more permanent glue like E6000.
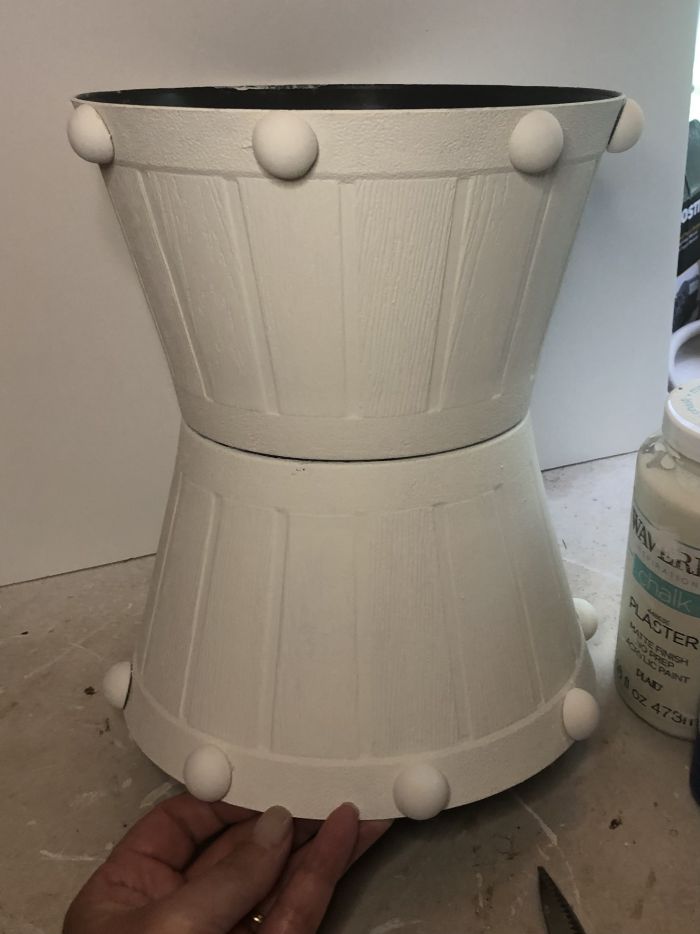
Then I tied a knot with the nautical rope and glue it to the center of the “planter”. I just glue the loose ends around to the back side.
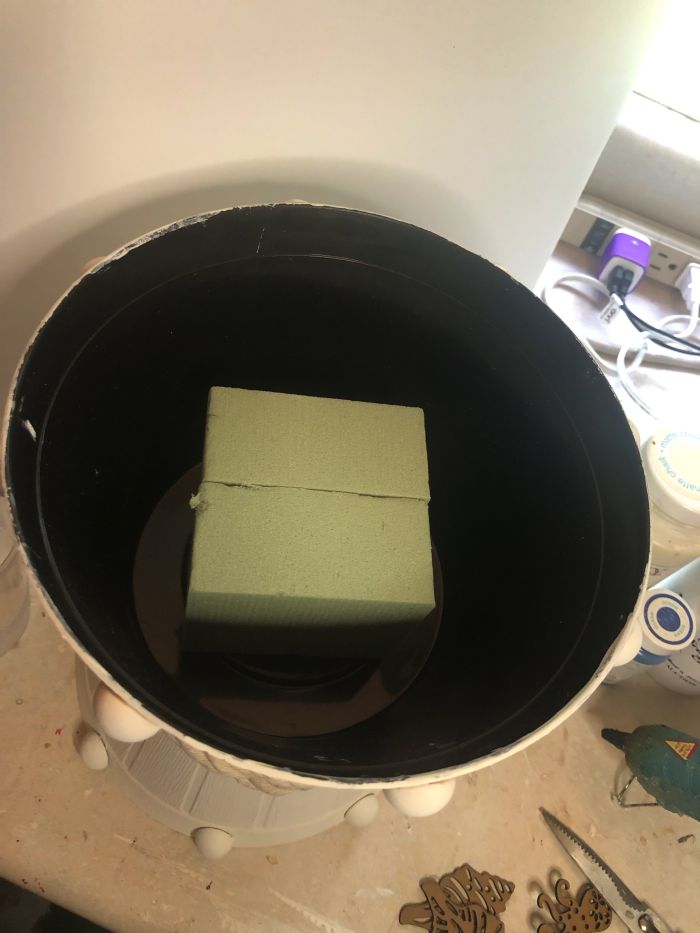
Glue a block of floral foam into the container and cover with moss.
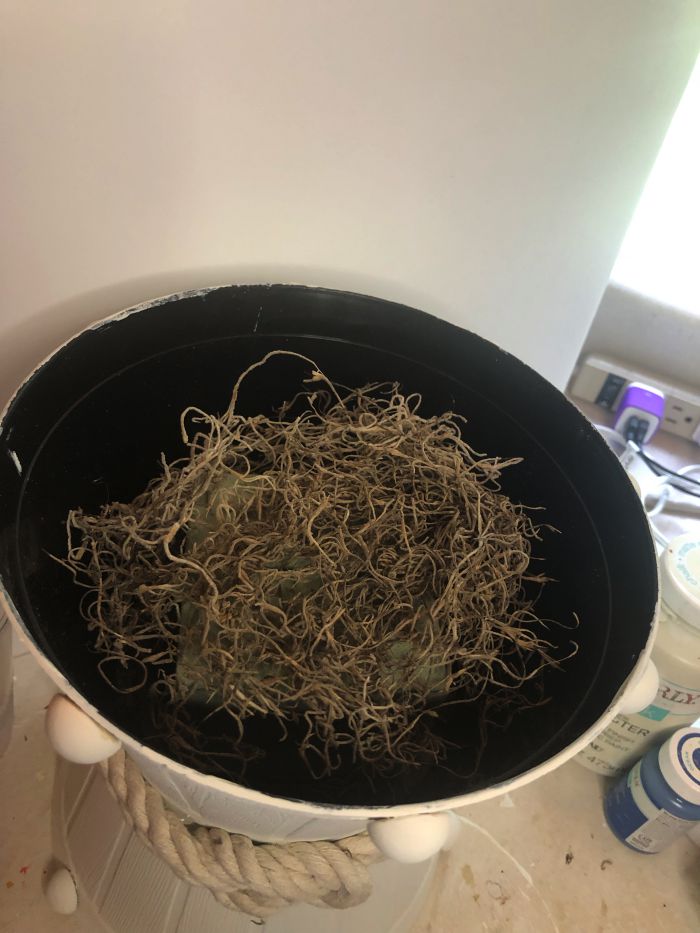
Add a few faux foliage picks, and fluff them out. I tried to use foliages that reminded me of the beach, sort of grayed or muted hues of green.
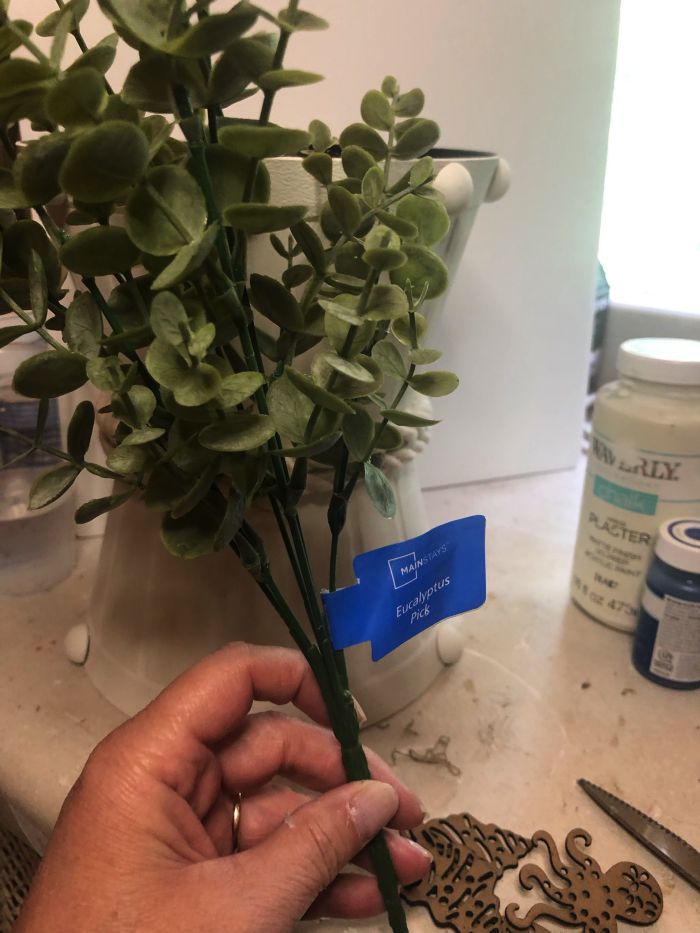
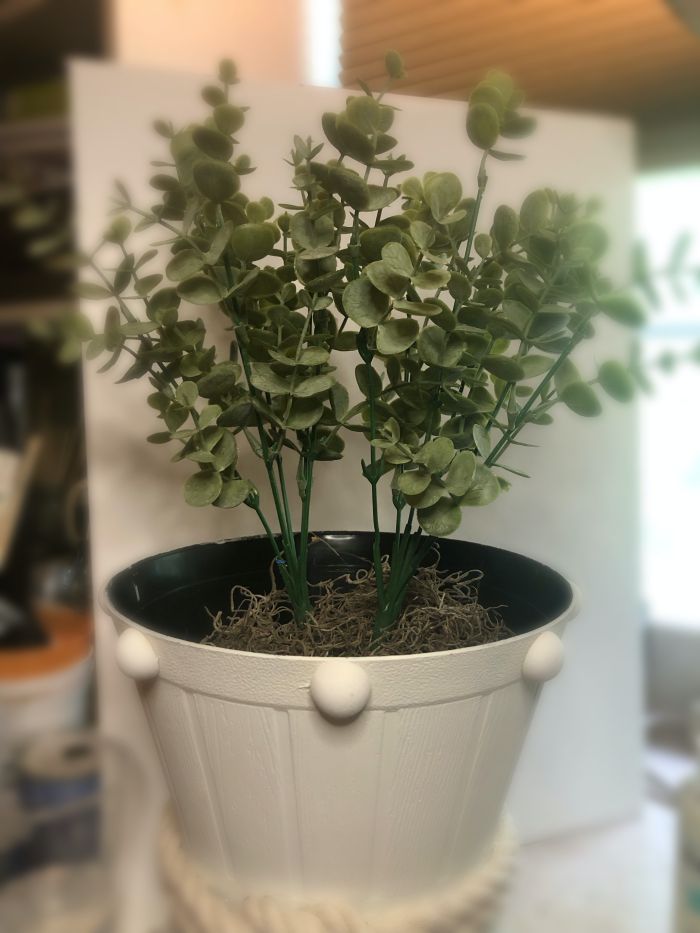
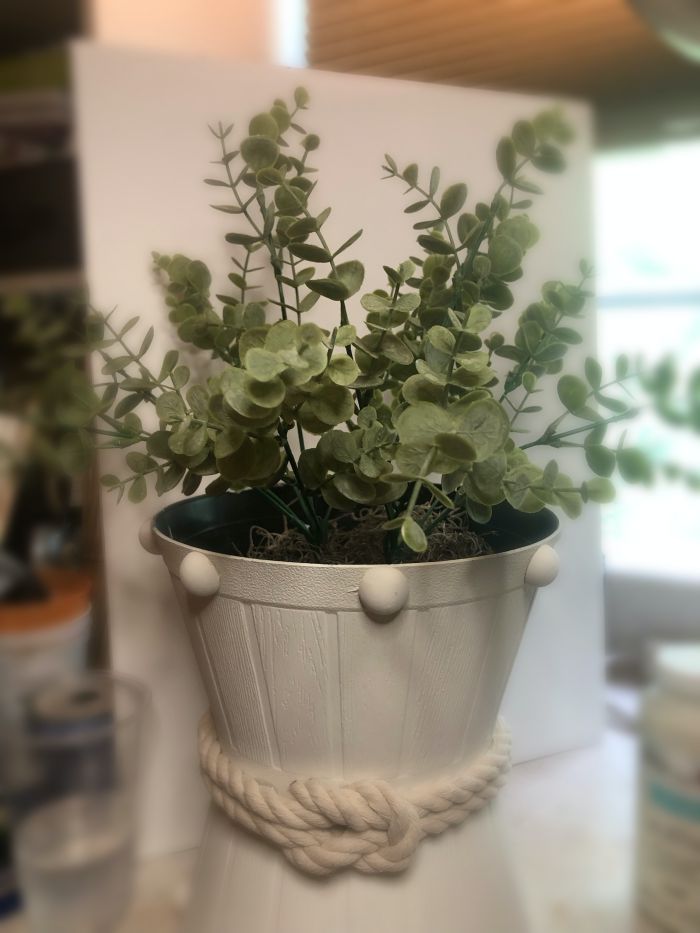
Keep adding faux foliage stems until it has the desired look.
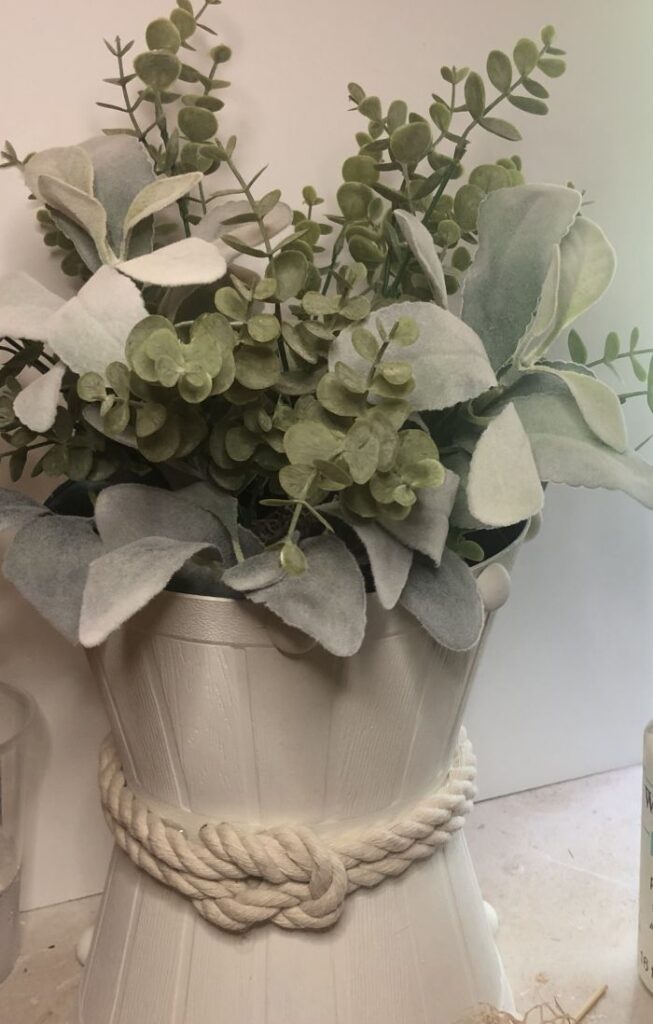
This next step is really optional, but I found this ribbon at Dollar Tree that reminded me of the ocean so I added a few loops to the arrangement.
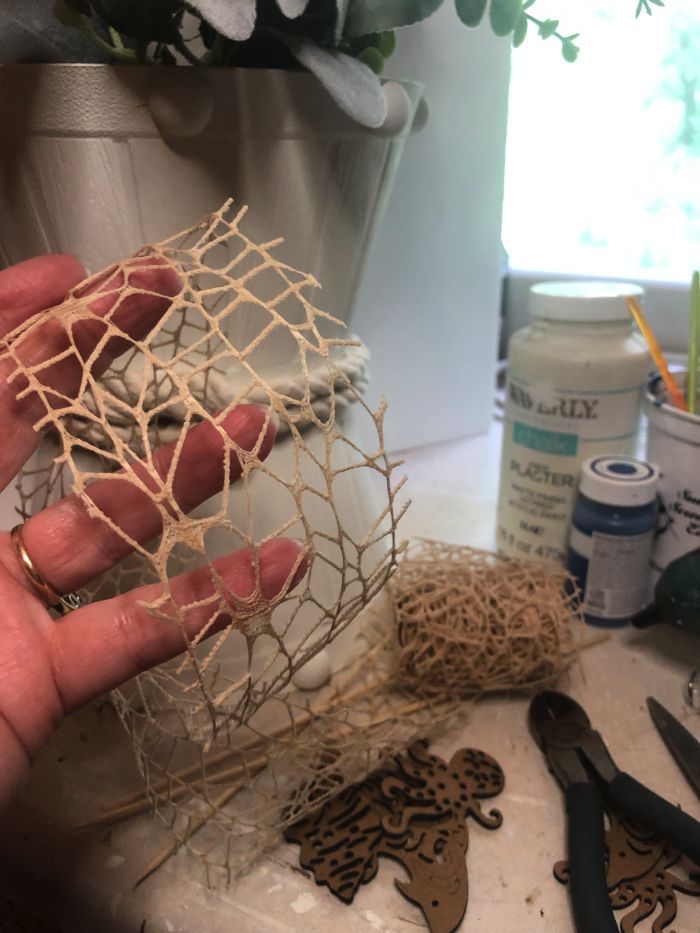
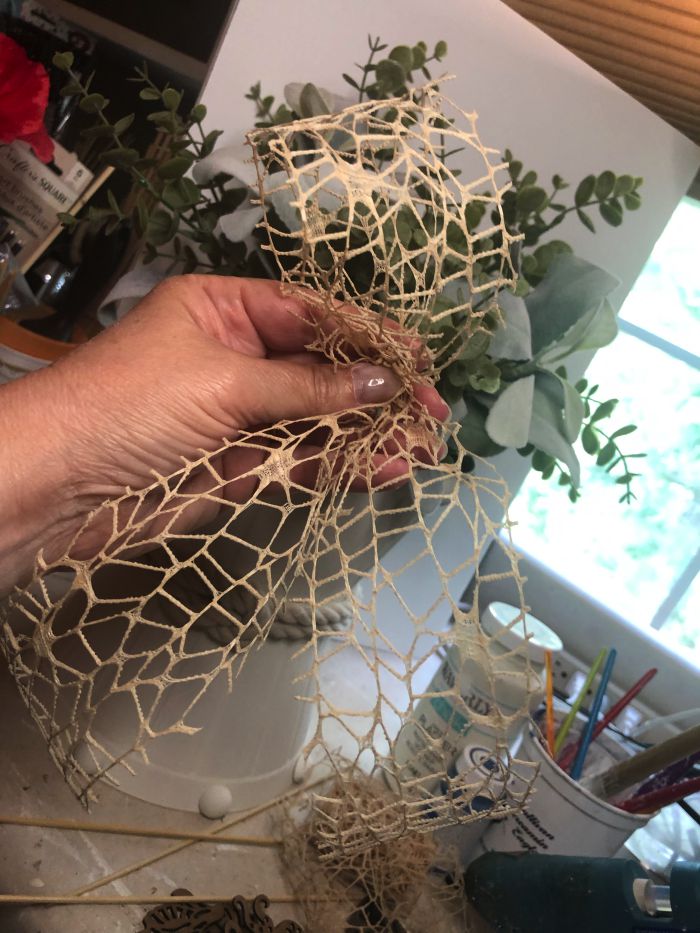
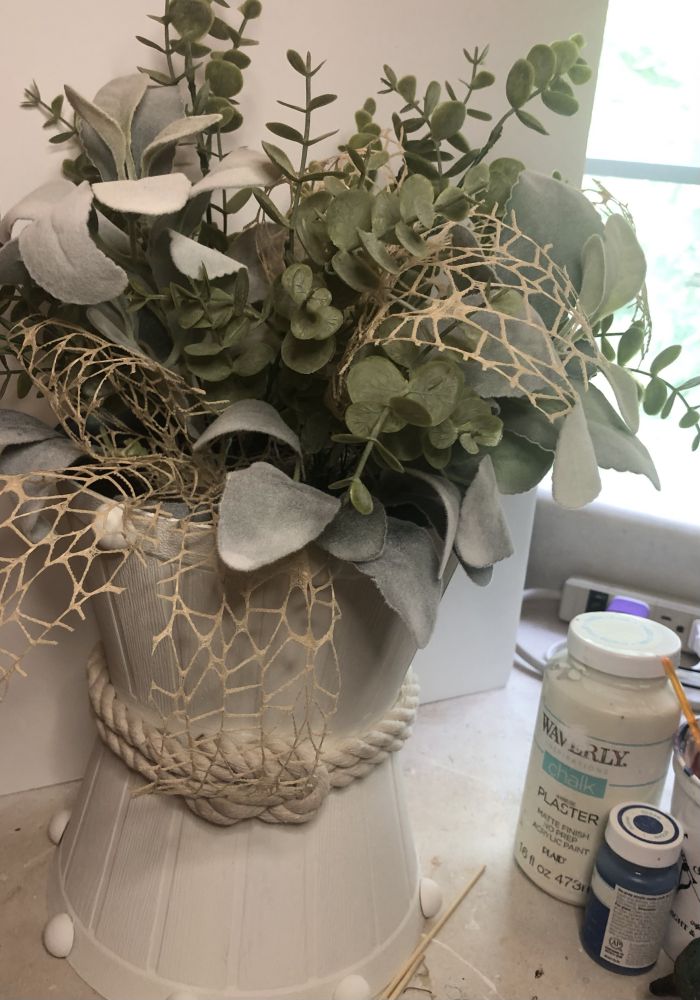
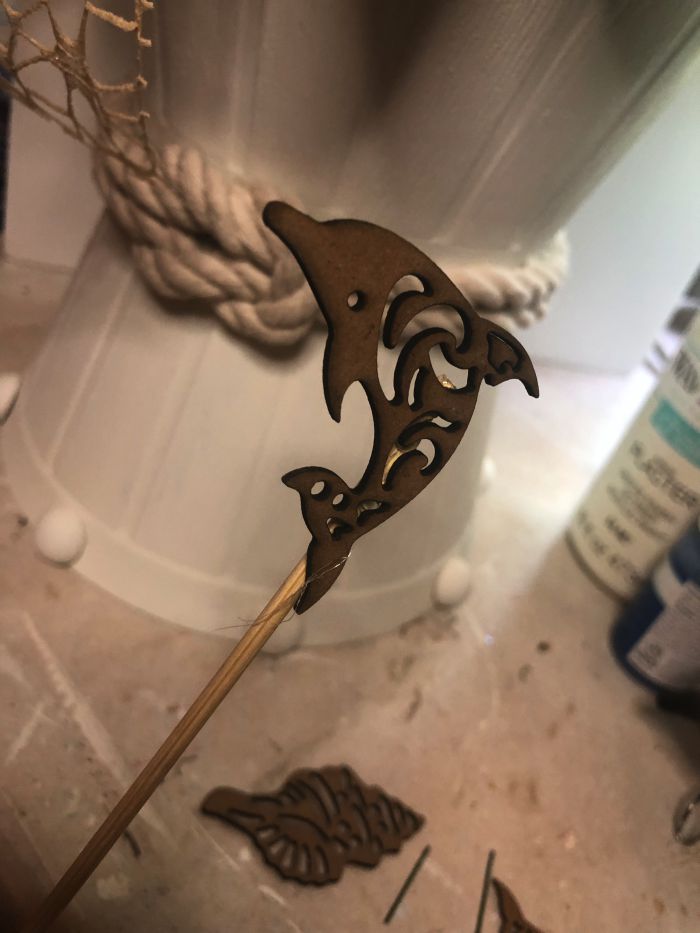
I found some beach-themed figures at Dollar Tree. So I glued them onto wood skewers and added them to the arrangement. A little more faux foliage and I was finished.
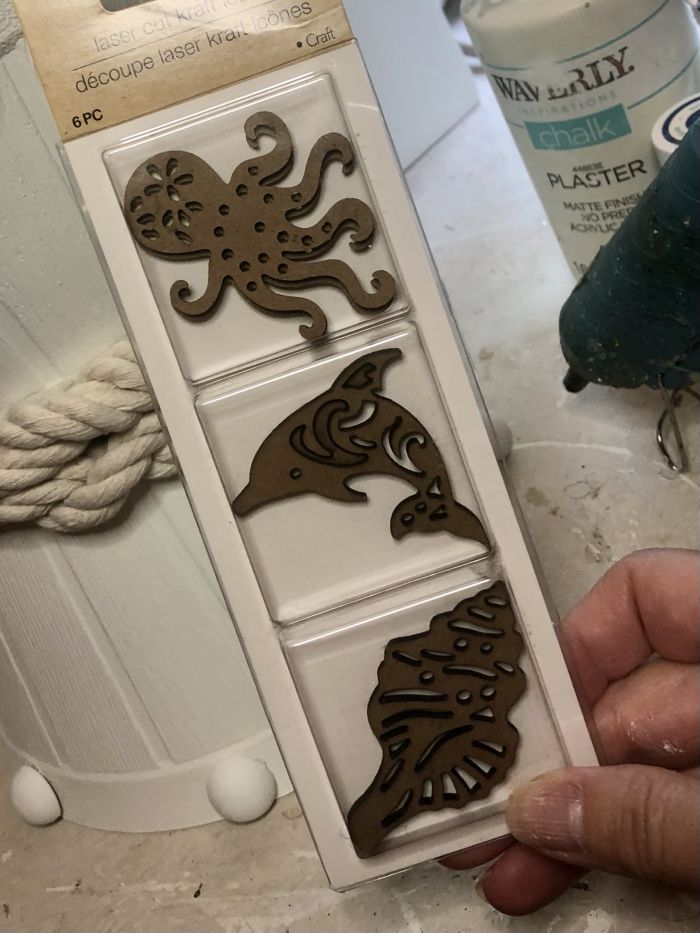
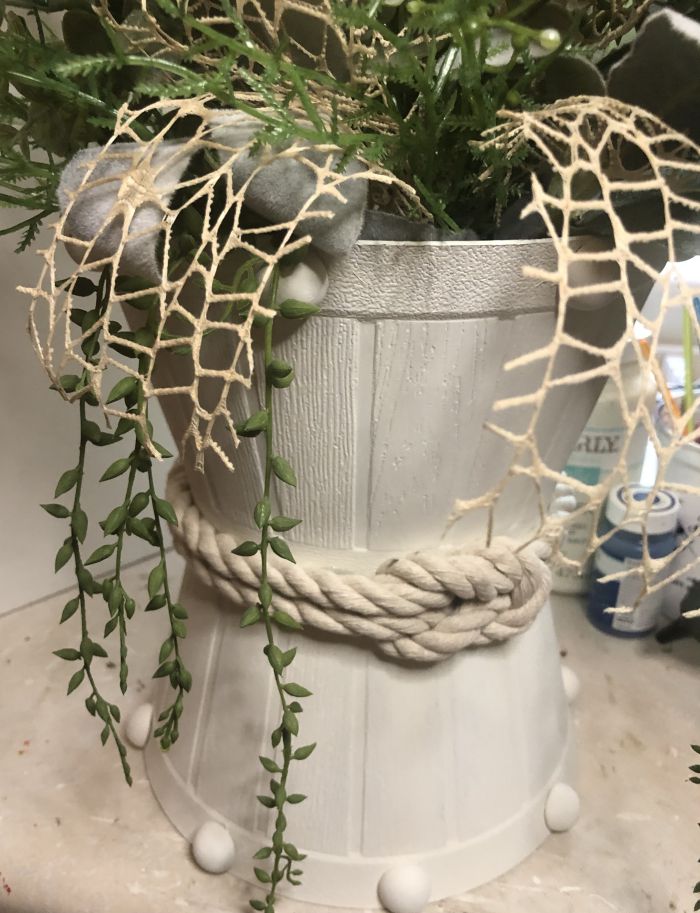
I think this DIY project turned out SUPER cute! Perfect decor for summertime. It looks great paired with this anchor. Check out my anchor DIY here.
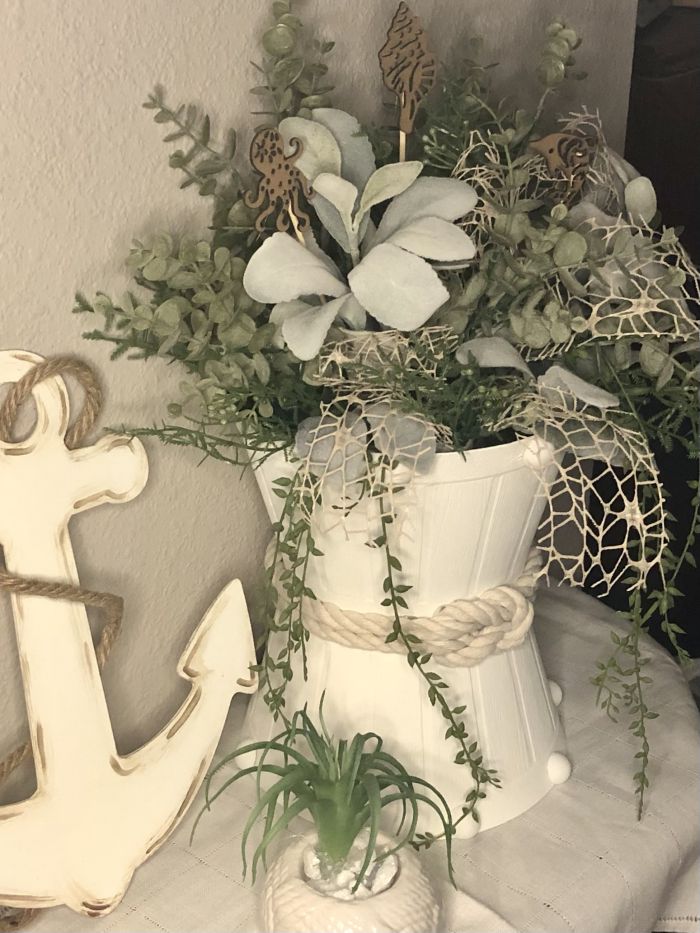
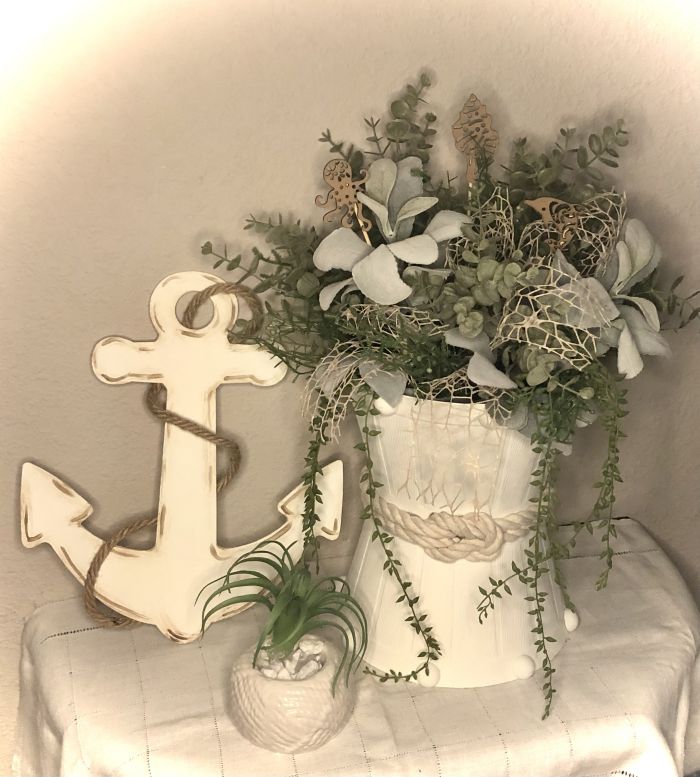
This project could easily be changed into an everyday container by omitting the nautical rope and replacing it with ribbon. So get CREATIVE with it. Make one to match your home decor.
I hope I’ve given you a little inspiration and you give this DIY a try!
Until next time……
Happy Crafting!
Pamela
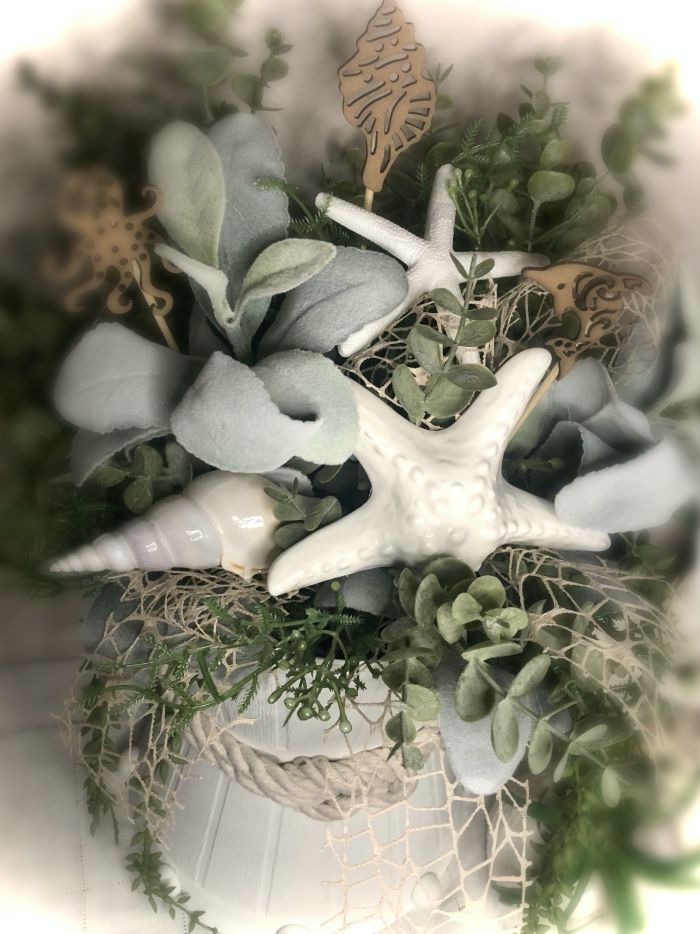
Add a few seashells for another LOOK!
 Easy DIY Patriotic Decor