
Hello Sweet Friends,
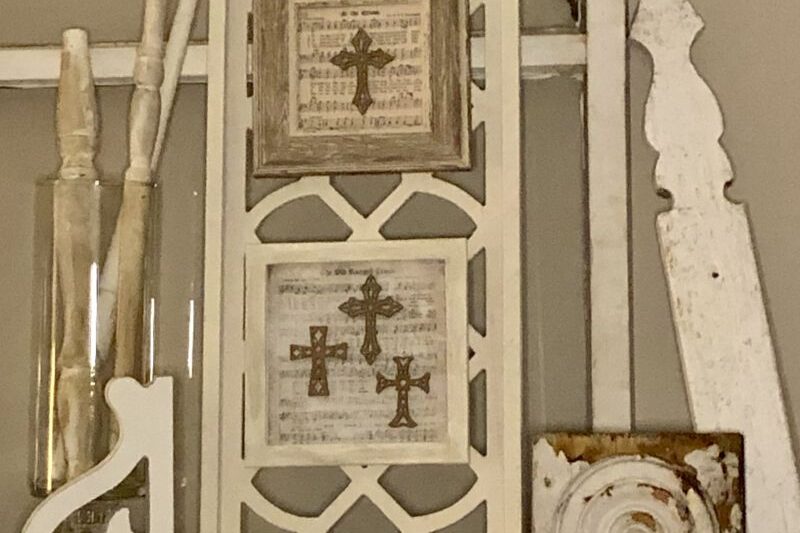
Today I have a DIY project that is equal-parts beautiful, budget-friendly, and easy. I will show you how to create beautiful framed crosses using mostly Dollar Tree supplies. It’s so EASY, I ended up make two of them, AND I might make a few more!
A few years ago, I started seeing these laser-cut mini crafting pieces at the local Dollar Tree; hearts, flowers, owls, and of course, crosses. I purchased a few different pieces; and finally came up with the perfect DIY project for the crosses. It’s a perfect decor piece not only for Easter but for any time of year. I hope you LOVE it just as much as I do.
Supplies needed
- 4×4 Dollar Tree frame
- 1 package of laser-cut crosses (6 pieces) from Dollar Tree
- hymnbook page, scrapbook paper, or other paper for background
- paint, optional
- scissors
- glue gun
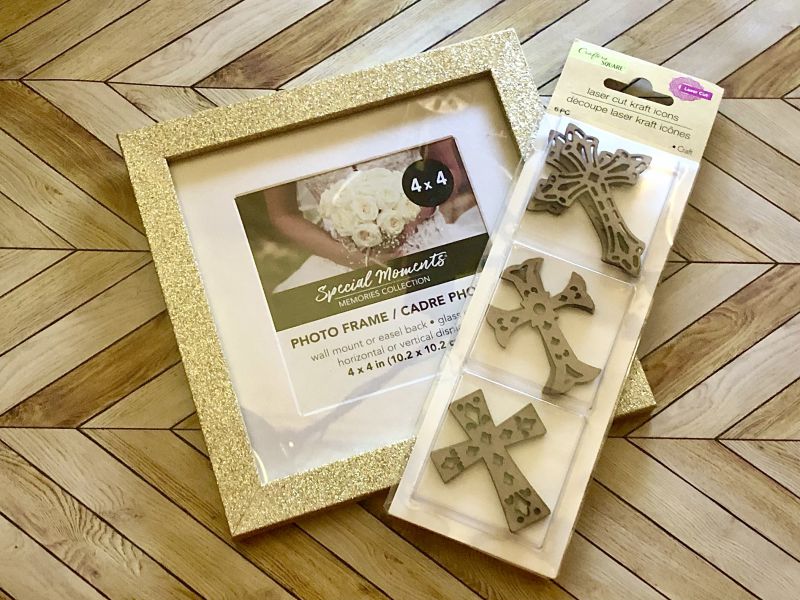
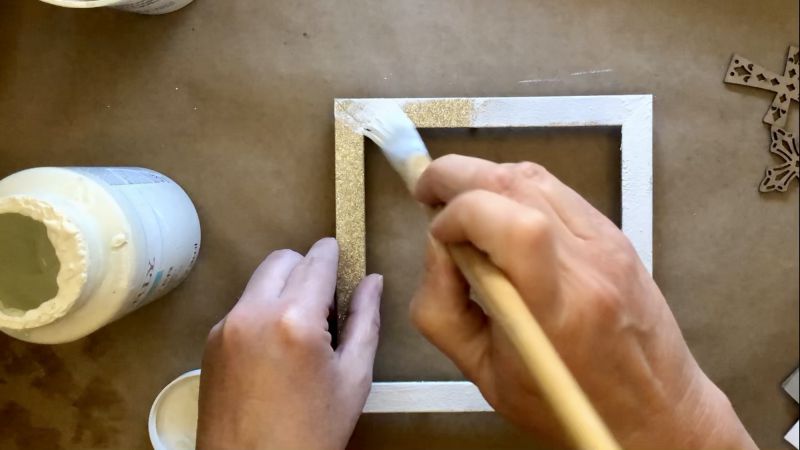
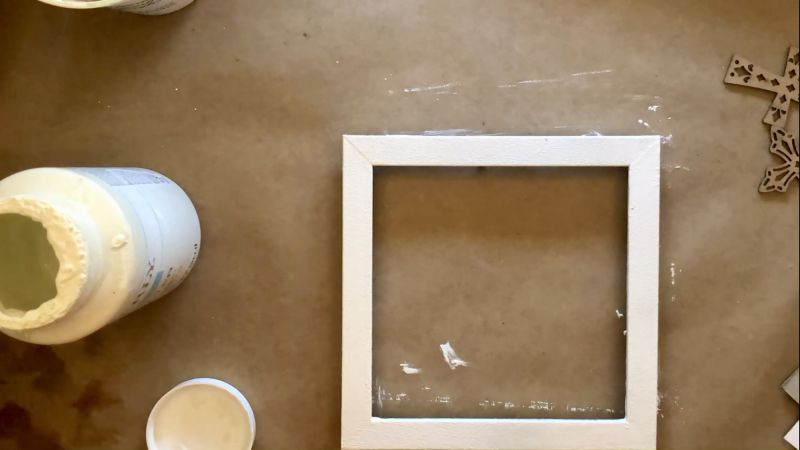
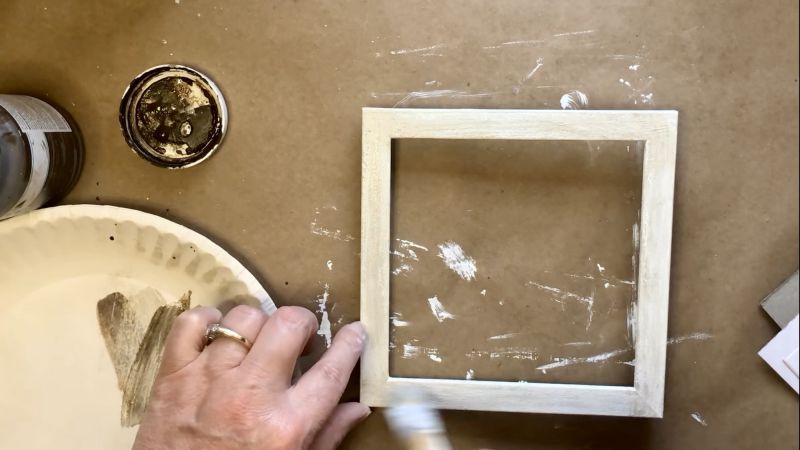
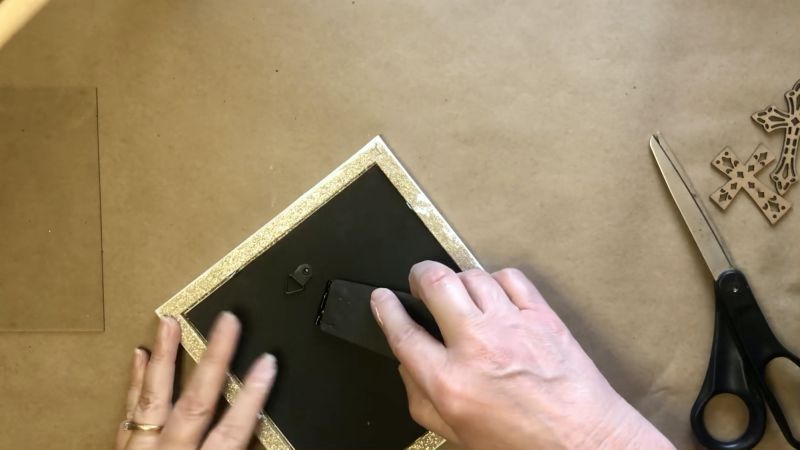
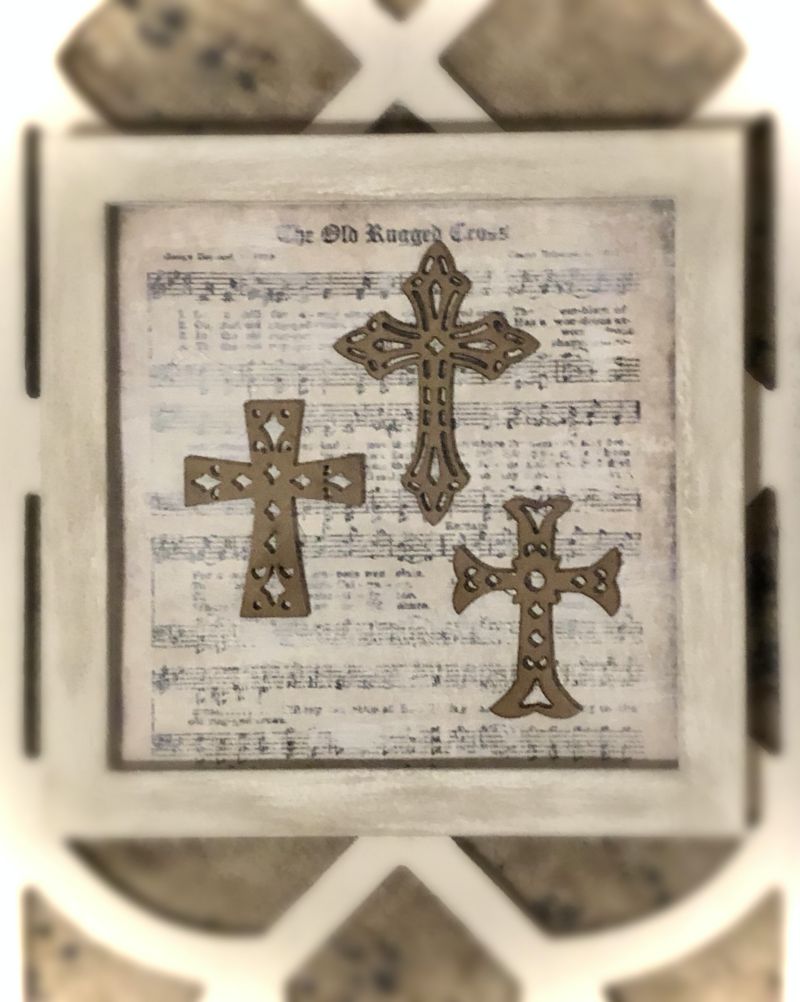
The first step for this project was to paint the frame. If you are able to find a frame that is already a good color, this step can be skipped. I had this gold glitter frame that was the right size but I wasn’t sure I wanted to use it as-is, so I decided to paint it white using Waverly plaster chalk paint. The backing and glass were removed from the frame and I painted two coats for good coverage with dry time in between. Then I dry-brushed with a little antique wax to give it a slightly aged look.
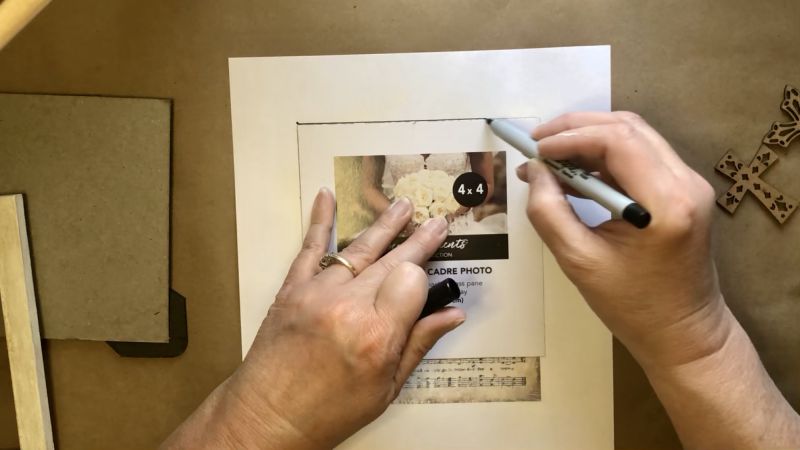
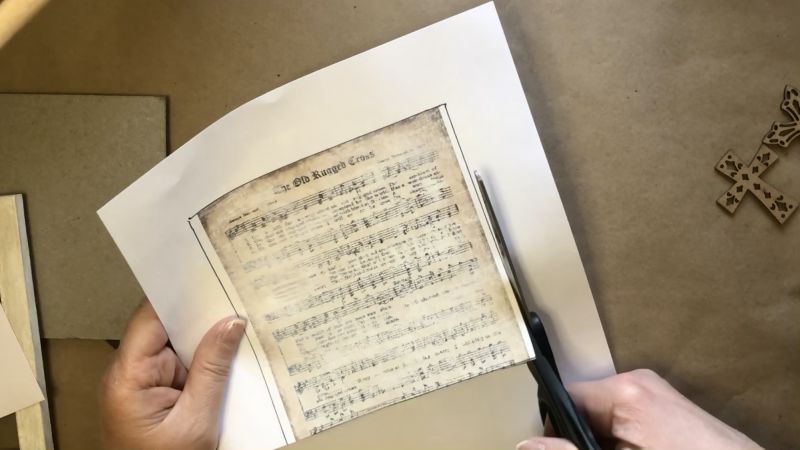
While the frame was drying, I cut the hymnbook page to size by tracing around the insert that was in the frame. I also dry-brushed a little white onto it.
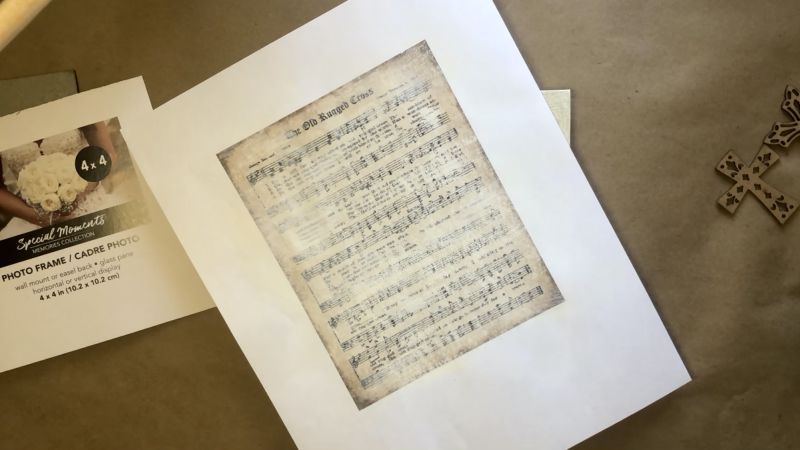
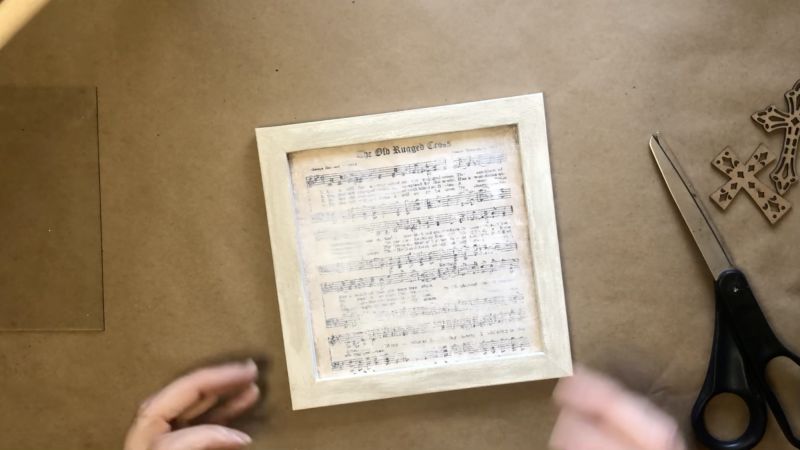
Then I placed the hymnbook page and backer into the frame. I did not put the glass in yet, I did that at the very end.
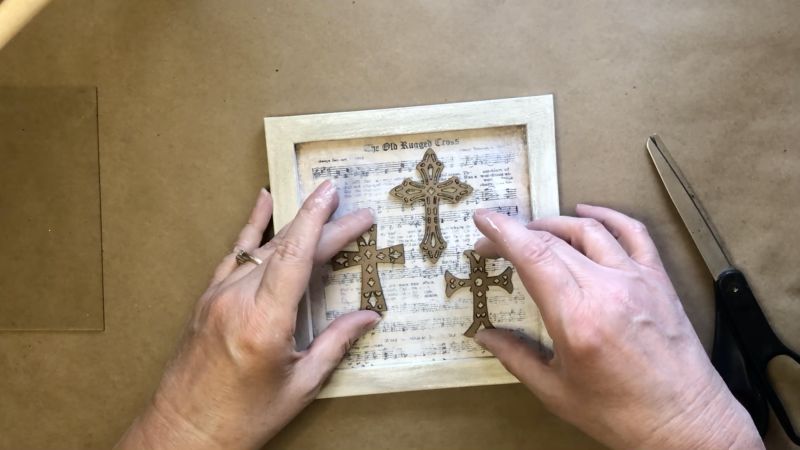
Next, I arranged three different crosses onto the hymn page until I liked the arrangement. One by one, I glued each of them onto the page with the tiniest amount of hot glue.
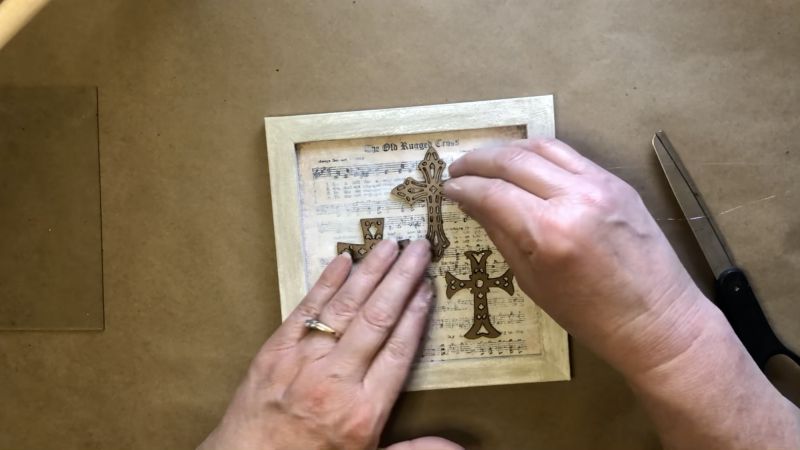
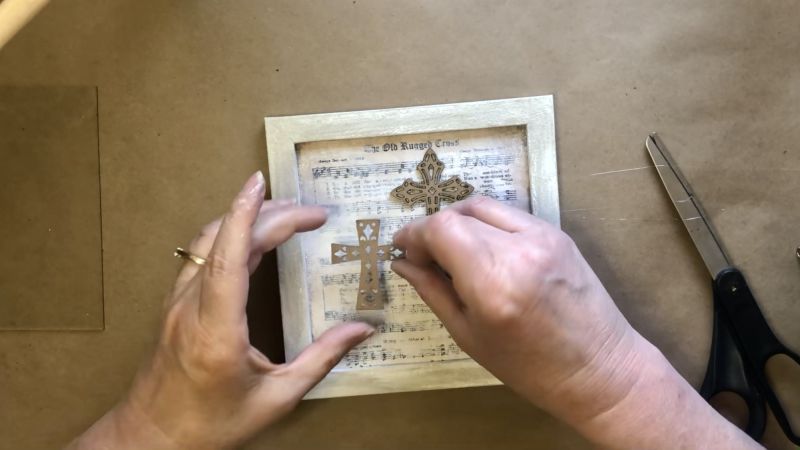
The final step was to remove it all from the frame, replace the glass, then place it all back into the frame. (I debated on whether or not to use the glass, but in the end decided it was best to use it)
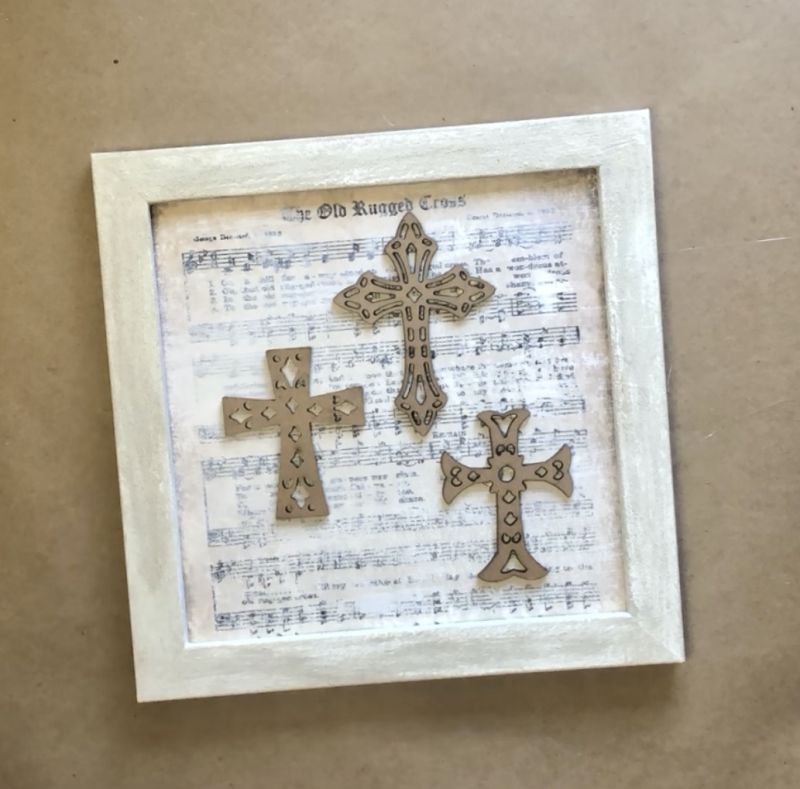
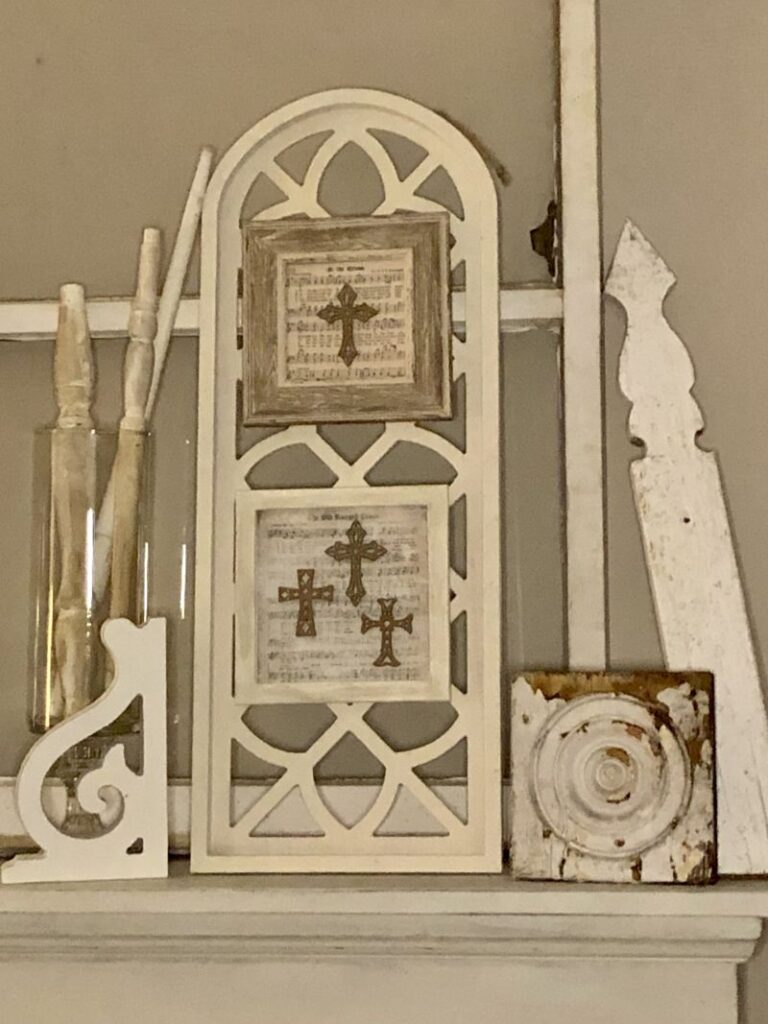
I simply LOVE how this little project turned out! So much so, that I decided to make another one with a different frame.
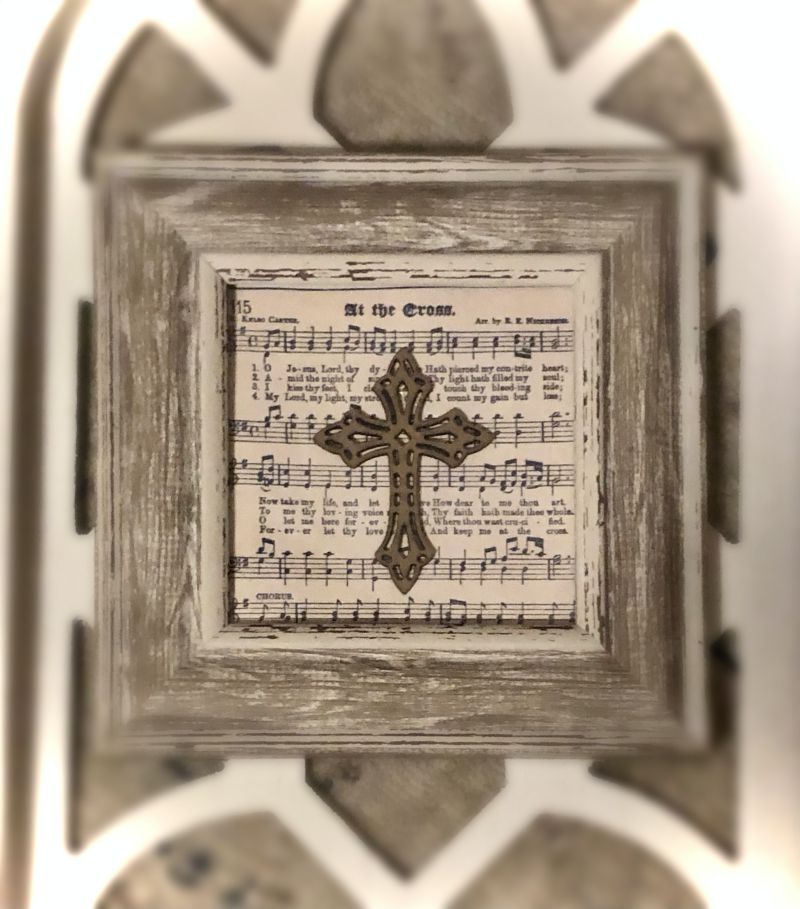
The other frame that I had was also a 4×4 frame, but the opening was smaller, so I only used one cross. Also the frame was already a good color, so I did not have to paint it either! Yay!
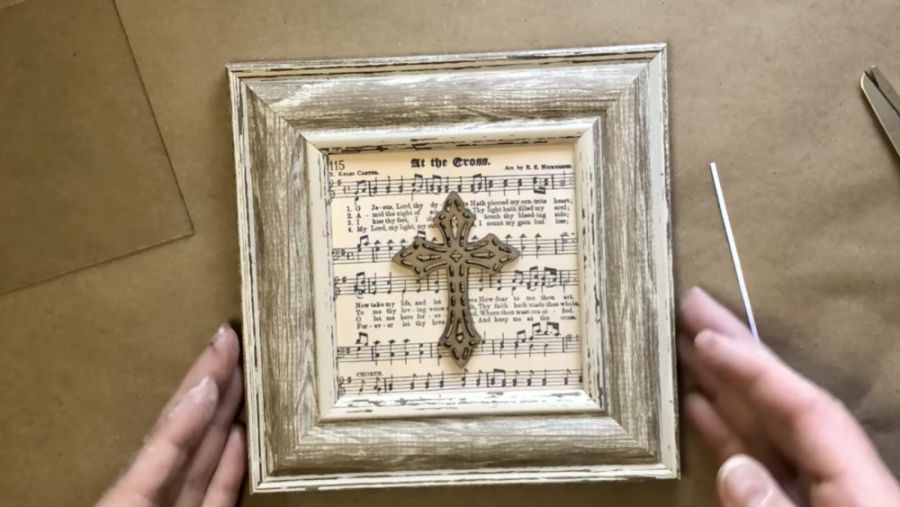
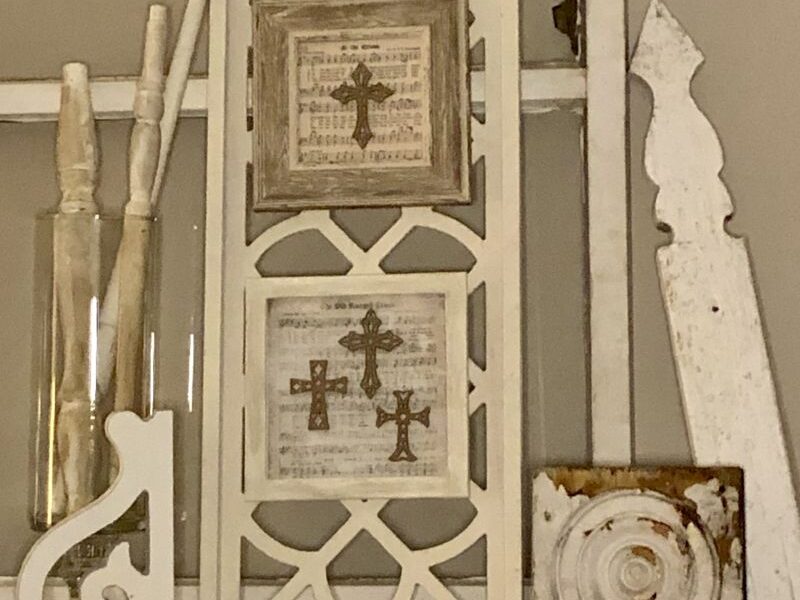
How BEAUTIFUL do these framed crosses look? Don’t you just LOVE them?
These DIY projects are so EASY to do! Especially the second one, I literally made it in ten minutes.
I hope you’ve enjoyed this quick DIY and I hope I’ve inspired you to give this idea a try. Get creative, change up the idea a little, and make it your own.
Until next time….
Happy Crafting!
Pamela
 Easter DIY Decor Using a Napkin