

Hello Sweet Friends,
I have the CUTEST (and easiest) DIY idea for you, an Easter Bunny decor piece using a Dollar Tree silver tray and a free printable. It is a pretty straightforward idea; just add some paint and Mod Podge along with the tray and printable and you have a pretty darn CUTE piece.
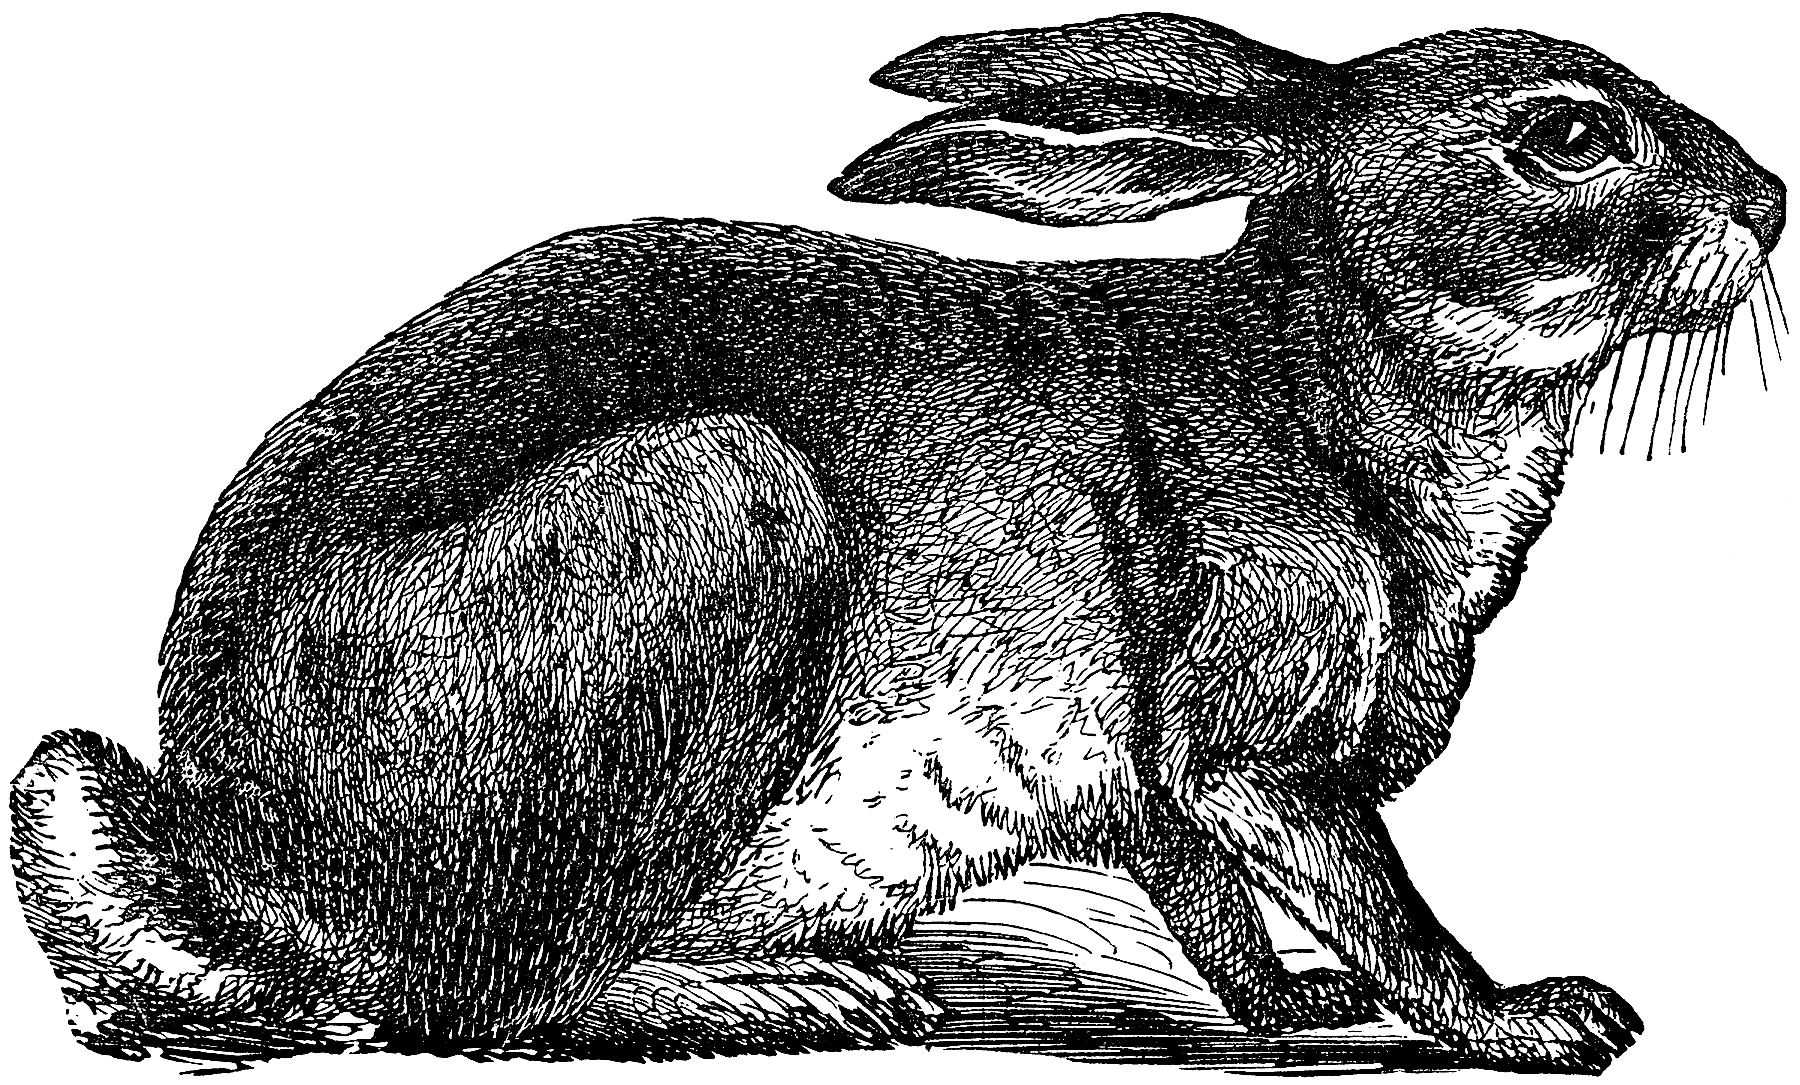
I found the bunny printable on The Graphics Fairy website. There are lots of free Easter images along with many other free vintage images. If you’ve never checked out the site, I strongly recommend that you do!
Anyway, let’s get going on this quick and easy craft idea!
Supply list
- Dollar Tree silver tray
- bunny printable
- scissors
- white chalk paint and paint brush
- antique wax
- Mod Podge
- ribbon and small embellishment
- glue gun

To begin this project, I printed up the vintage bunny image from The Graphics Fairy. If you would like to use the same image, here is a link.
For the next step, I painted the silver tray with Waverly plaster chalk paint. I had to use two coats of paint and let it dry in between. Pictured below is after one coat of paint.


In order to give the bunny image an aged look, I watered down some of the antique wax and lightly brushed it onto the image.

To give the tray an aged look, I used a baby wipe and lightly rubbed it with the watered down antique wax. I made sure to do this to the entire surface.

When the bunny image was dry, I cut around the bunny image as closely as I could. You can almost see how the finished piece is going to LOOK.

The next step was to attach the bunny image to the tray with Mod Podge.
I just centered the image as well as I could by eyeing it; brushing the Mod Podge onto the center of the tray and pressing the image onto it. Then I topped it with another coat of Mod Podge. Nearly finished!

I hot glued a small bow and some floral and foliages for an embellishment. Easy peasy!
And how CUTE is this tray? I think it could be added into any spring or Easter decor.

This DIY is definitely not limited to Easter, a person could use literally any kind of printable or image. The tray sort of has a “built-in” frame border. I’m pretty sure I will be making more projects like this for other seasons and holidays.

If like this DIY project, why not check out my other Easter DIY using a different bunny printable, here.
I hope I’ve given you a DIY idea you can use to create something beautiful for your home.
Until next time…..
Happy Crafting!
and Happy Easter!
Pamela

 How to Make a Rustic Farmhouse Easter Sign using a Calendar Page