
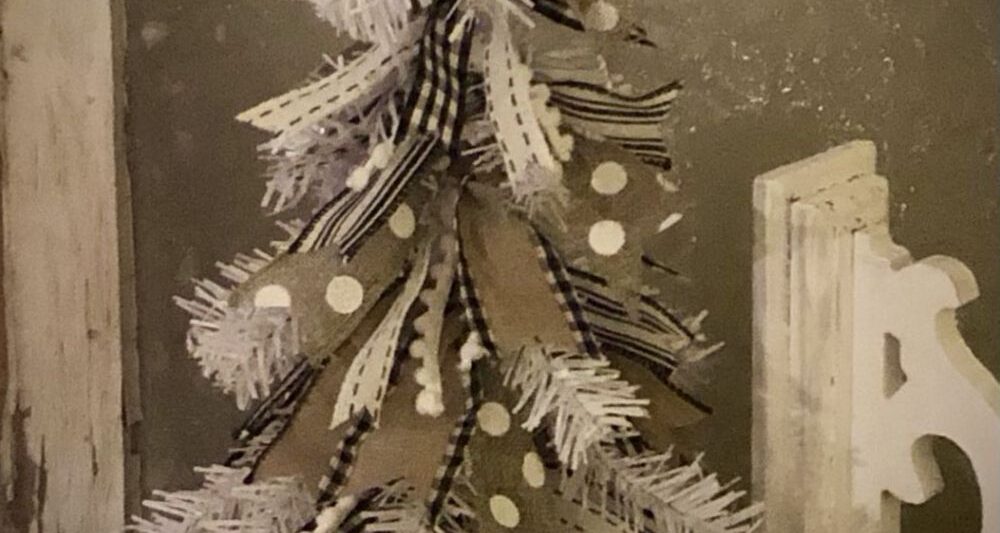
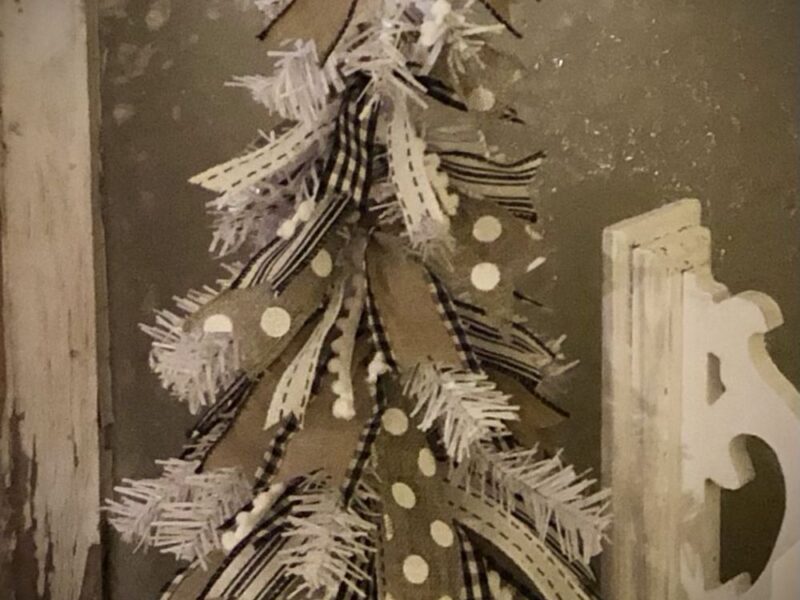
Today I’m bringing you this DIY for a downswept Christmas tree made from a Dollar Tree mini Christmas tree and an assortment of ribbons. It’s easy, budget-friendly, and it turned out pretty cute. So follow along and make one for yourself.
Items needed for this DIY craft
- Dollar Tree mini Christmas tree
- Assortment of coordinating ribbons
- Small star or embellishment for treetop
- Wood slice, optional
- Scissors
- Glue gun
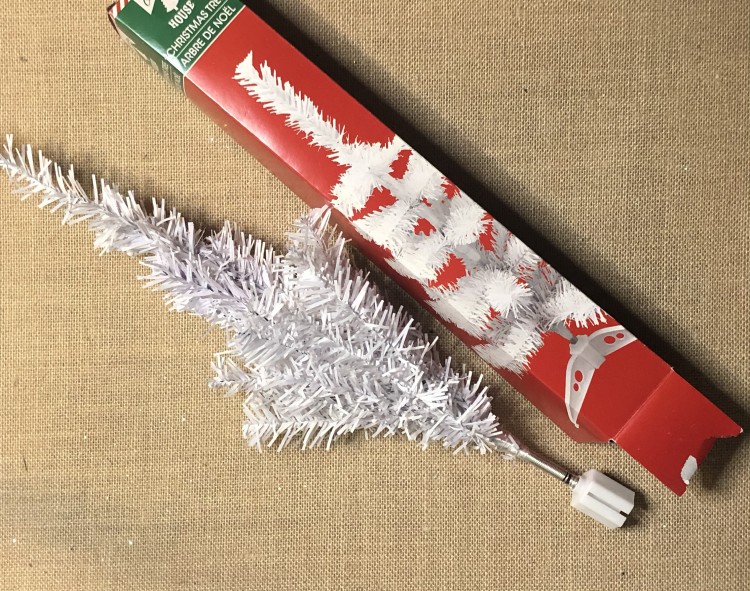
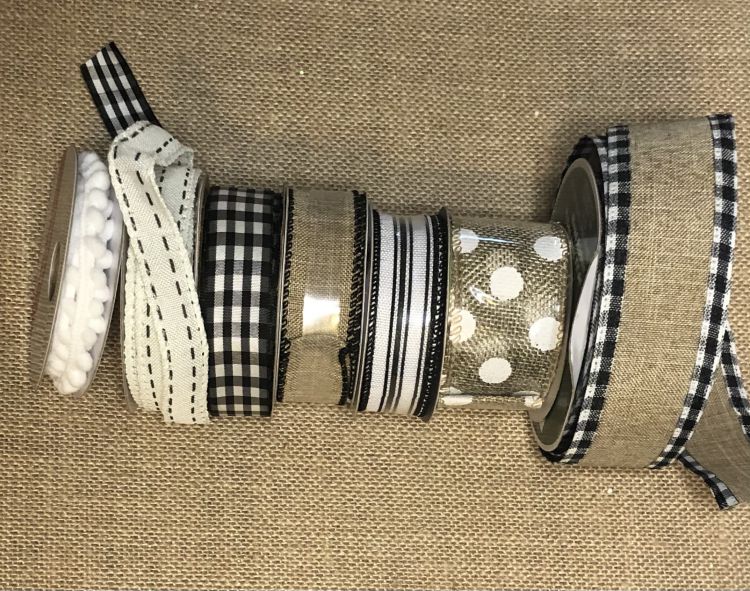
Try to choose coordinating wired ribbons of different widths, patterns, and textures. I love using neutrals, so for this DIY, I chose white, black, and tan for my colors. I also used a white mini tree.
After removing the tree from its box, start from the bottom of the tree, and unbend only one layer of tree “branches” at a time. Cut three or four lengths of ribbons for the bottom layer.
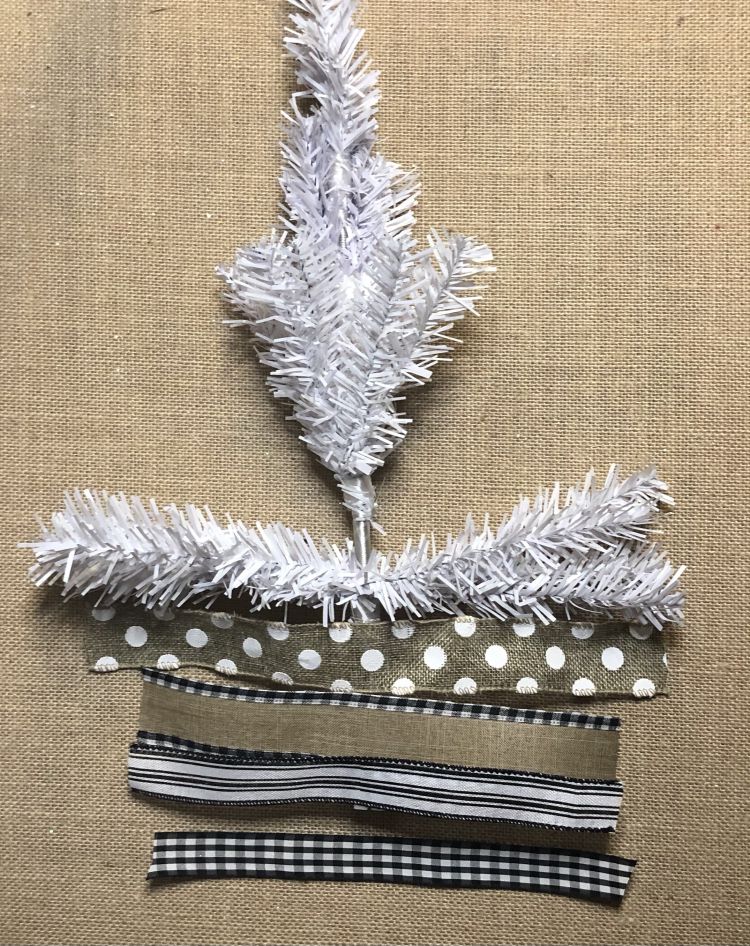
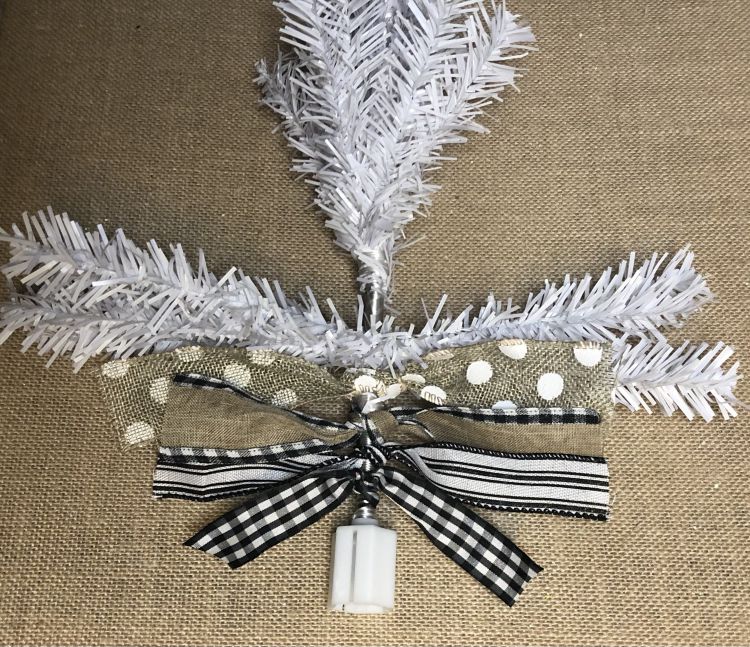
Tie each length of ribbon around the tree “trunk.” This lower section can be slightly shorter pieces of ribbon, because they will be somewhat hidden on the finished tree.
Repeat the same steps for the next section of the tree using five or six longer pieces of ribbon. Just a warning: the tree will look like a mess until you get it shaped up at the very end of the project.
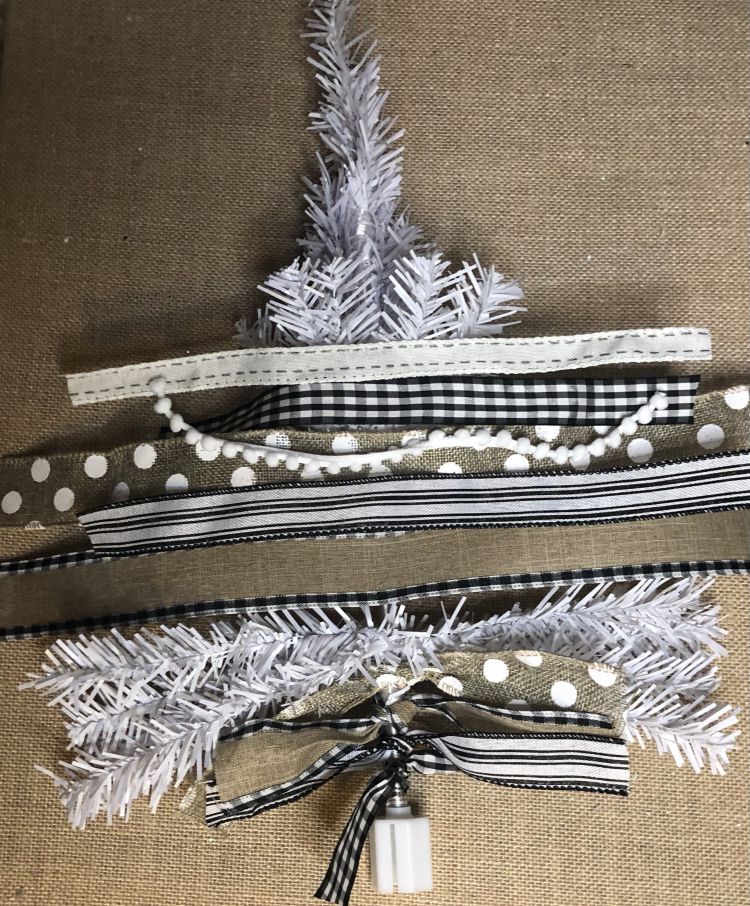
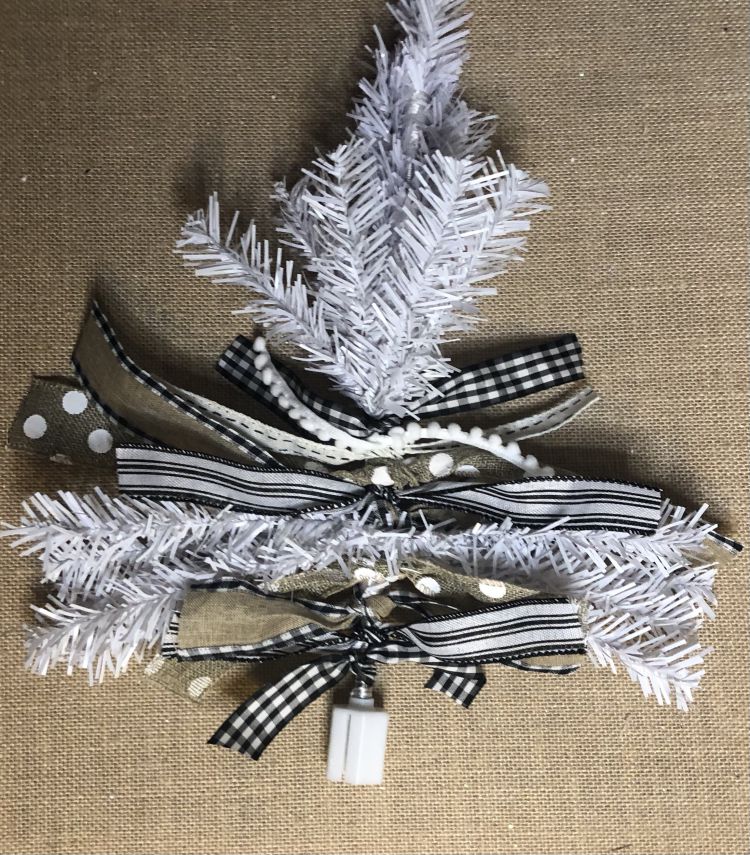
Keep repeating the same process for each section of the tree. As you move up the tree you will unbend the tree limbs and use shorter lengths of ribbon, as pictured.
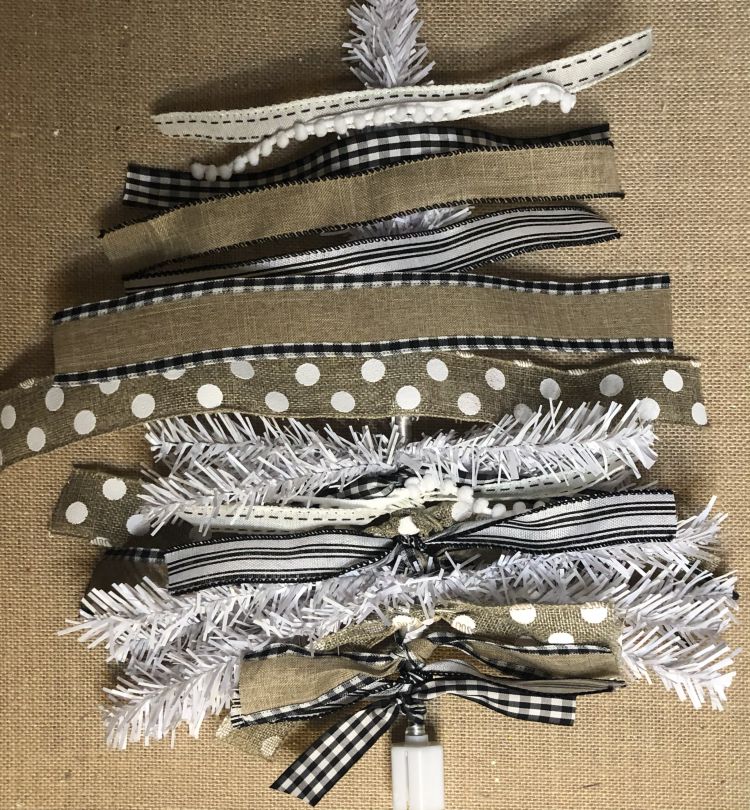
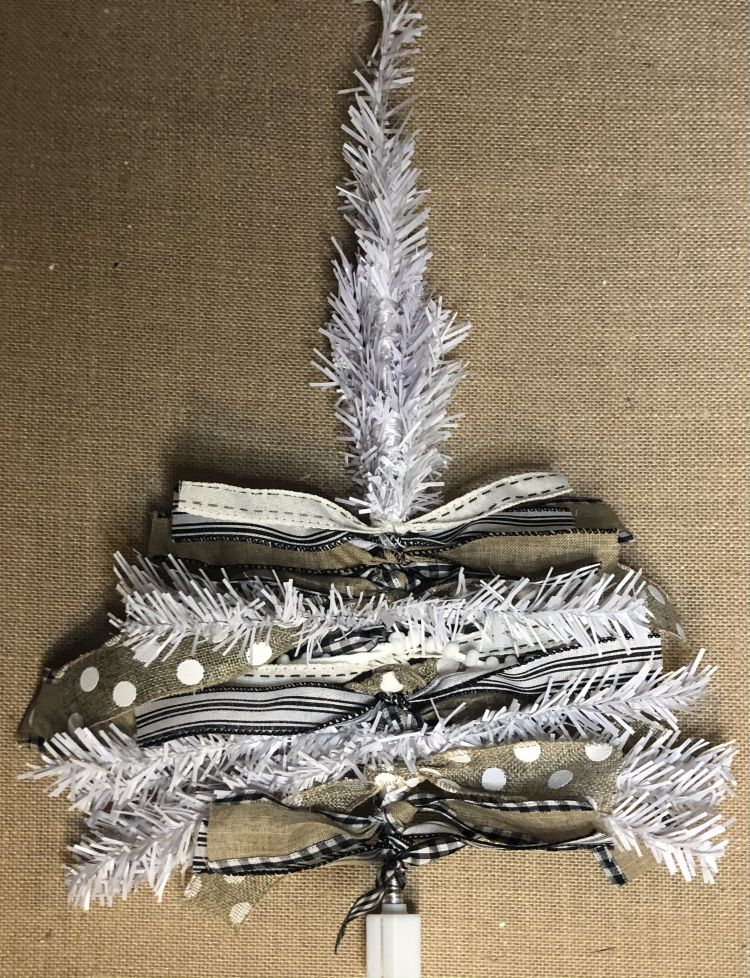
On the final top section of the tree, use four or five lengths of ribbon. Also you will need one length of ribbon for the very top.
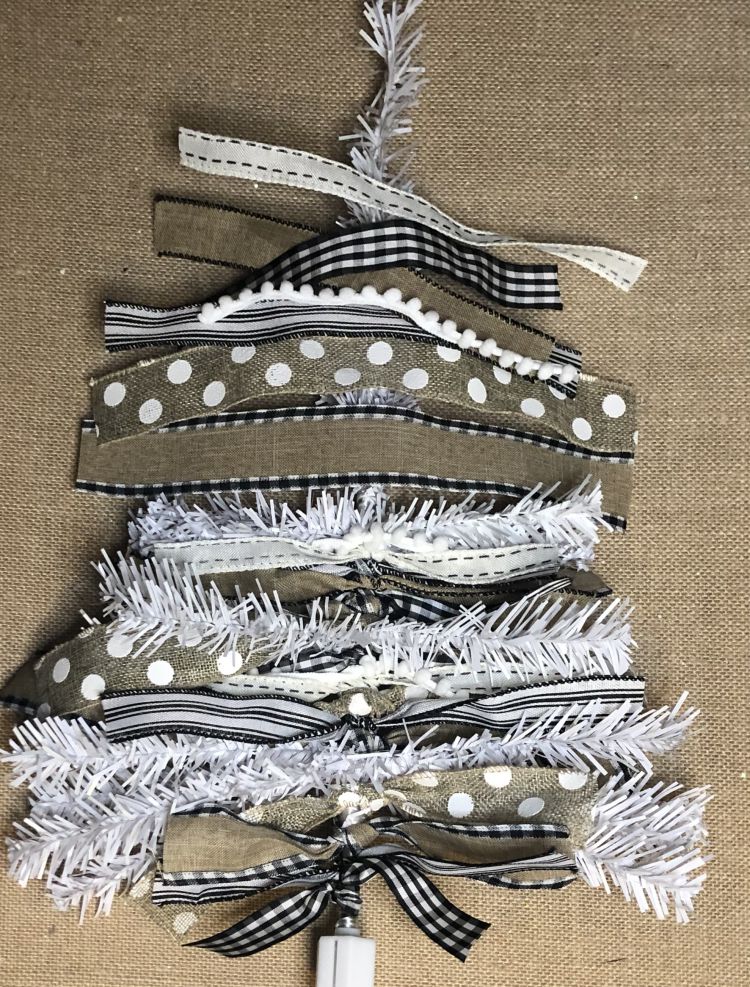
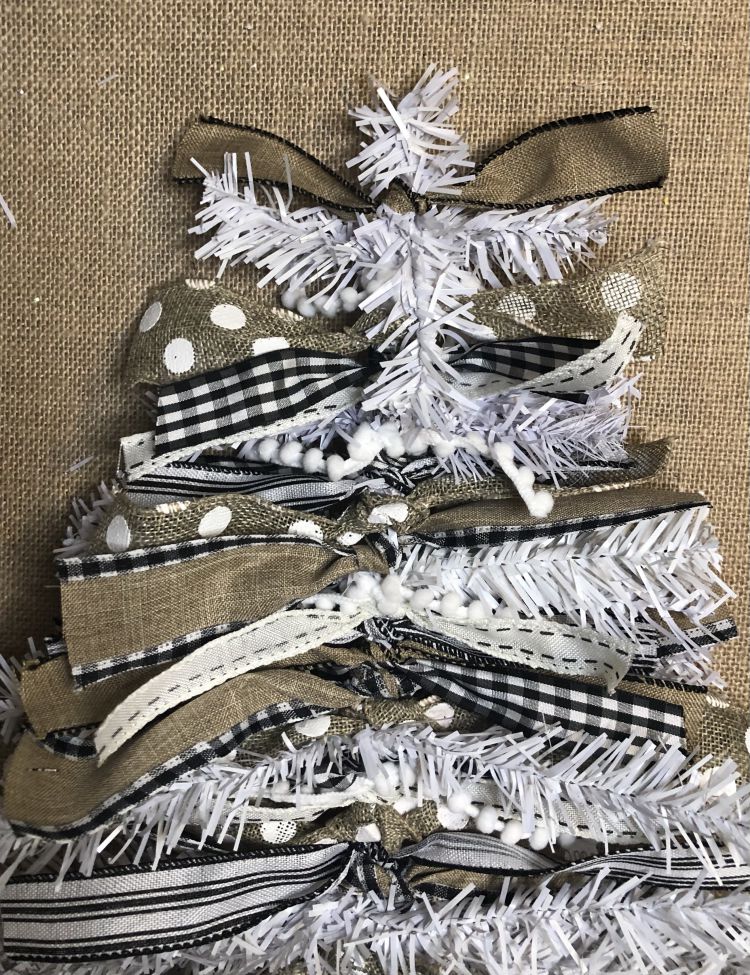
Fold the very tip of the tree down before tying the final piece of ribbon.
The next step is to bend the tree limbs and ribbons into a downswept shape. Do this by again starting at the bottom of the tree, a layer at a time. Keep moving and shaping the tree limbs and ribbons until you are happy with how it looks.
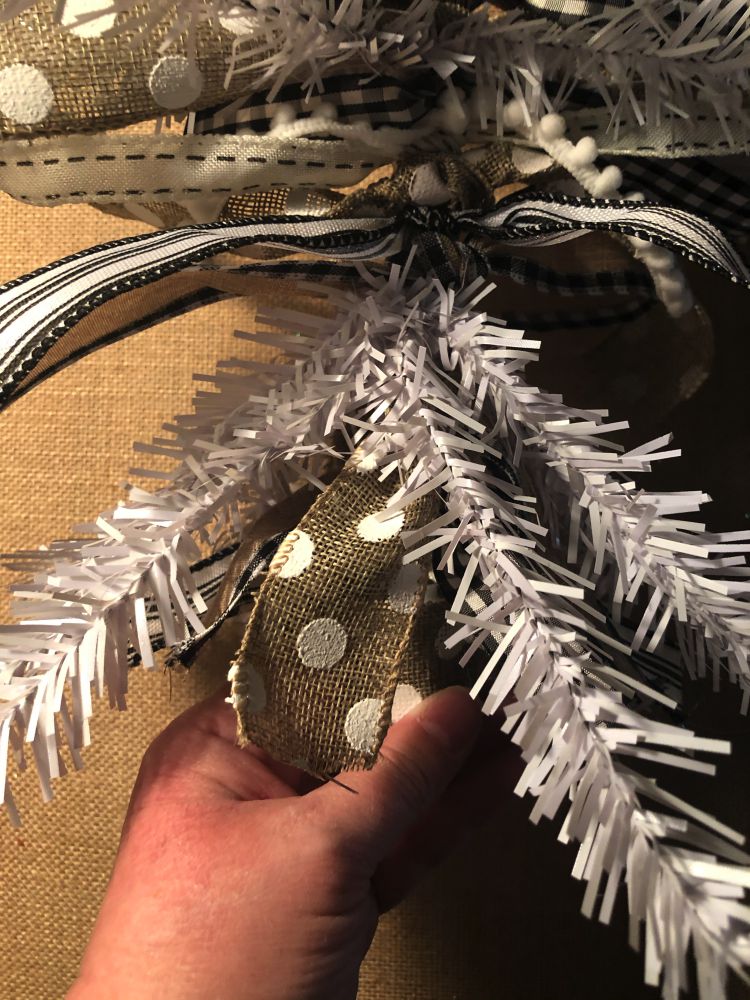
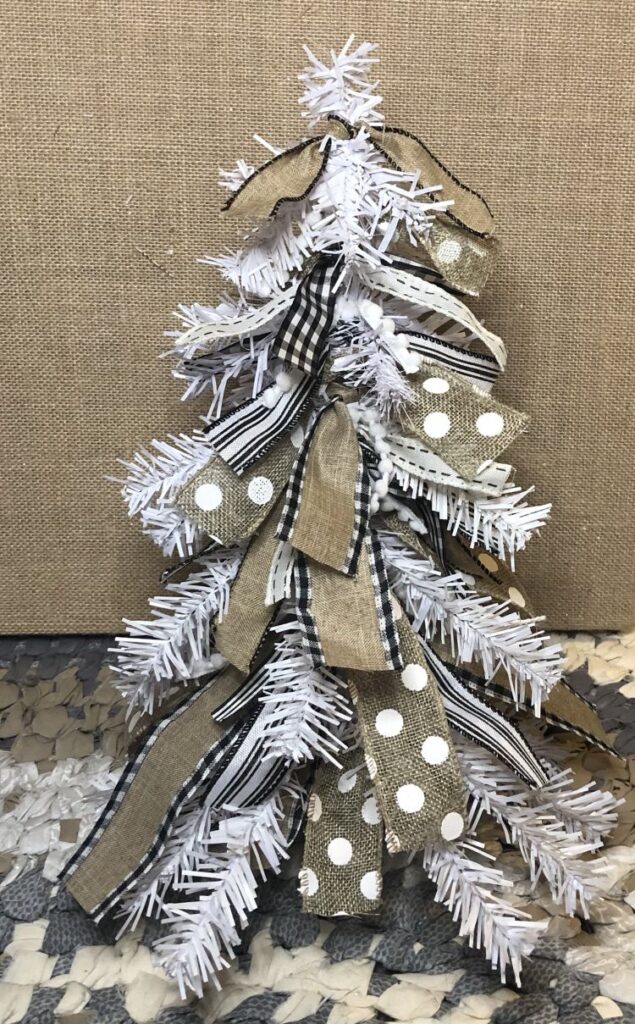
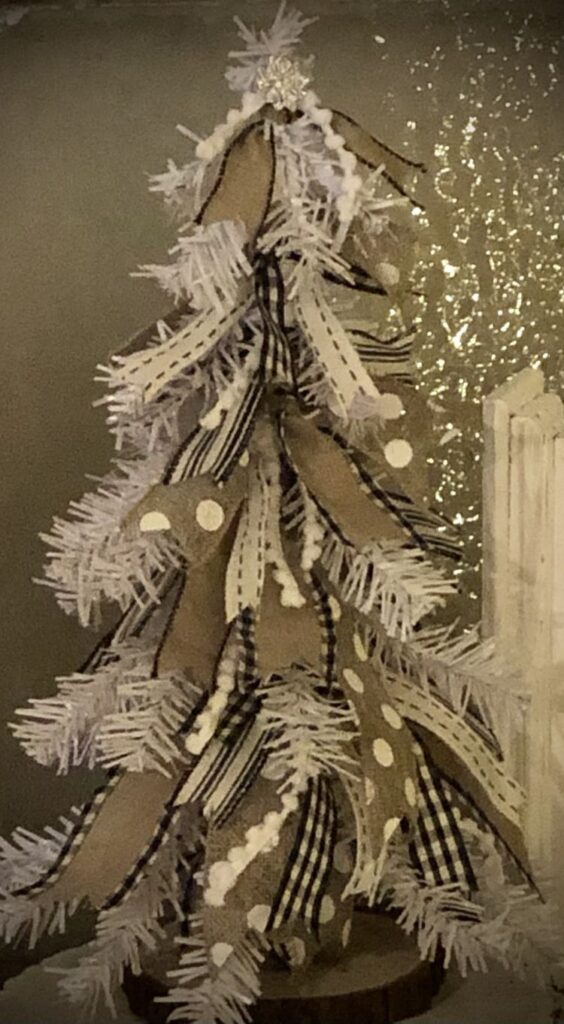
Then trim any ribbons that are too long. Also “dovetail” the ends of the all ribbons for a finished look. Glue a star or some type of small embellishment to the top of the tree.
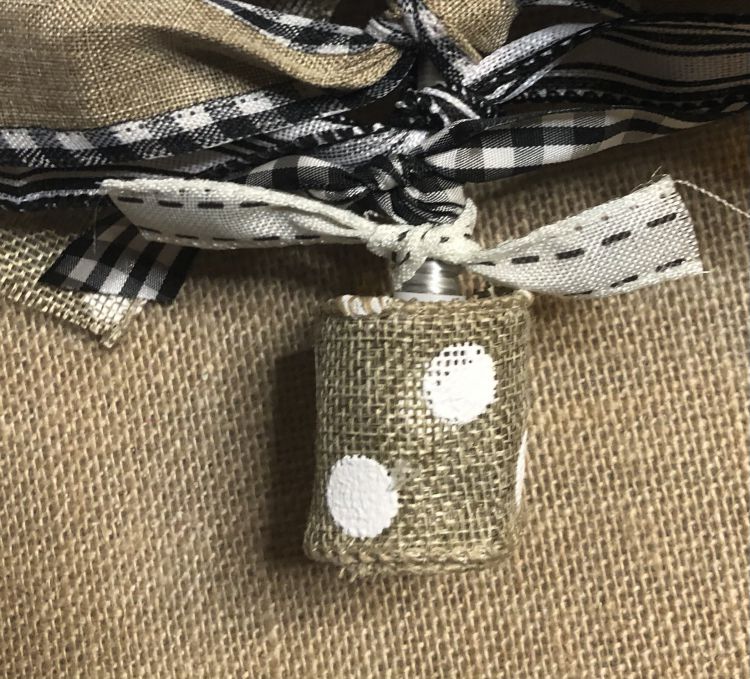
The final step is to use a piece of ribbon to cover the little white base. Then glue a wood slice on the bottom. (If using the stand that comes with the tree, this step can be skipped.)
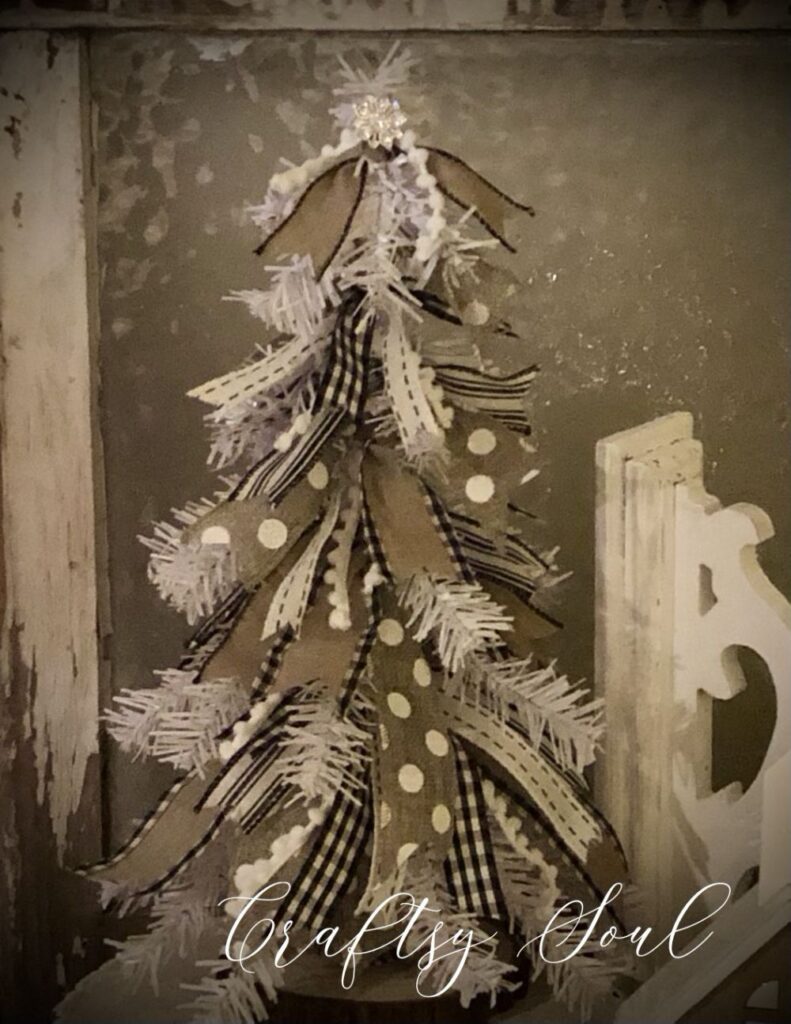
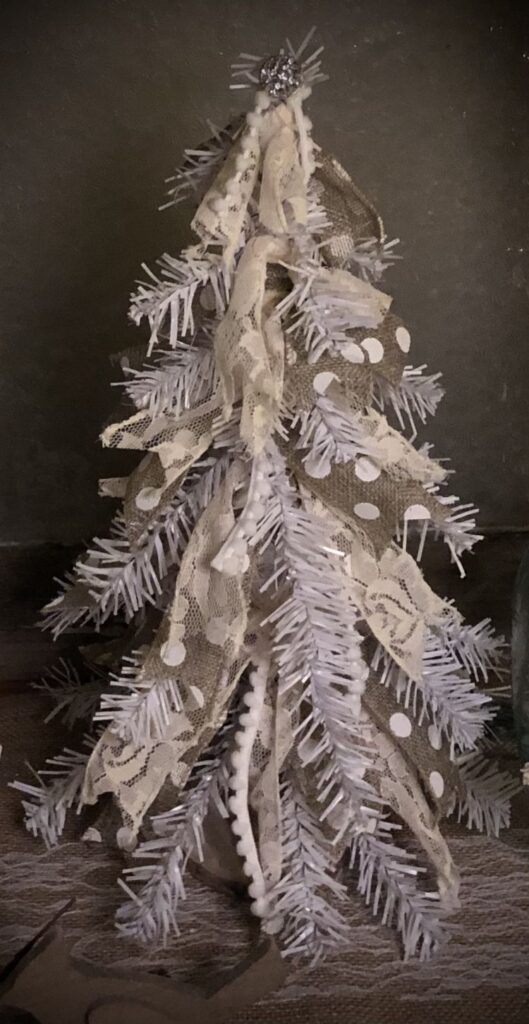
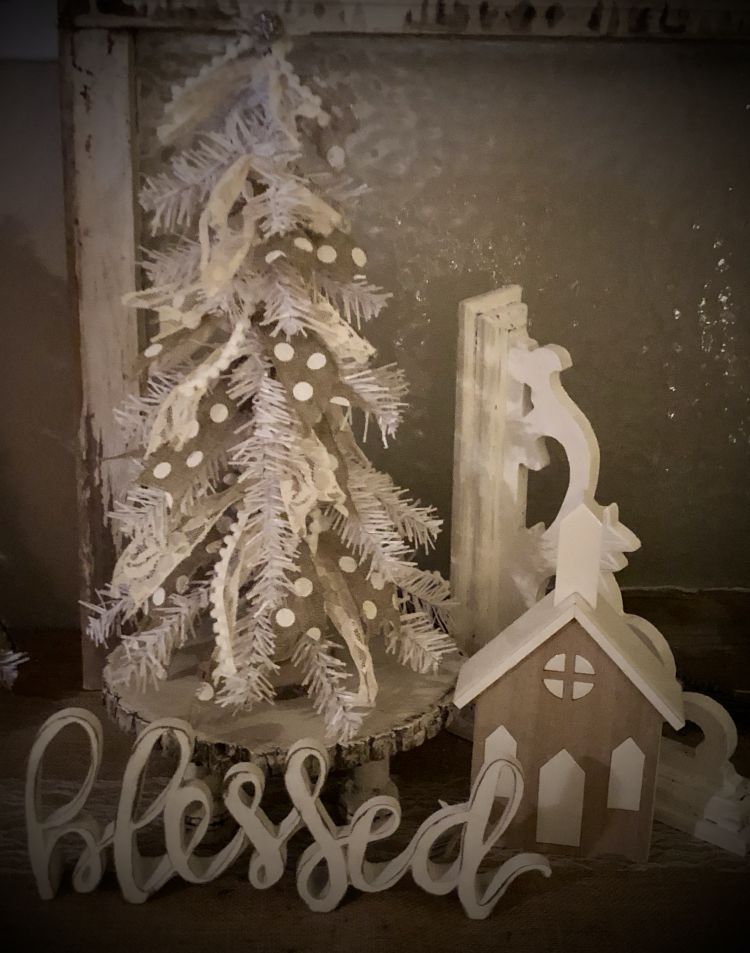
Here’s a few pictures of the finished tree and I think it turned out super cute! What do you think?
Until next time…
Happy Holidays!
and
Happy Crafting!
 DIY Winter Holiday Wreath with Snow Owl