
Hello Friends!
Today I’m showing you how to transform one of those silver platters from the Dollar Tree into a cute Easter decor for your home. Follow along and see how easy it is. Maybe you’ll be inspired to make one for yourself!
Items you will need for this craft
- Dollar Tree silver platter
- Dollar Tree aluminum cookie tray
- pretty paper napkin
- three Jenga blocks
- ribbon, carrots, silk florals
- scrabble tiles H, O, and P
- Mod Podge and paintbrush
- glue gun, scissors, pen
- Waverly plaster chalk paint and antique wax
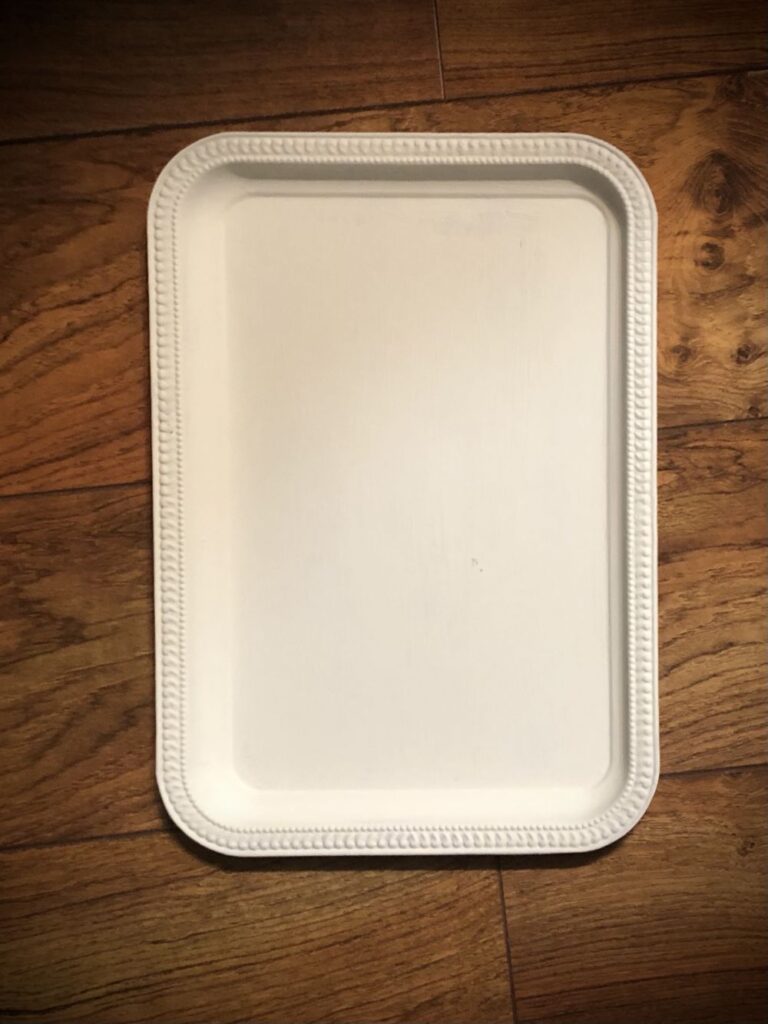
The first step for this craft is to paint the silver tray with chalk paint. Chalk paint works better for this project than acrylic paint because it will adhere better to the smooth surface of the tray. I used Waverly chalk paint, the color is called plaster. Set off to the side to dry.
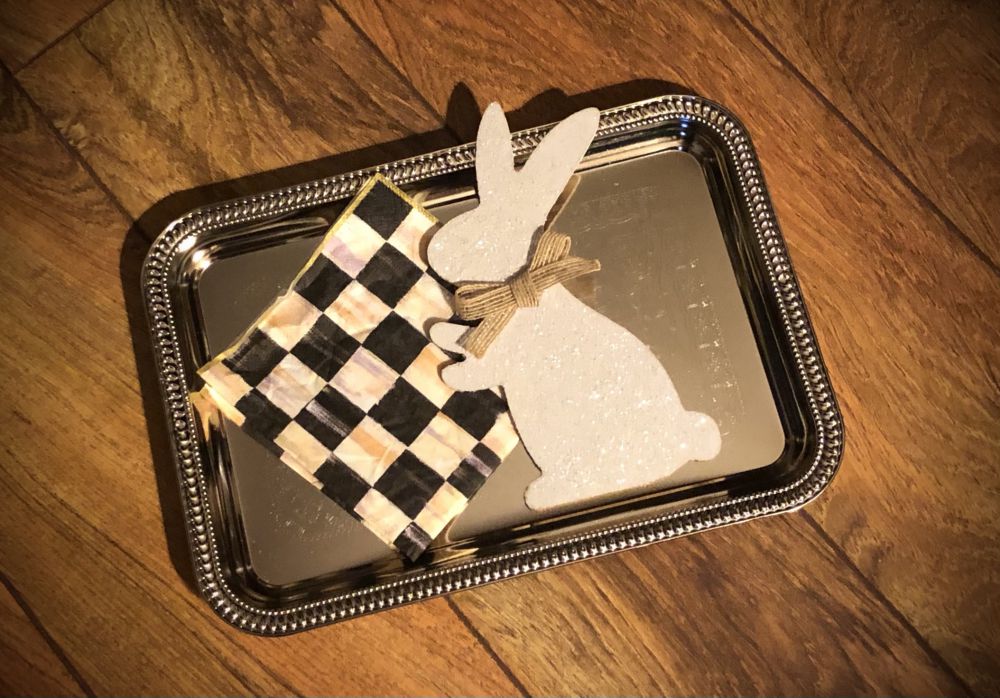
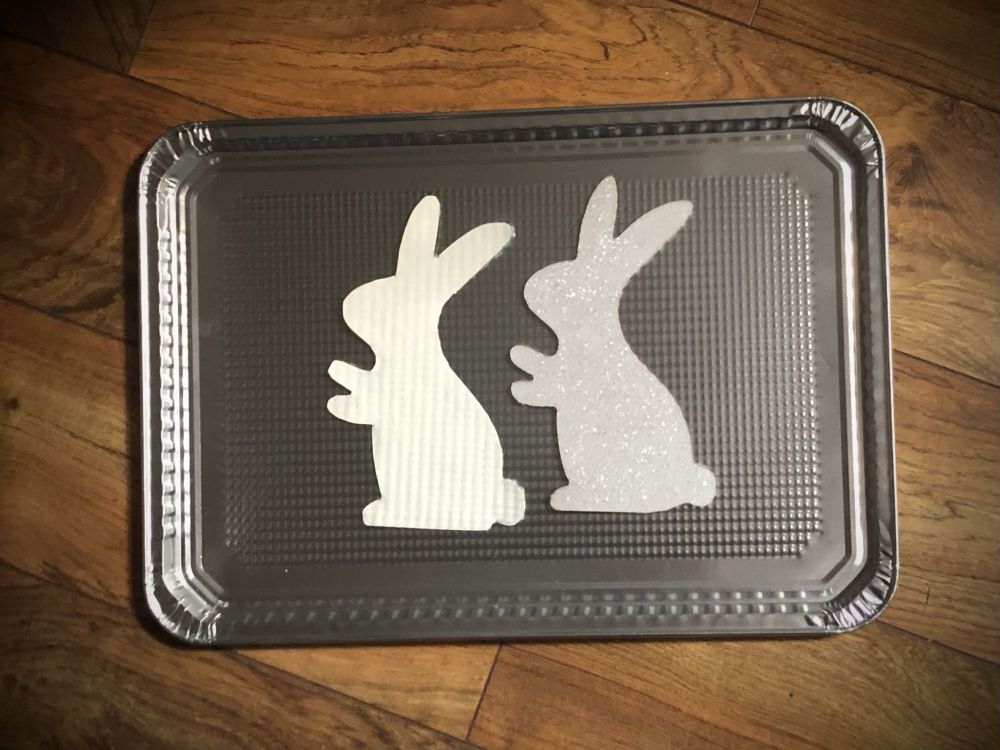
While the paint was drying, I moved on to the next step. I made a bunny shape from a Dollar Tree aluminum cookie tray by tracing a bunny that I already had, then cutting it out with scissors. Then I also painted it with the plaster chalk paint and set it aside to dry.
I have some Mackenzie-Childs napkins that I thought would be perfect for this craft. The name of the pattern is Courtly Check and they kinda look like buffalo check. So of course, I though they were perfect for this. I simple cut the napkin to fit the tray, then peeled the back layer of napkin off, only using the top printed layer.
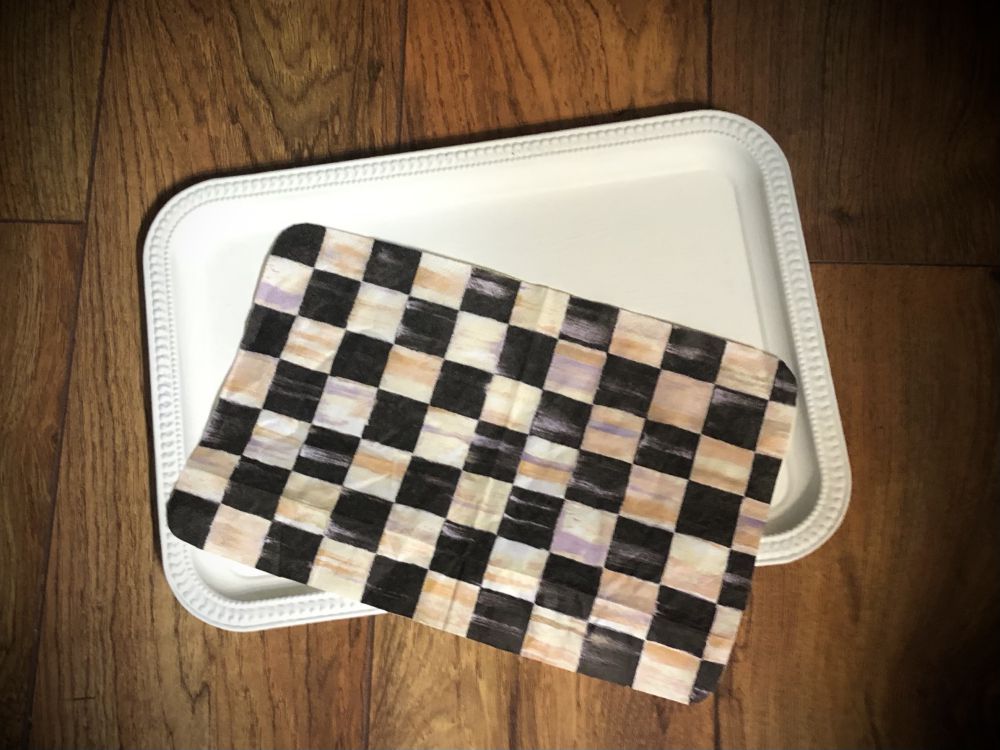
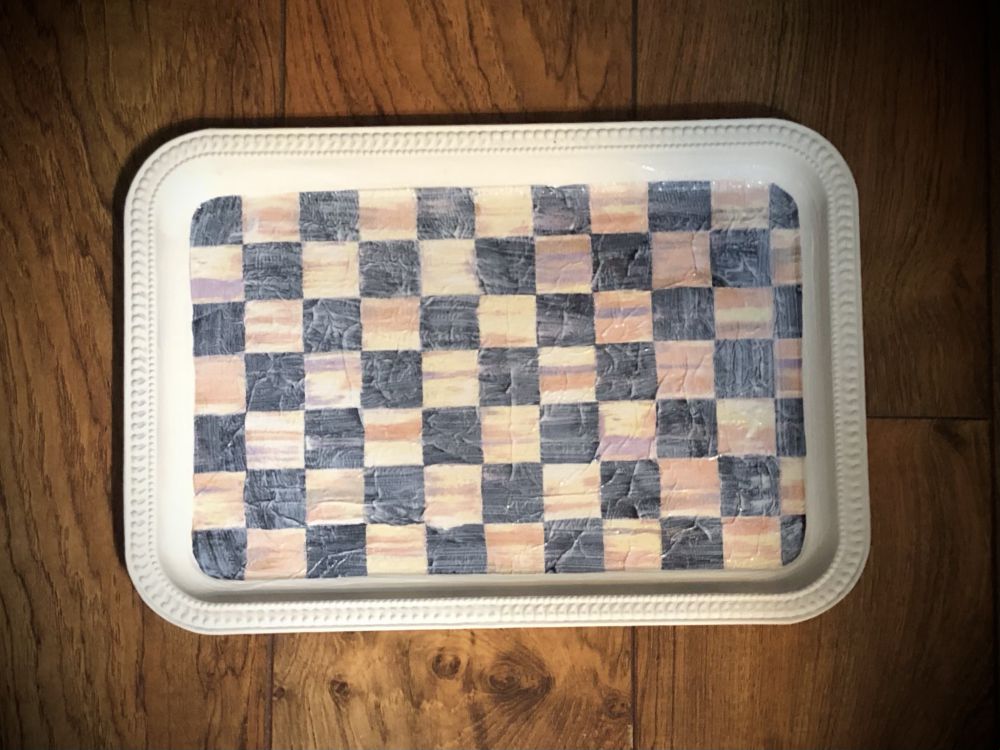
I then brushed Mod Podge onto the silver tray and carefully placed the napkin onto it, and applied another coat of Mod Podge on top.
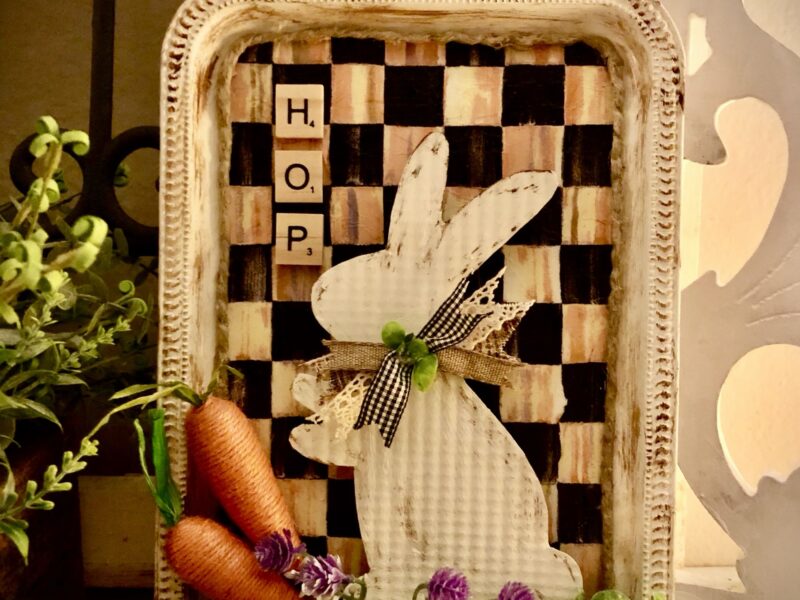
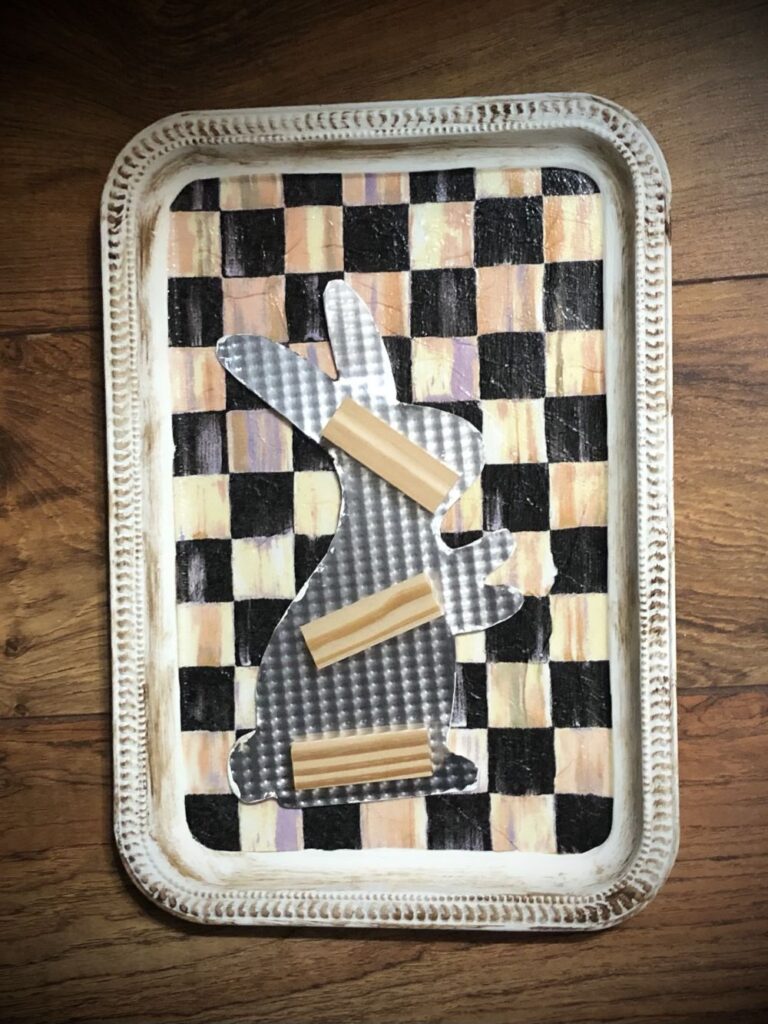
After all the paint and Mod Podge is dry, then lightly brushed the edge of the tray and the bunny with the antique wax. Then using three Jenga blocks, I hot glued the bunny to the tray as pictured. This give the bunny a 3D appearance.
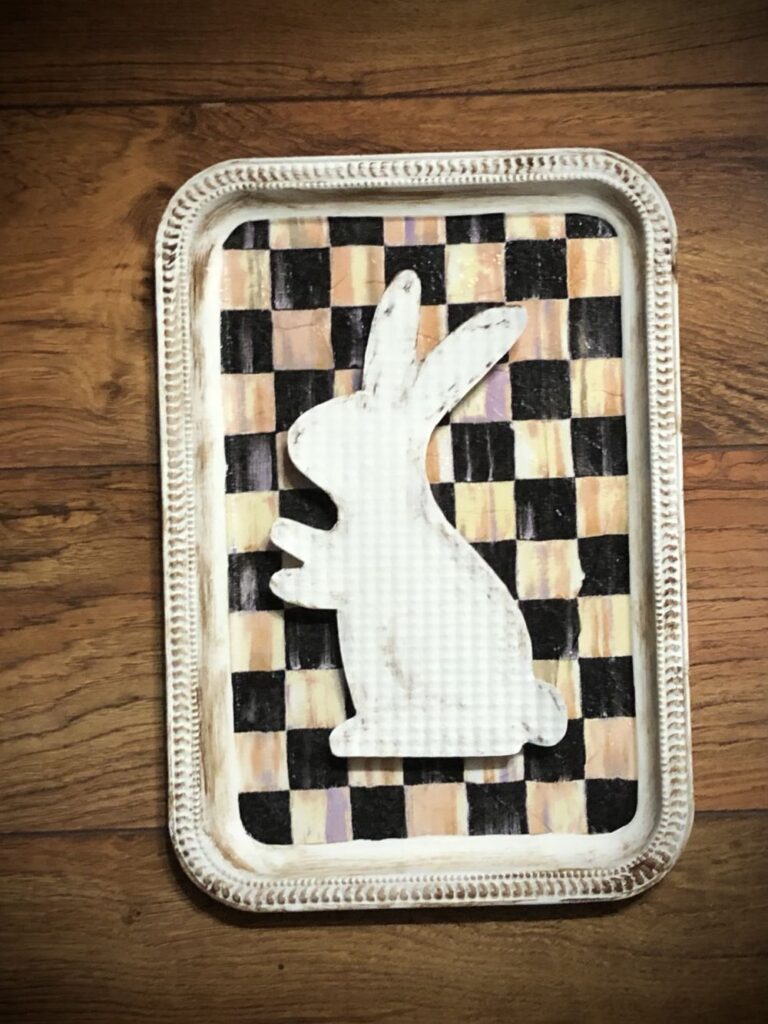
Almost finished! The only thing left was to add a few accessories. I made a small bow, and also have some carrots and florals that I used. And the word HOP from scrabble tiles.
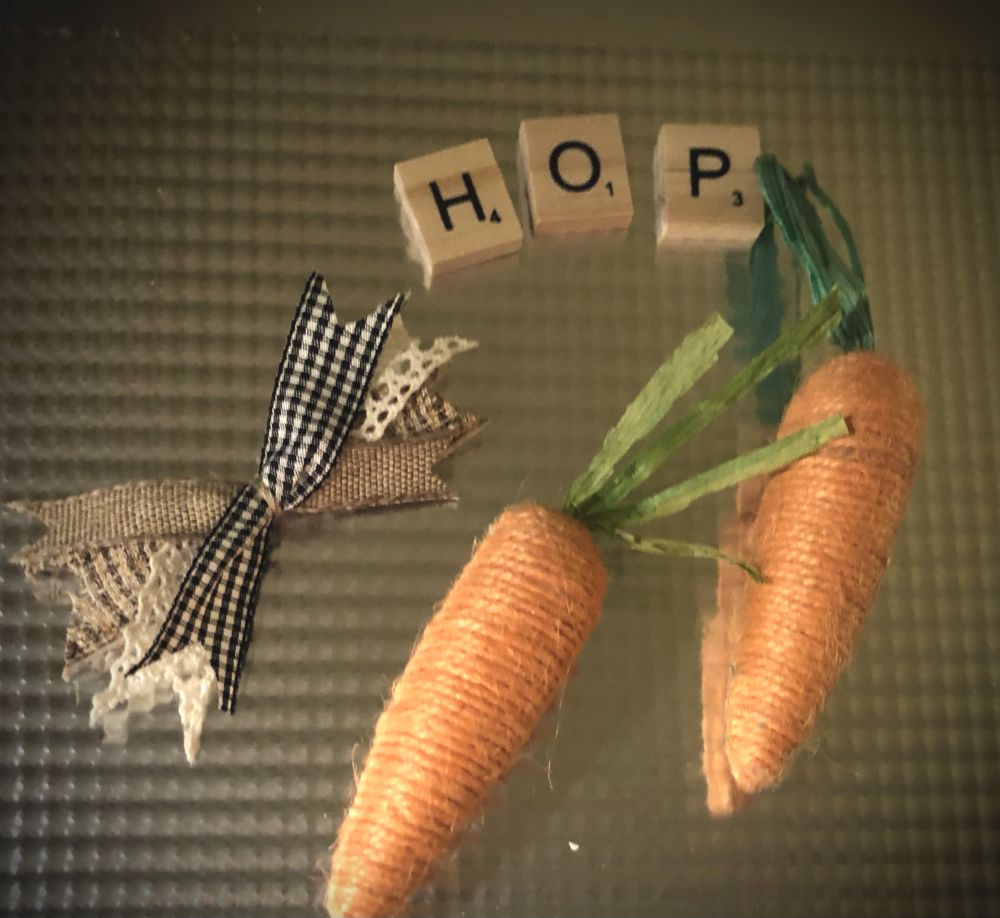
Using my glue gun, I attached all of the accessories.
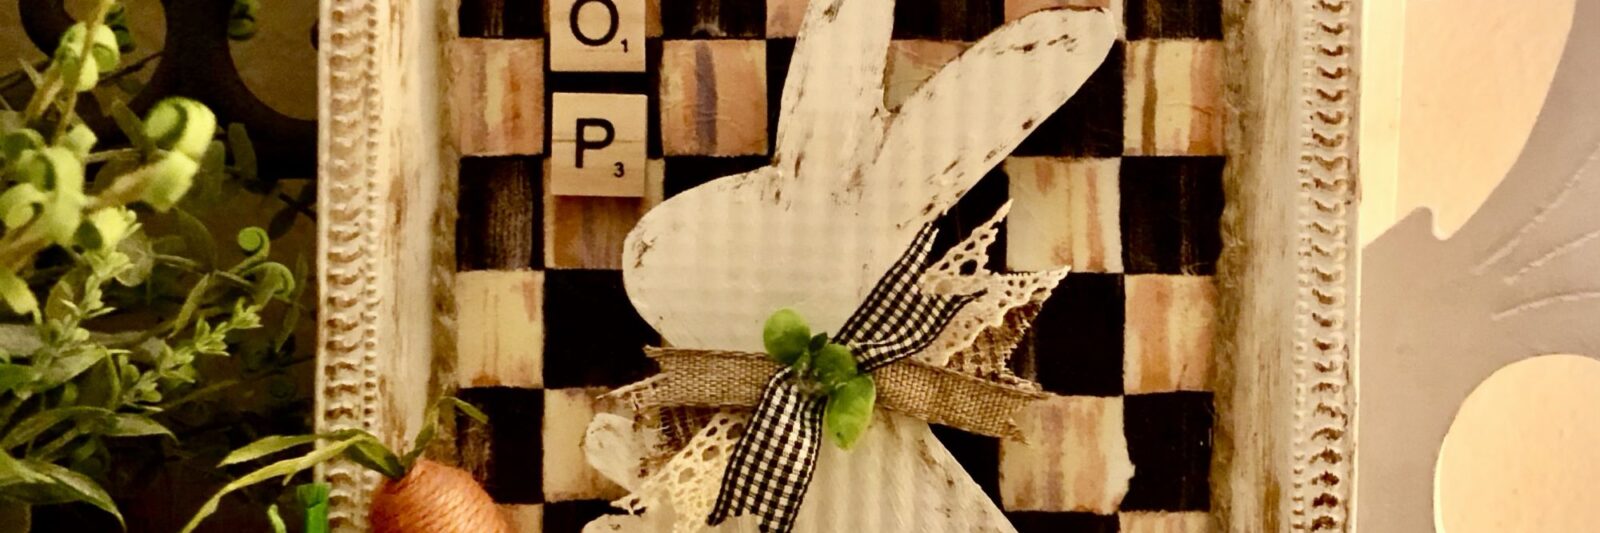
WOW! Look how cute this little project turned out! I couldn’t be happier with it!.
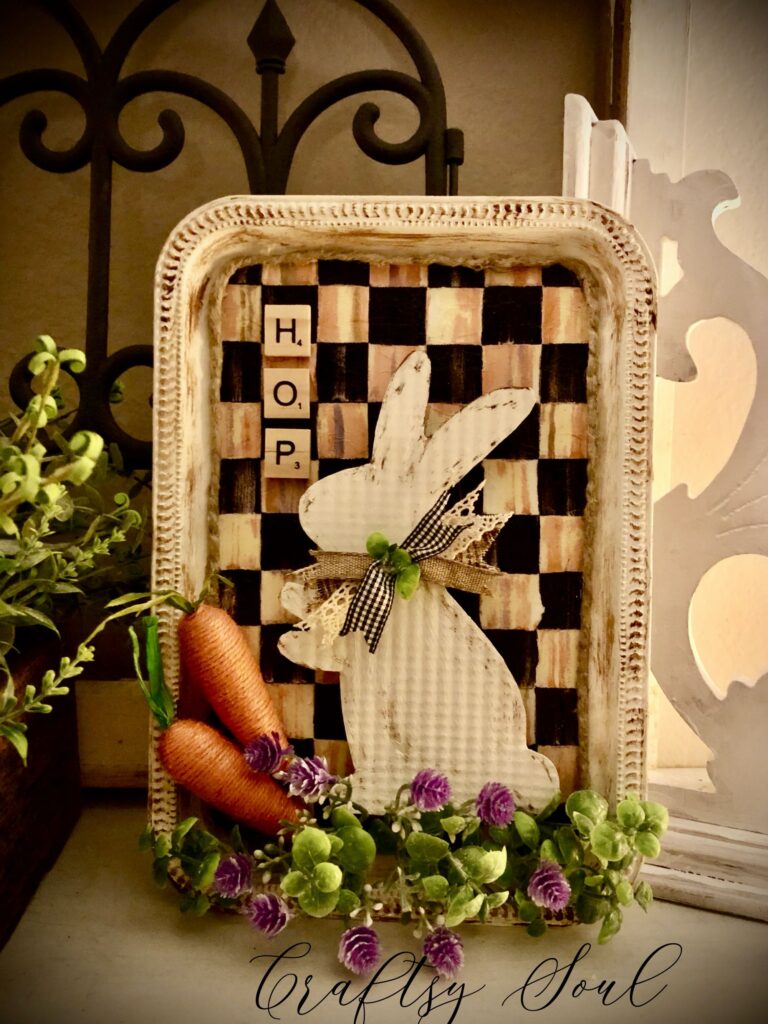
I hope I’ve given you some inspiration to make one for yourself. Let me know what you think.
Wishing you and your family a Happy Easter!
Happy Crafting!
Pamela
 Super-Easy Pom-Pom Garland for St. Pat’s Day