
Hello Sweet Friends,
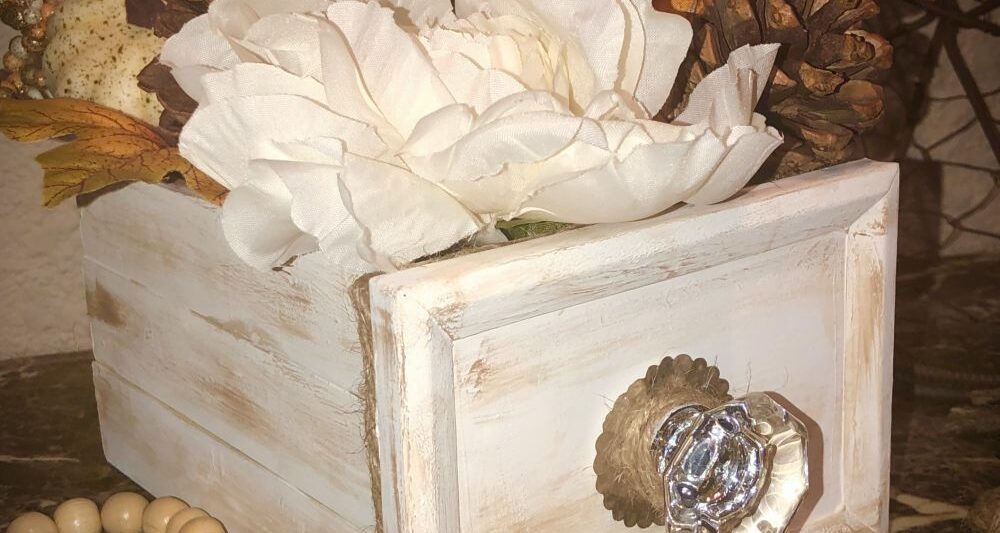
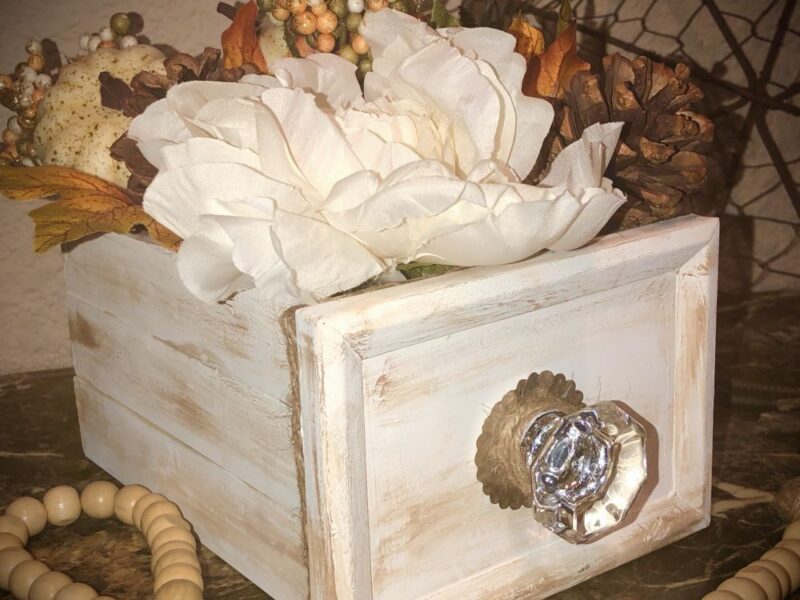
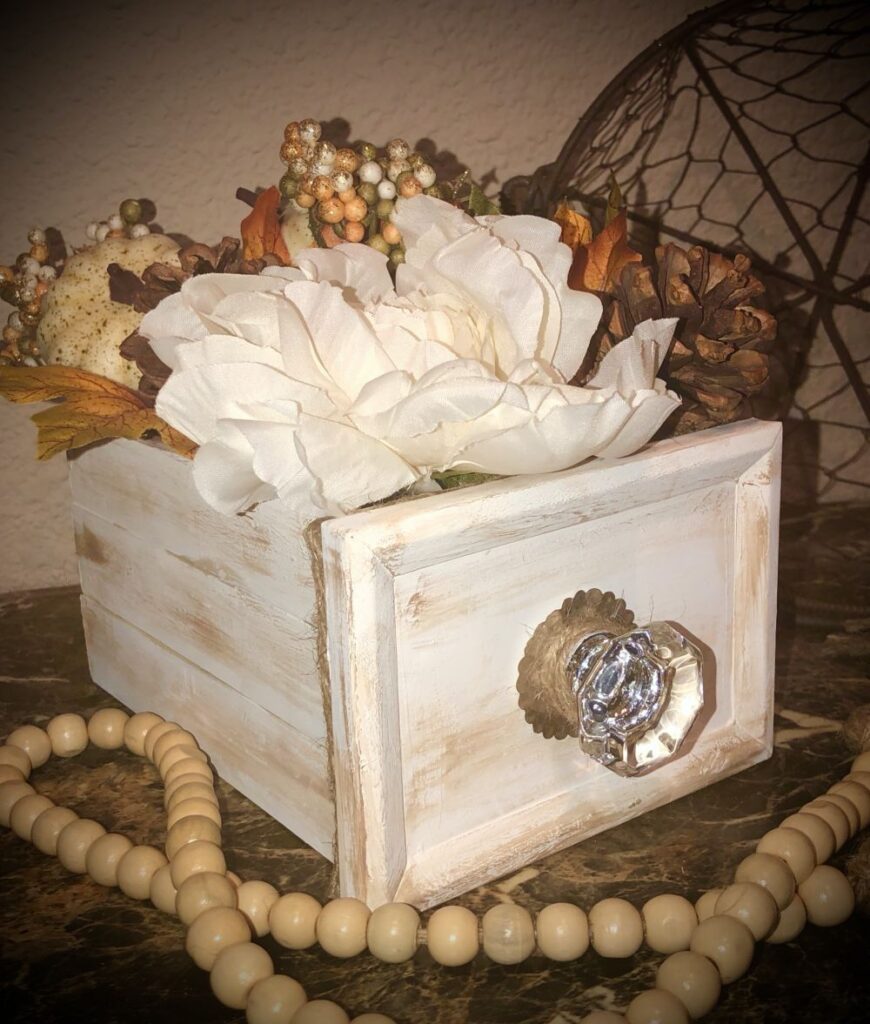
Have you ever seen those drawers from a vintage pedal sewing machine repurposed into something else? Pinterest has all kinds of ideas for salvaging and up-cycling them. I’ve seen them used for florals and seasonal decor; storage for craft supplies, dishes, or books; etc. I checked online and a vintage drawer sells for $20 and upwards. While that seems affordable, I wanted to see if I could recreate the look using inexpensive items. So today I’m bringing you a craft project doing just that. Follow along to see how I created a faux vintage sewing machine drawer for a fraction of the cost.
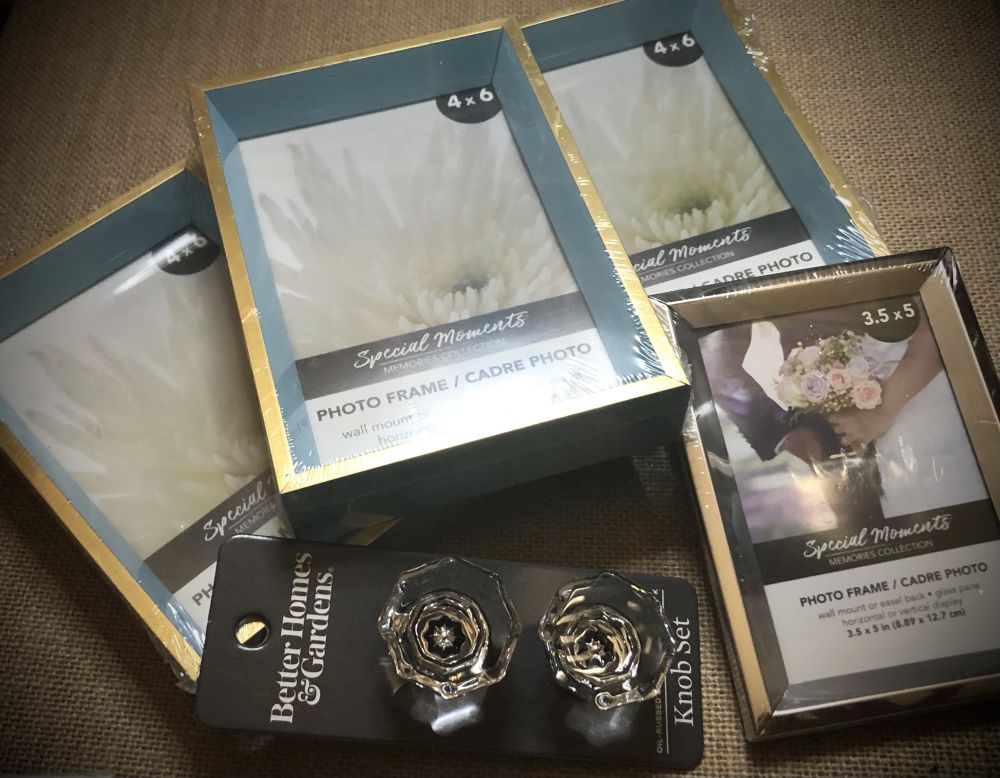
Items you will need for this project
- Dollar Tree pictures frames; three 4X6 frames and one 3.5X5 frame
- one decorative knob
- small piece of foam board
- white chalk paint, antique wax, paint brush
- glue gun and E6000
- twine and burlap, optional
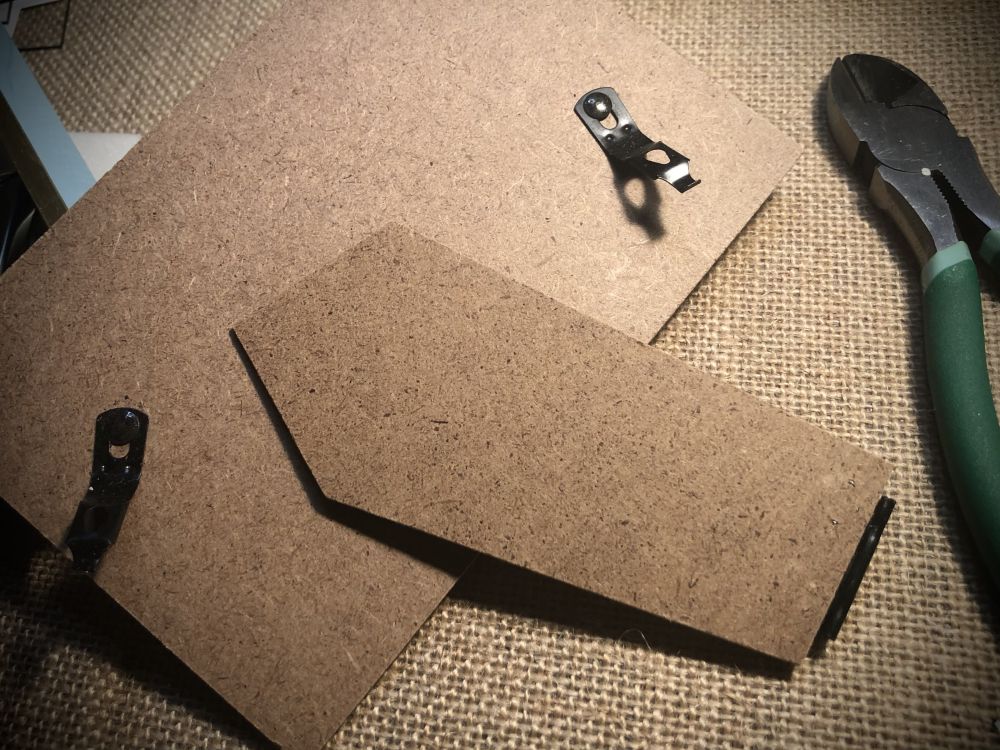
Start by removing everything from each frame, including the glass. Discard (or stash away) all except the frames and the back of one 4X6 frame.
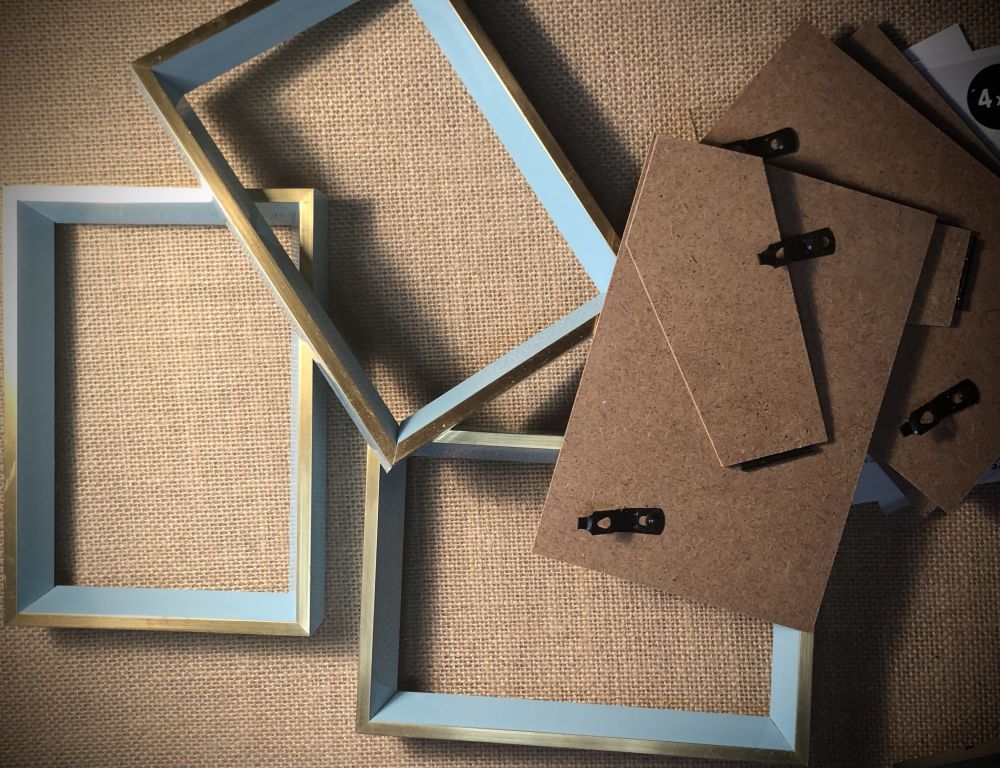
Then remove the easel/stand from the back of frame and discard.
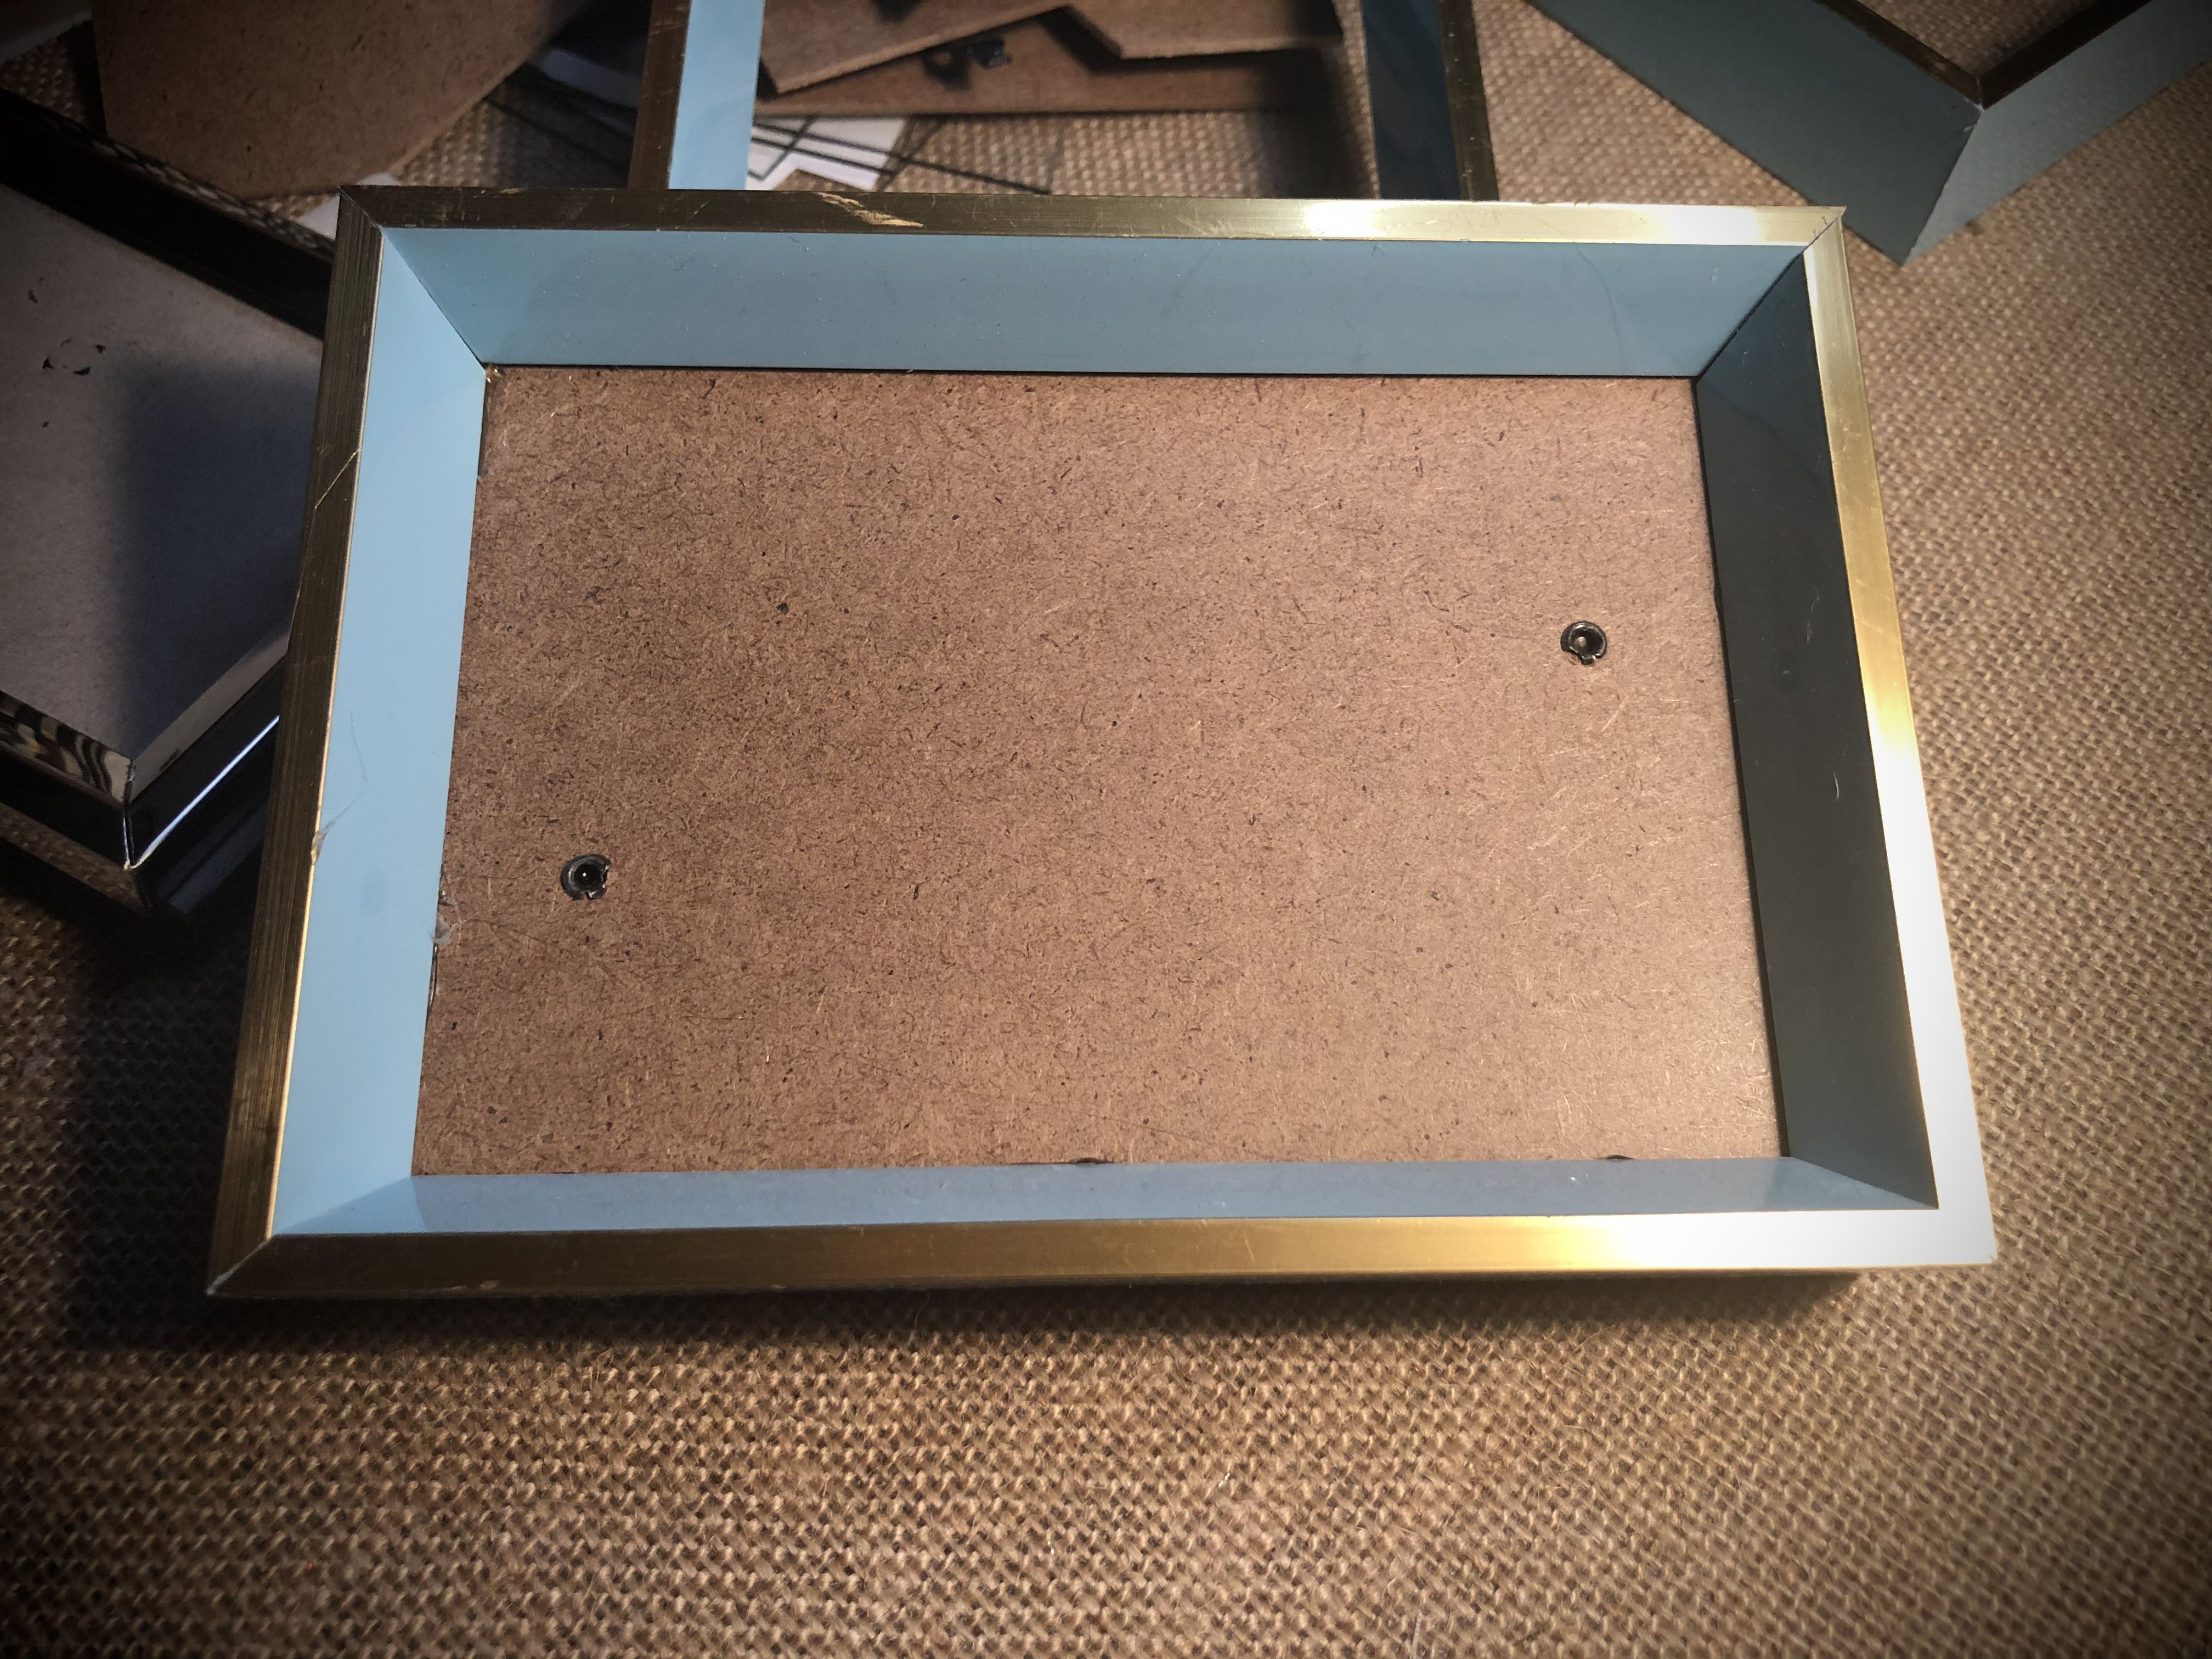
Insert the back into one of the frames. This frame will be the “bottom” of the drawer.
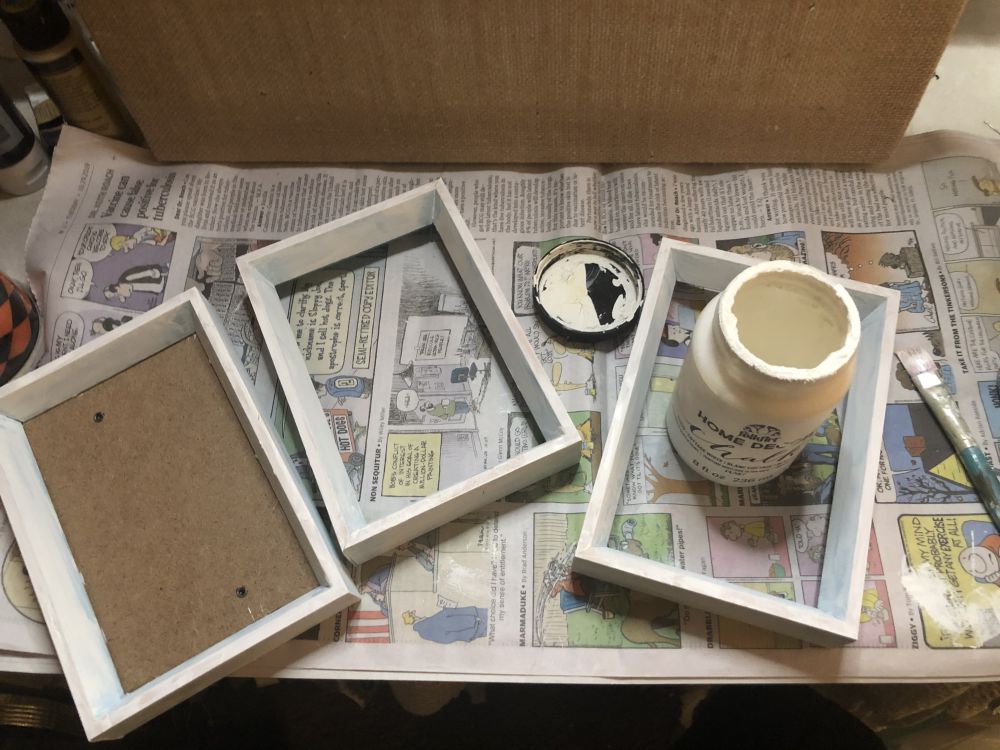
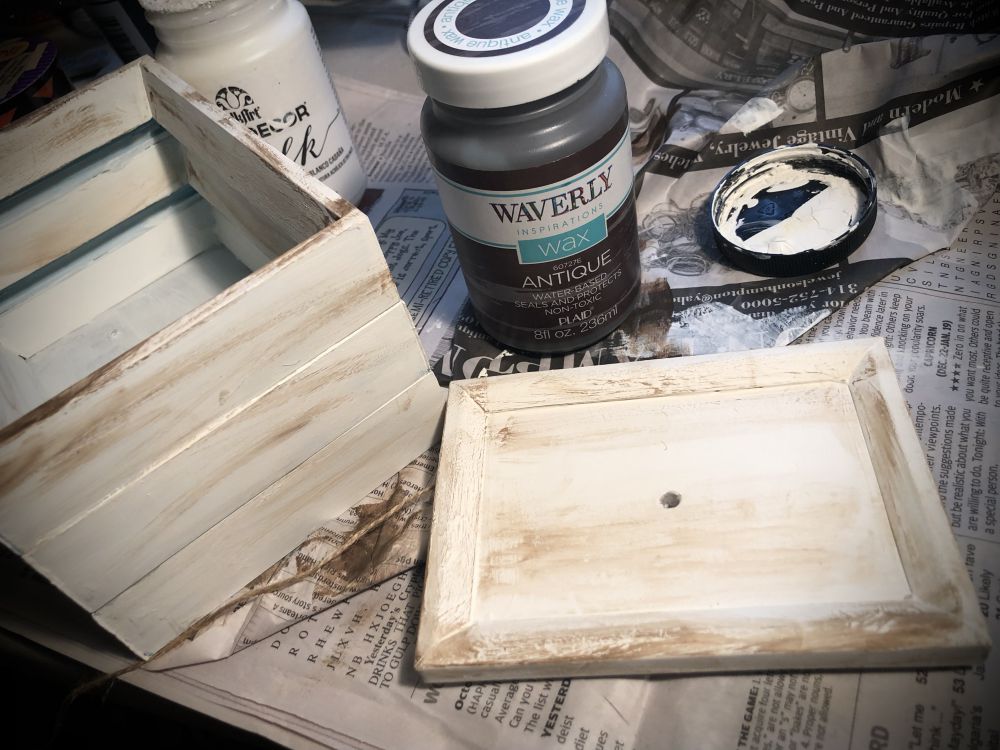
Next, paint all of the frames with white chalk paint, or your choice of color. It took me three coats to get good coverage. Also paint the “bottom” of the drawer.
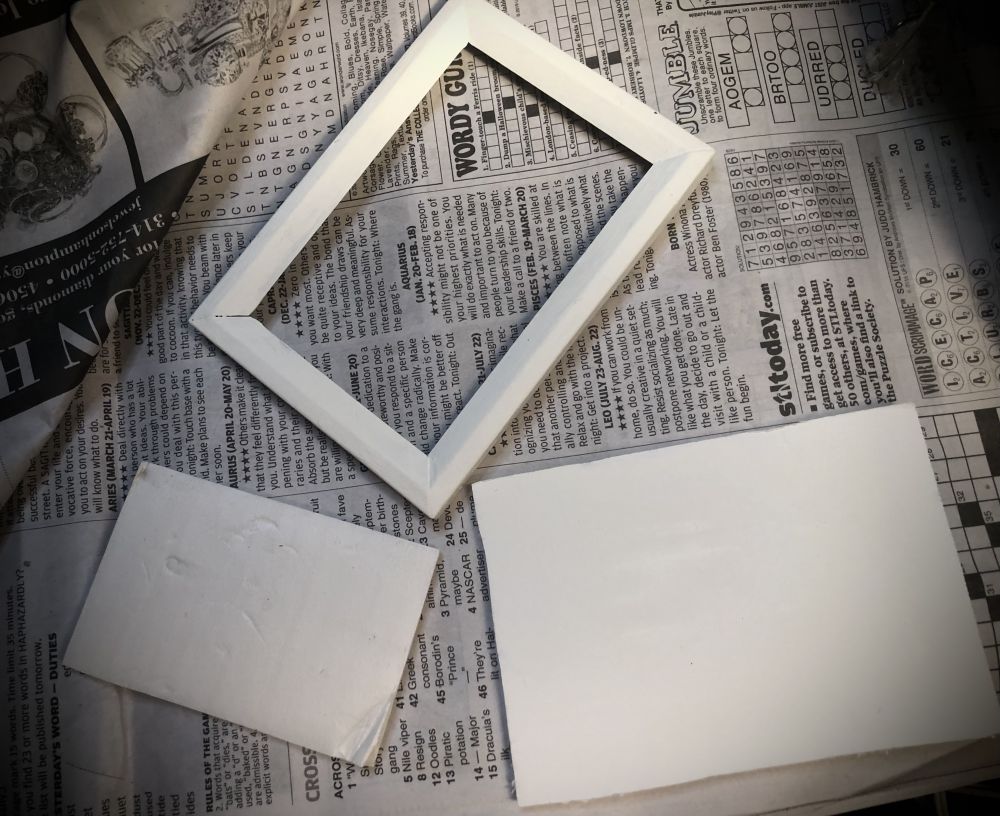
Cut a piece of foam board to fit the 3.5 X 5 frame and paint both with the white paint. Also cut a smaller piece to use on the back of this frame. When dry, insert the painted piece of foam board into the small frame.
Stack the three 4X6 frames together gluing between each layer with hot glue and E6000. The hot glue should make it secure enough to go ahead and lightly brush the antique wax on all pieces.
Again using E6000 and hot glue, attach the small piece of foam board, then the small frame/drawer front to the drawer base. Then glue the drawer knob in, pushing through the two layers of foam board.
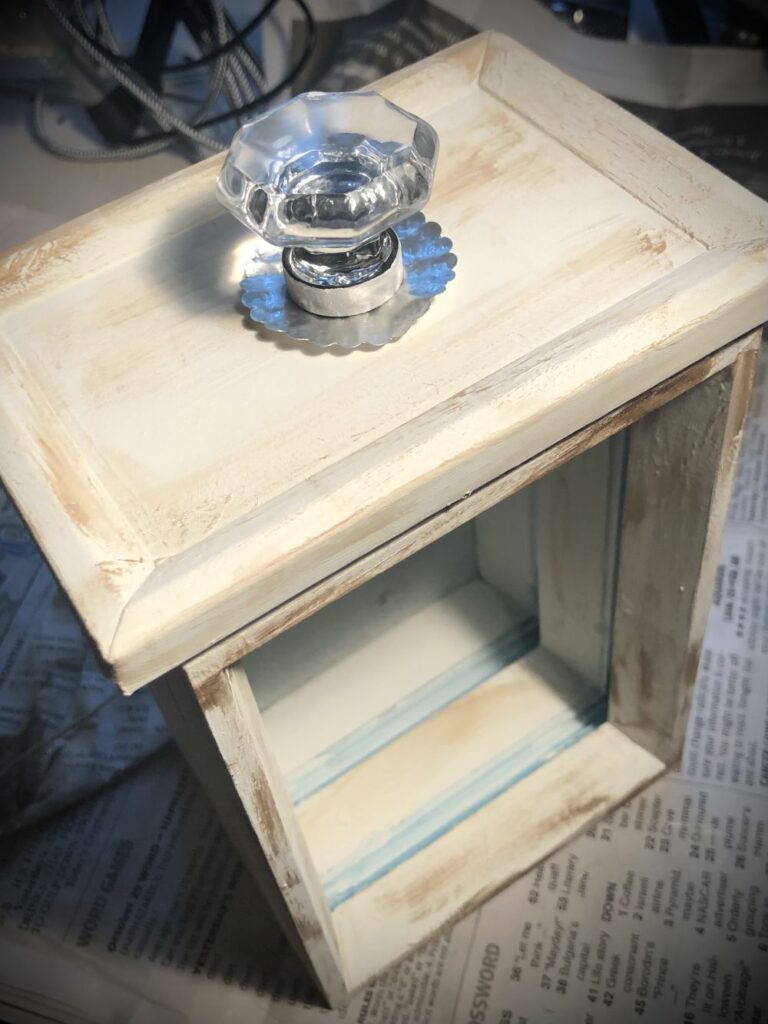
Finish the drawer by gluing some burlap around on the inside of the drawer.
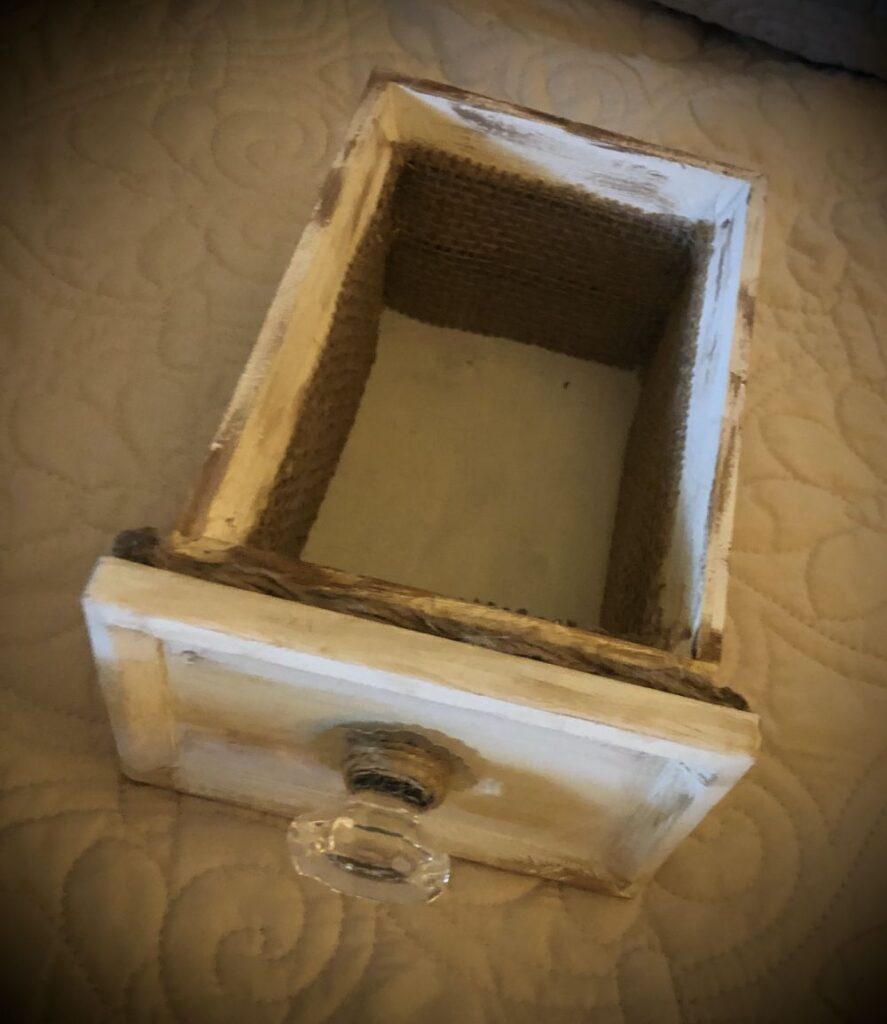
And I could not be more thrilled with the finished piece. It may not be as large as the real thing but I just love the look of it! I think I’ll be changing my drawer out for every season.
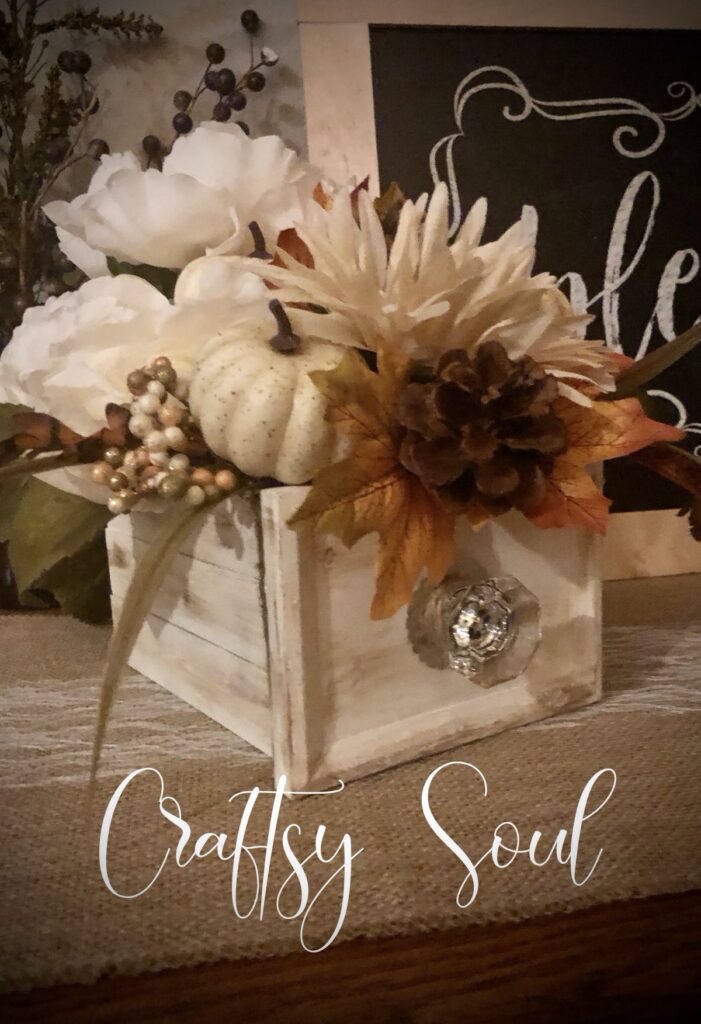
I hope I’ve given you some inspiration to make your own faux vintage sewing drawer! Let me know what you think.
Happy Crafting!
Pamela
 DIY Bling Dollar Tree pumpkins