
Hello Sweet Friends,
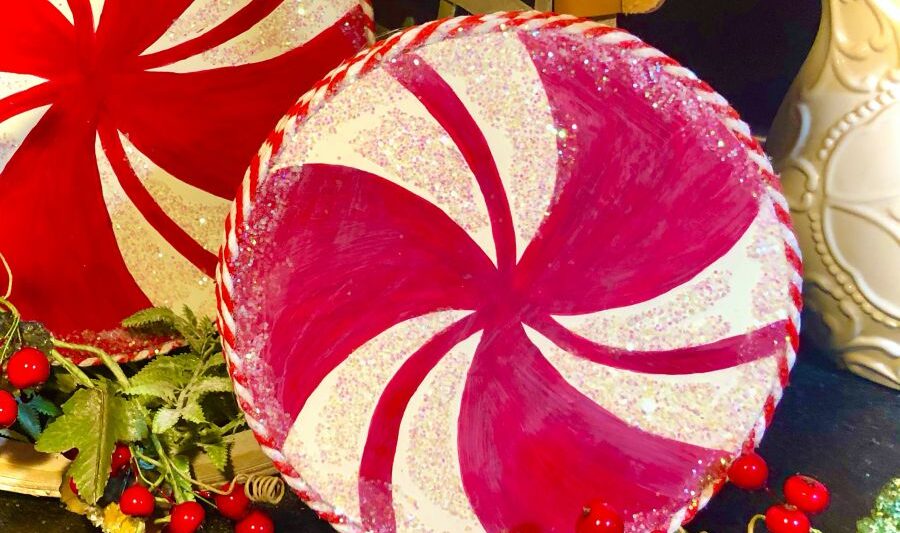
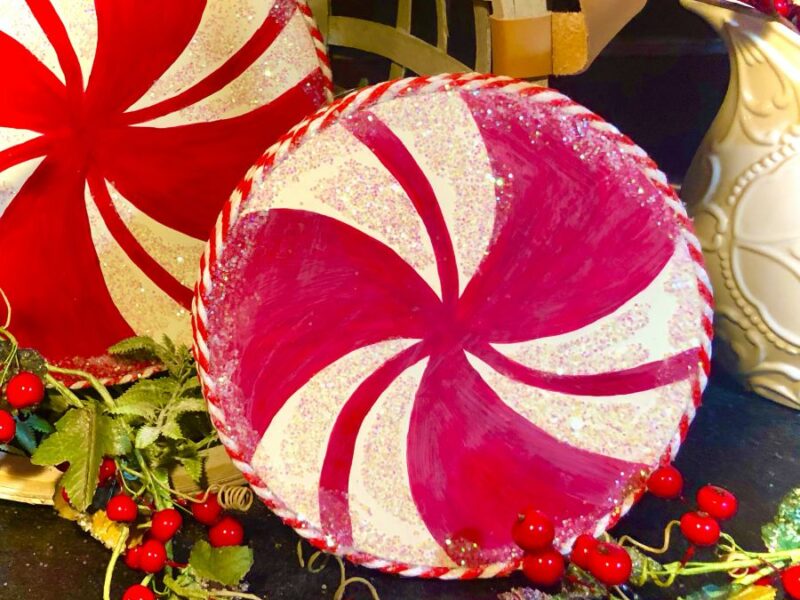
The holidays are fast approaching and I have another super CUTE craft project for you to try; peppermint Christmas decor made from Dollar Tree burner covers. This sweet little idea is perfect for the kid in all of us. I think the peppermint/candy-cane theme is such a fun whimsical decor for the holiday season as you can tell is some of my previous DIYs. If you like this decor style, check out my candy cane mini tree –> here and my faux fur wreath with a peppermint bow –> here.
Anyway, back to the craft at hand; follow along to see how I transformed a set of Dollar Tree burner covers into super ADORABLE Christmas peppermints. It’s really EASY and I hope you give it a try.
Supply list
- Set of Dollar Tree burner covers
- white spray paint
- red paint and paint brush
- Mod Podge
- iridescent glitter
- red and white cord
- glue gun
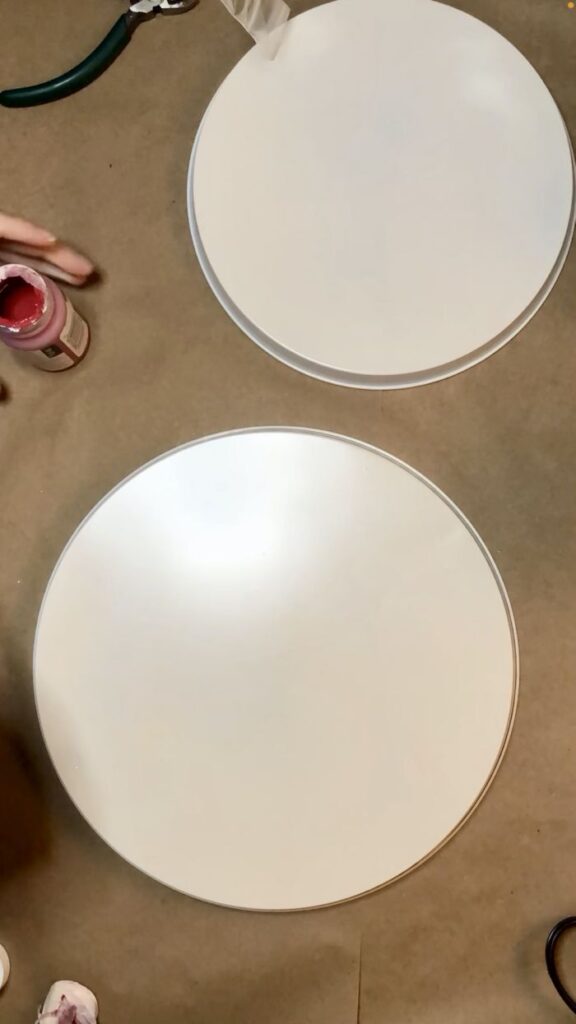
The first step in this DIY is to paint both of the burner covers with a base coat of white paint. I used white spray paint but any acrylic white paint will work. Once the paint dries, then it’s time to move on to the next step.
Using the red paint, put a dot in the center of one of the burner covers. Paint eight curved lines extending out from the center to the edge as shown below.
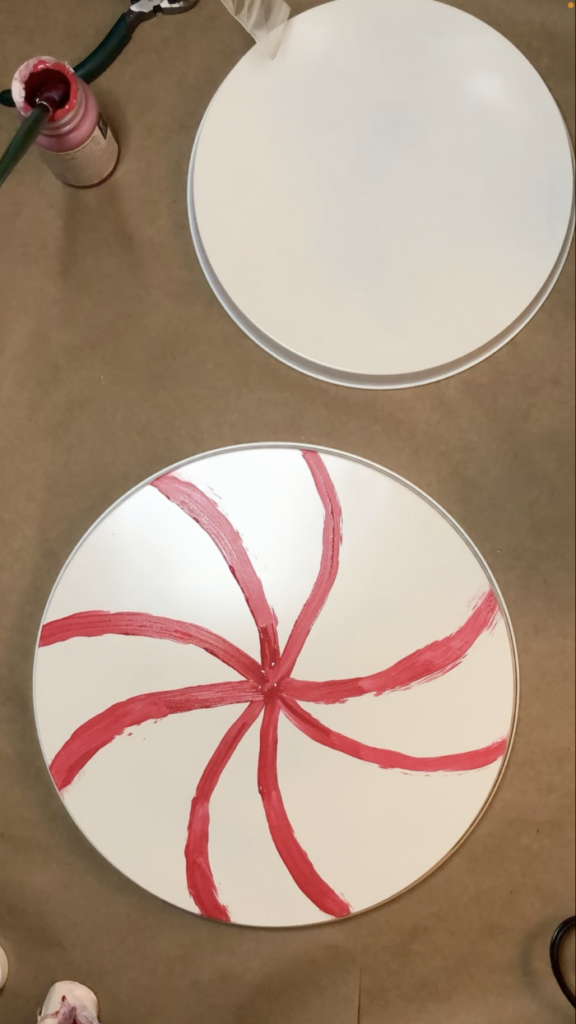
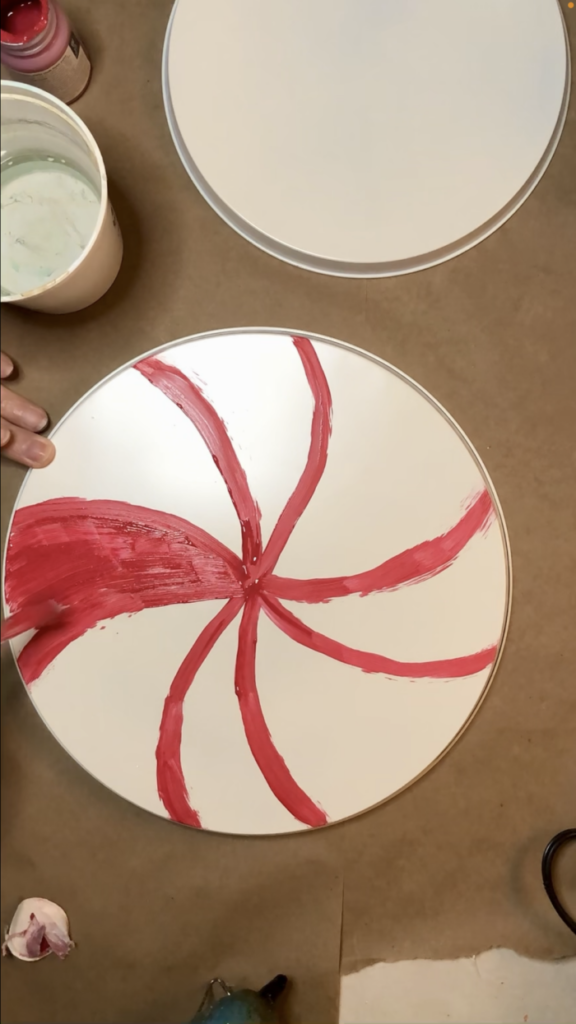
Fill in between every other of the red lines, creating four distinct wide stripes. Then paint a red line between each of the wide stripes. While the paint is drying, move onto the other burner cover.
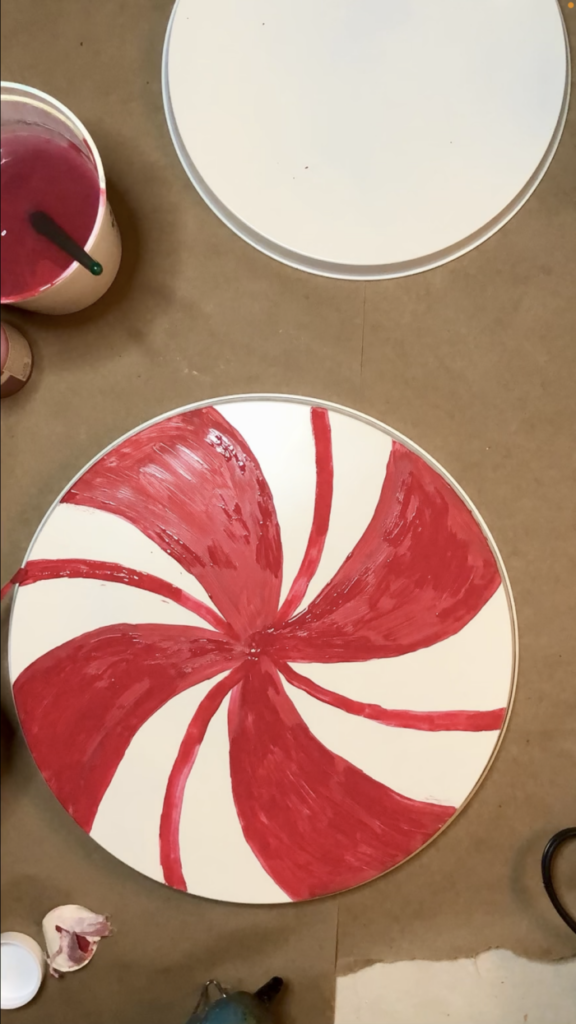
Repeat the same steps for the other burner cover. On the smaller burner cover, I only drew six lines from the center and ended up with three wide stripes instead.
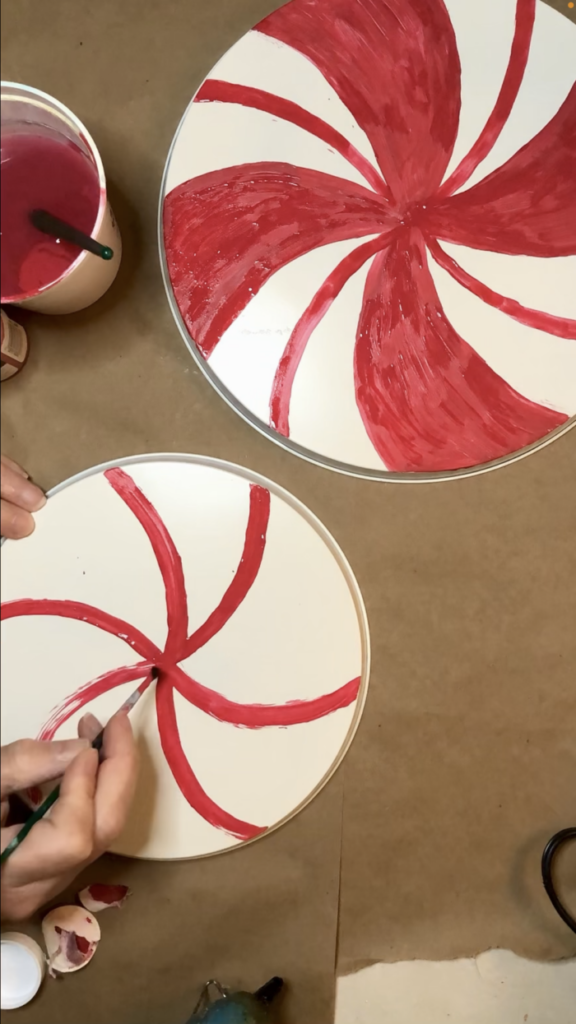
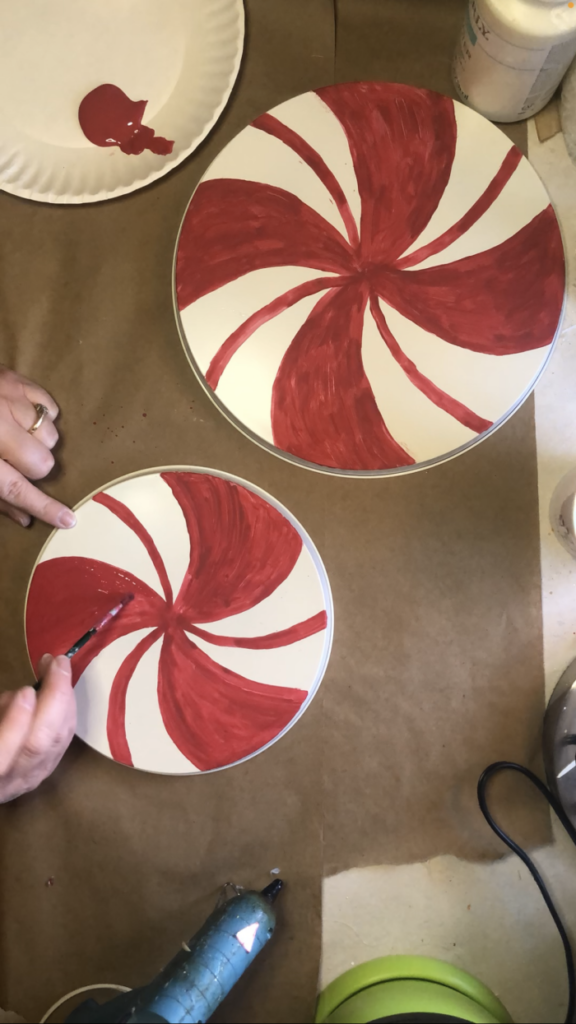
Touch up with another coat of red paint and tidy up any lines. It doesn’t have to be perfect, just have fun with it.
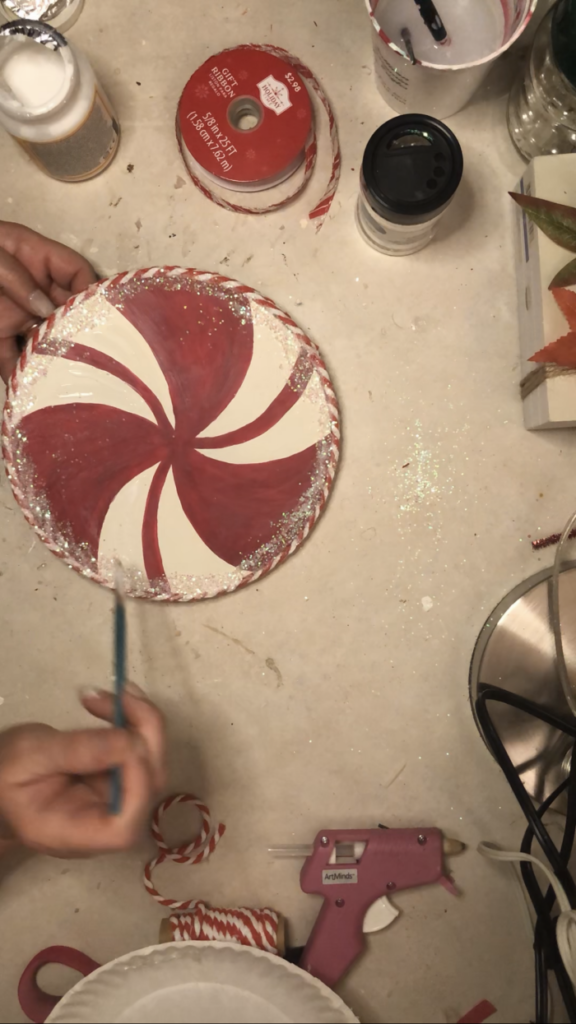
The next step is to add the red and white cording around the perimeter of the peppermint. I found the cording at Walmart in the gift wrapping supplies. Use a hot glue gun and glue the cord around the edge of the peppermint three times. Trim any loose threads.
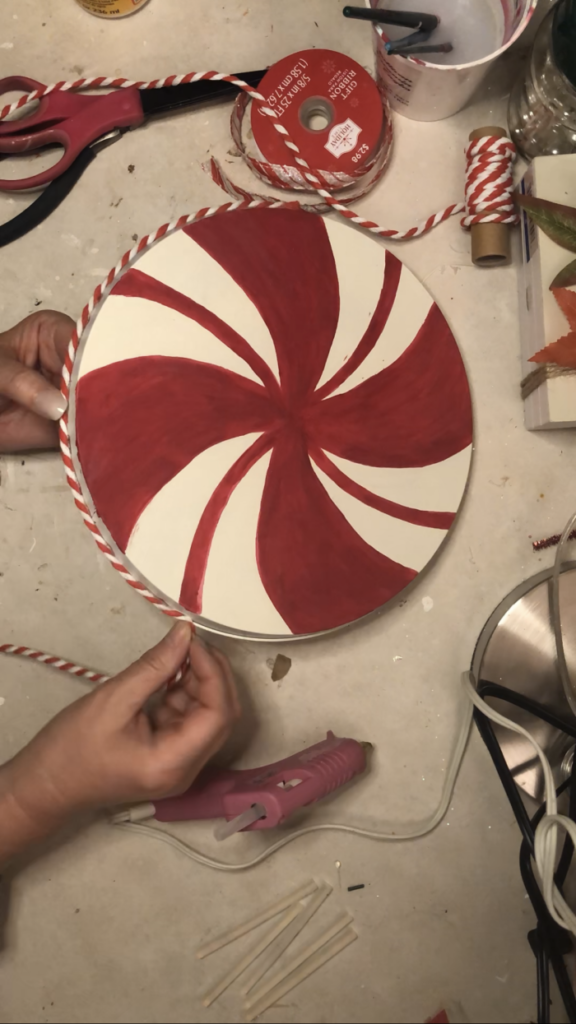
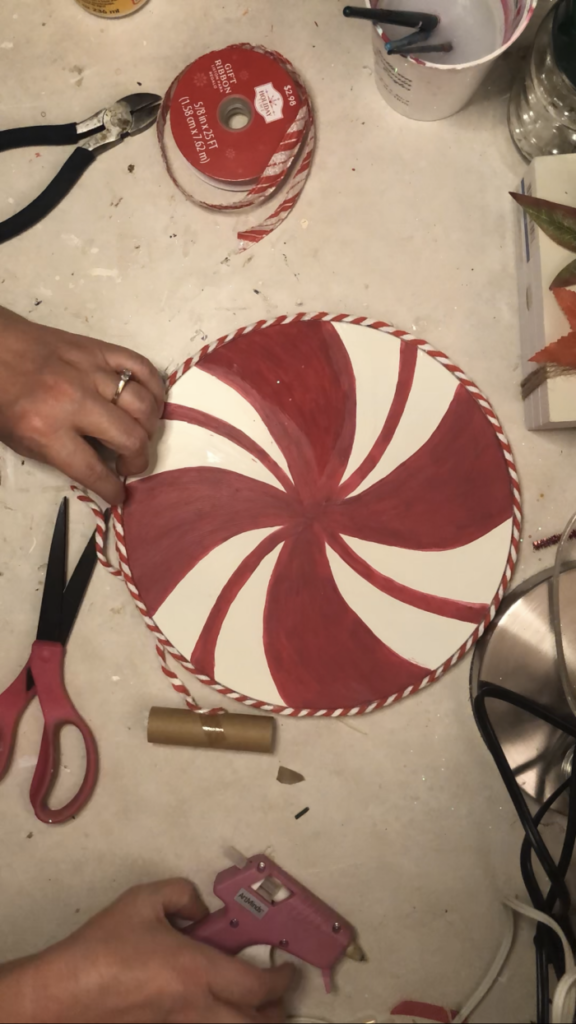
Repeat with the other peppermint.
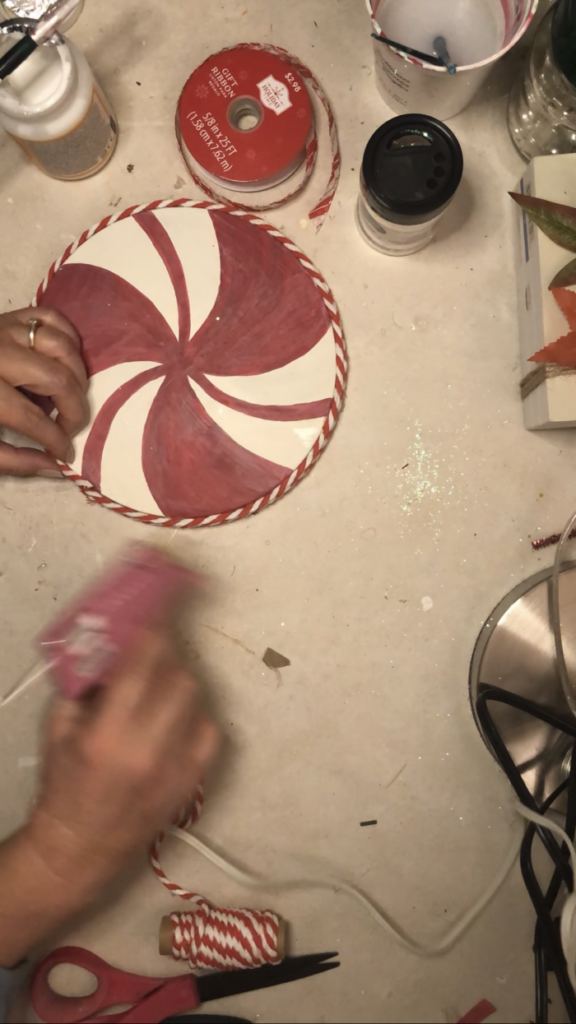
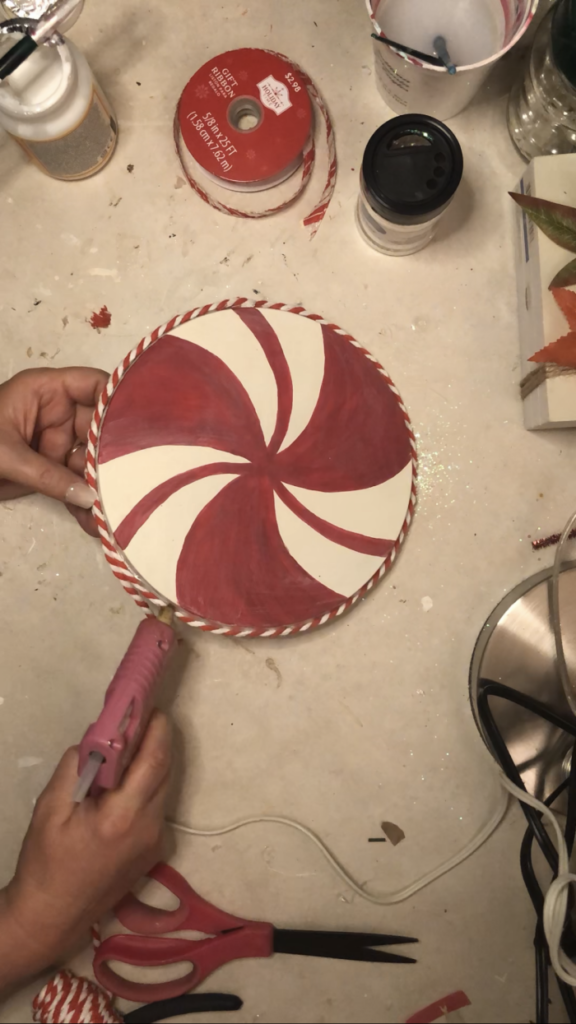
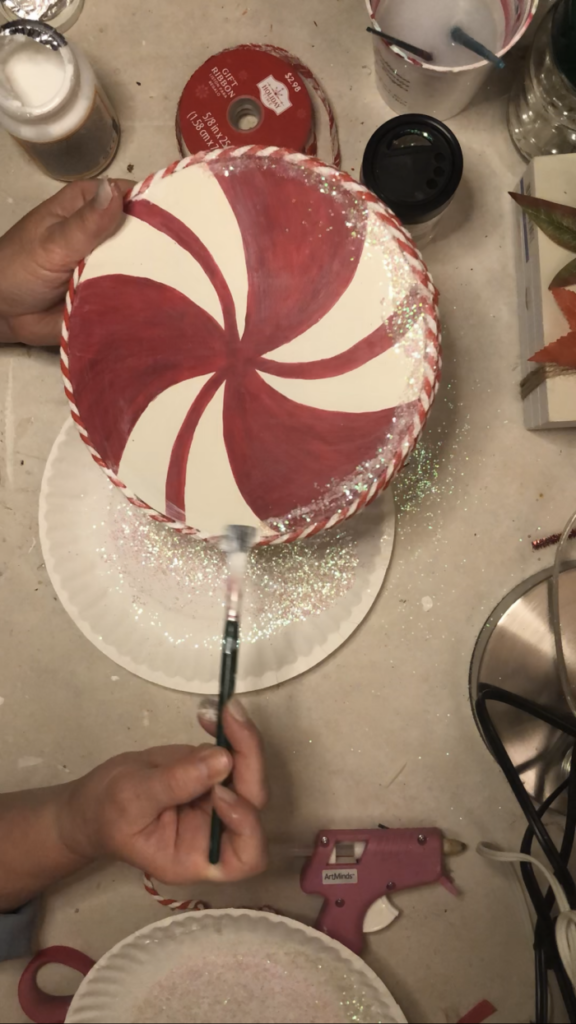
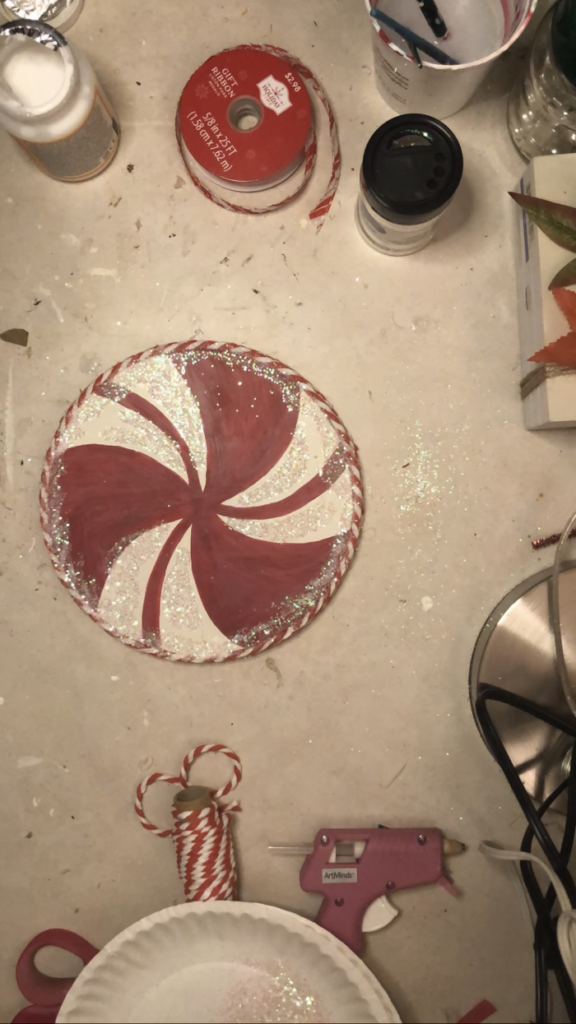
Then apply Mod Podge around the perimeter of the peppermint and in the white areas of the peppermint. Sprinkle with the iridescent glitter, shaking off any loose pieces.
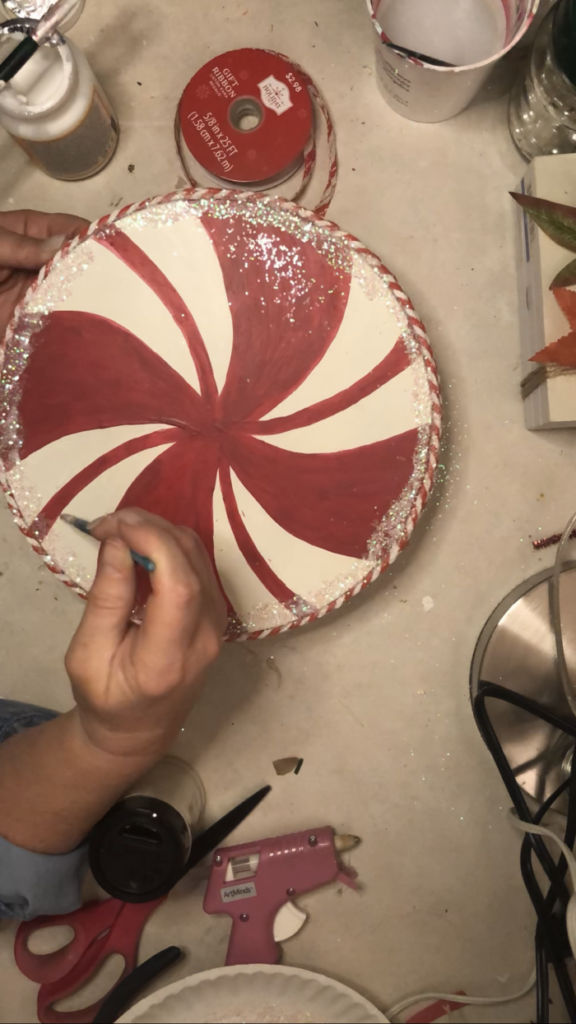
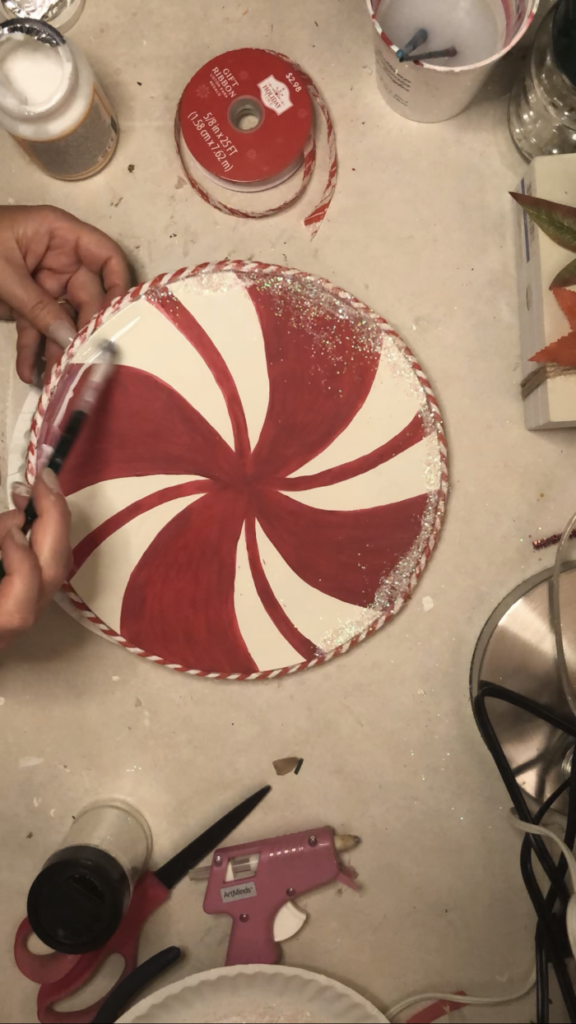
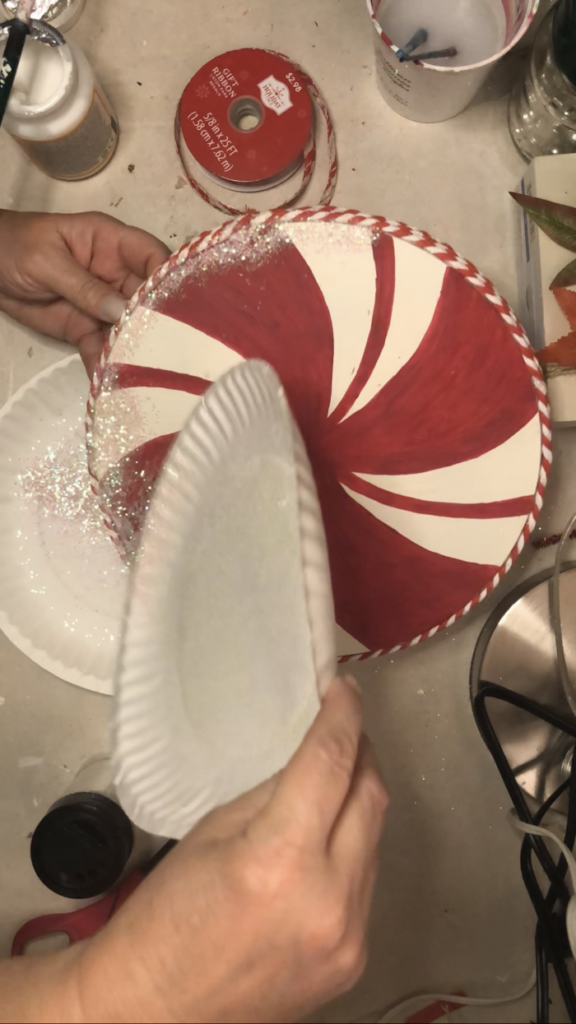
Repeat with the other peppermint. When the Mod Podge is dry, the peppermints will be ready to display.
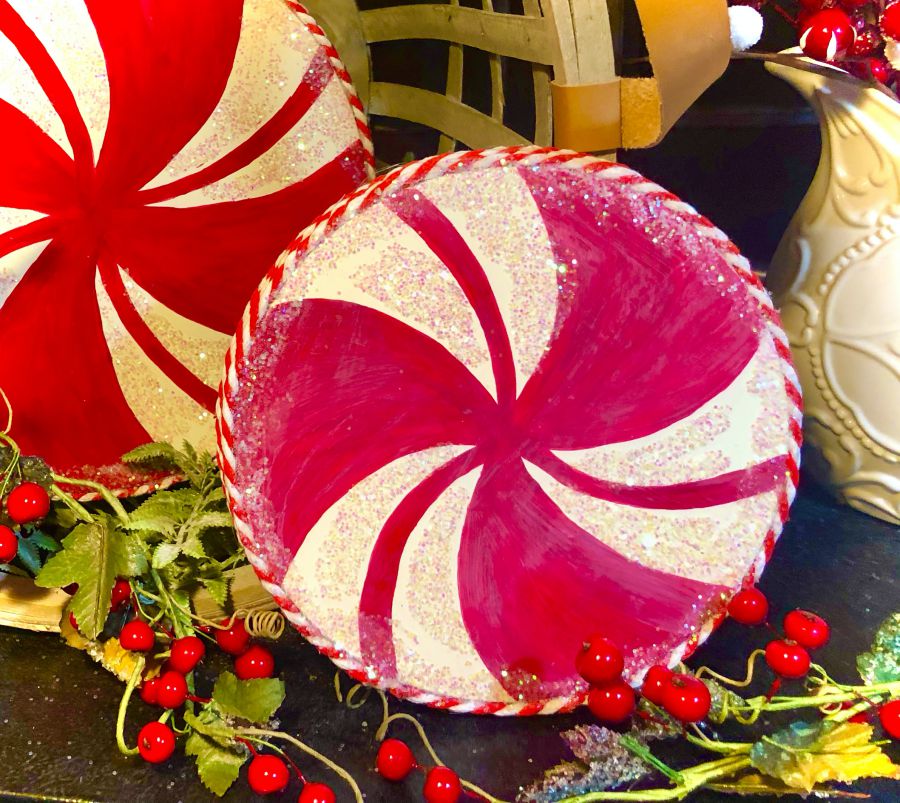
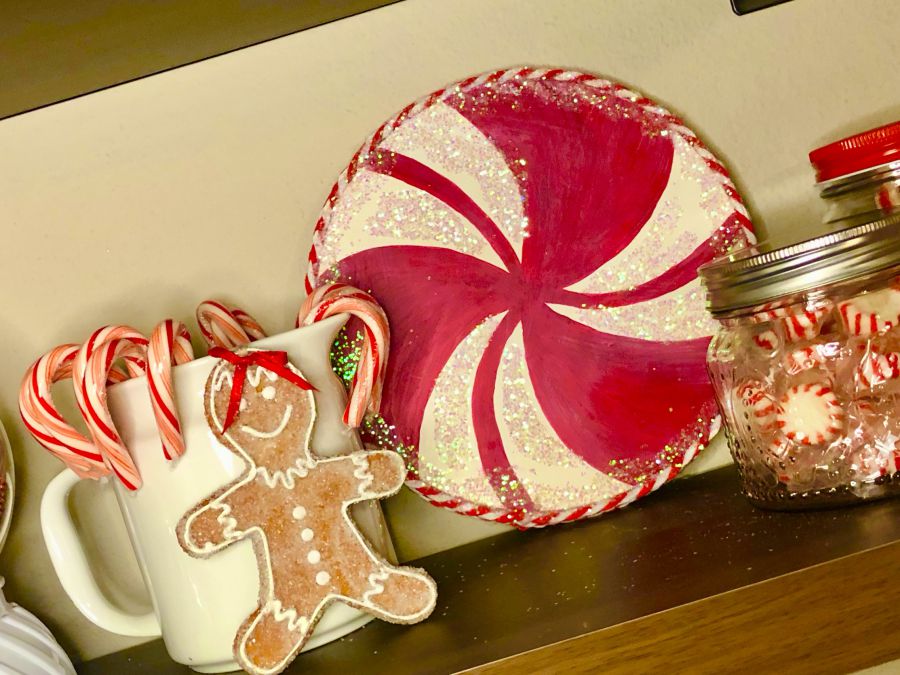
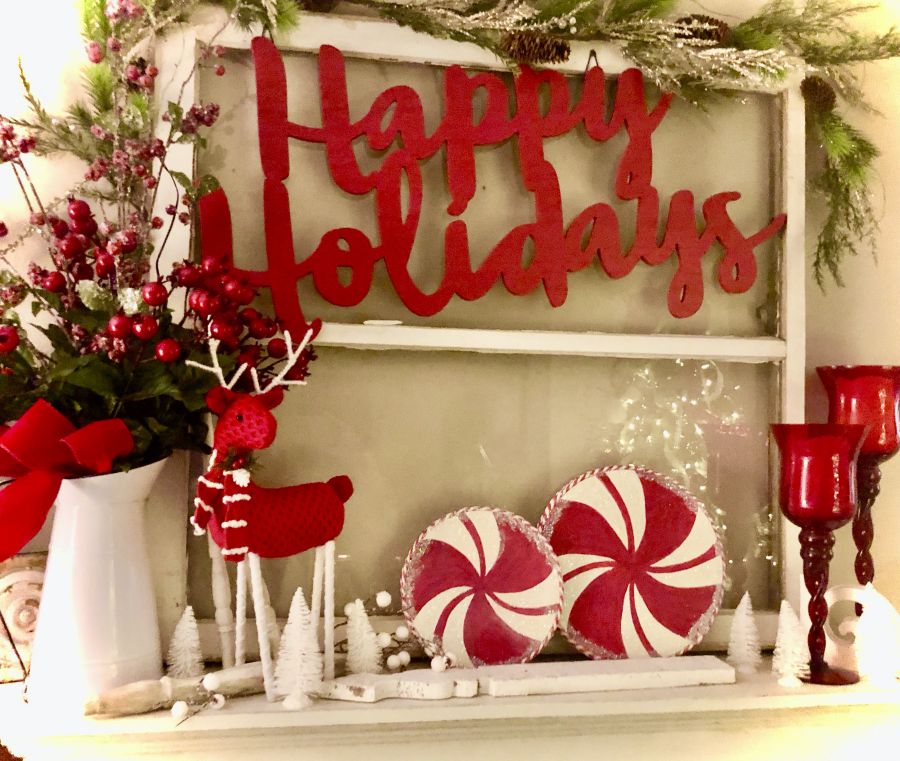
Didn’t these PEPPERMINTS turn out super CUTE? I just really love them! I’m so pleased with how they turned out.
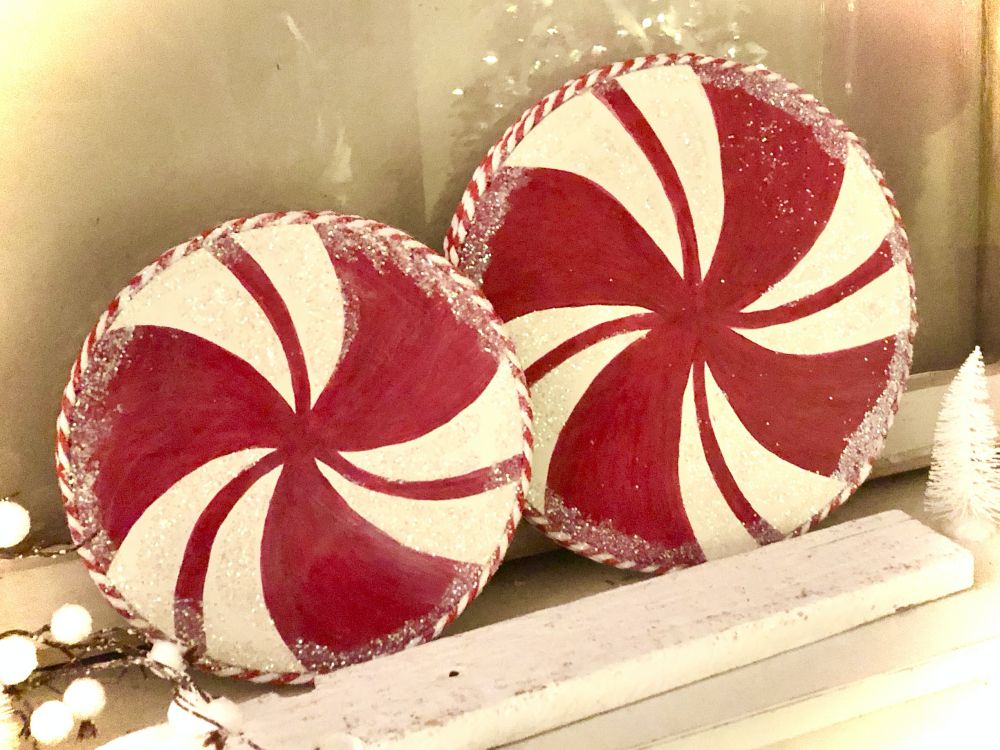
I hope I’ve inspired you and you’ll give this fun little craft a try. It’s FUN and EASY and looks super ADORABLE!
Until next time….
Happy Crafting!
Pamela
 From Clearance Tray to Christmas Decor Piece