
Hello Sweet Friends,
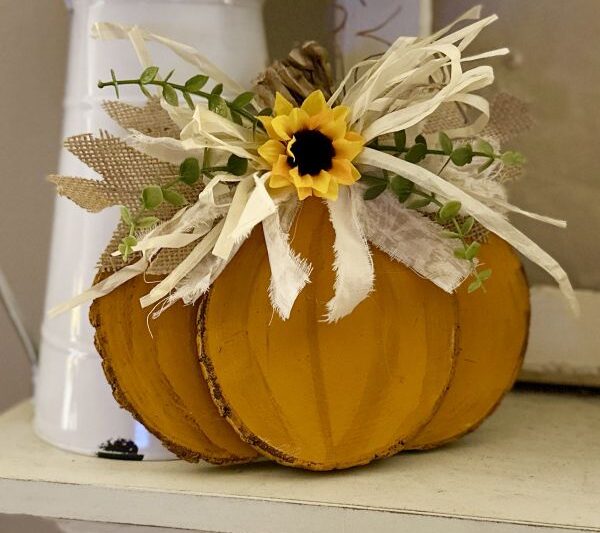
Since the fall season is upon us, I am sharing a lovely fall craft idea: a wood slice pumpkin. This is a super EASY craft idea using only a small number of supplies.
I’ve had a stack of wood slices in my craft stash for quite a while now. It just took some time for me to figure out what I wanted to create with them. I had seen a few wood slice pumpkin ideas on social media, so I thought I would put my own spin on it; and I think it turned out pretty darn cute.
Follow along for the supply list and instructions so you can make one for your home this season.
Supply List
- 3 wood slices
- orange paint and brown paint
- paint brush
- brown paper for stem
- glue gun
- E6000 glue
- ribbon, fabric, raffia for a bow
- other embellishments
- saw, optional
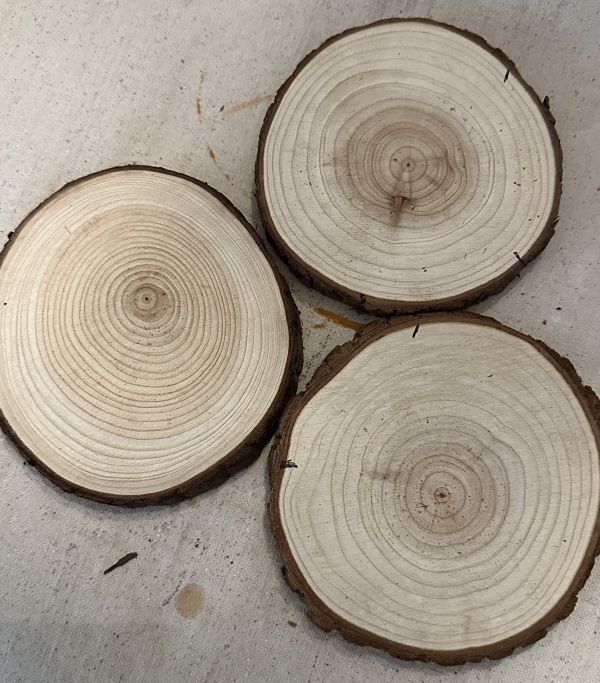
This project began with three wood slices. These were purchased from Amazon, but can also be found at many craft supply stores. Or if you are really handy, you can cut them yourself. Here’s my affiliate link if your interested: wood slices.
The wood slices I used were about 5” in diameter, but any size may be used for this craft idea.
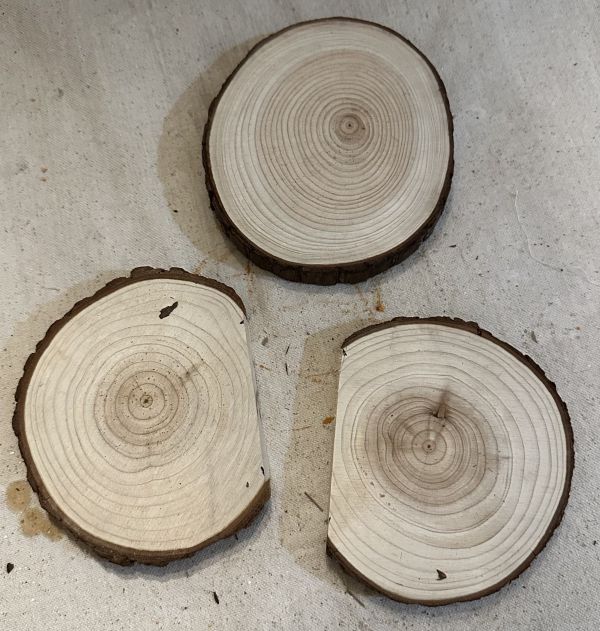
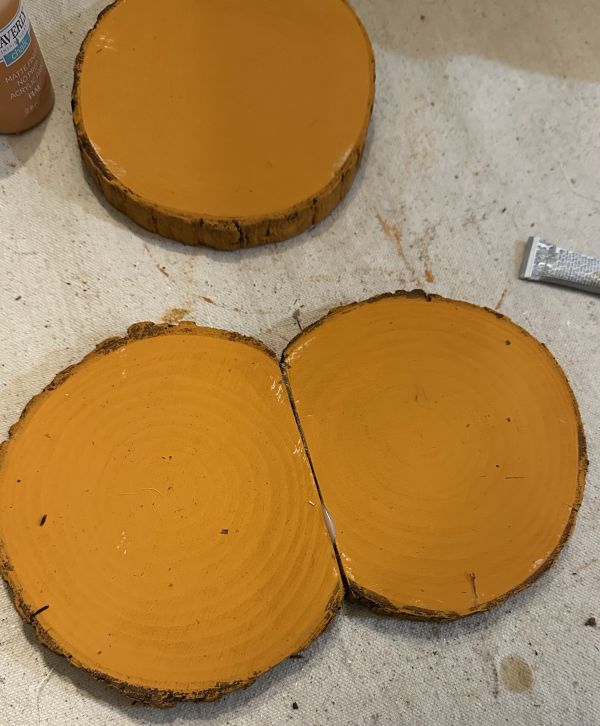
To begin, I had my hubby cut a small piece from two of the wood slices as shown below; this is optional. If you choose to skip this step, the finished pumpkin will be slightly wider.
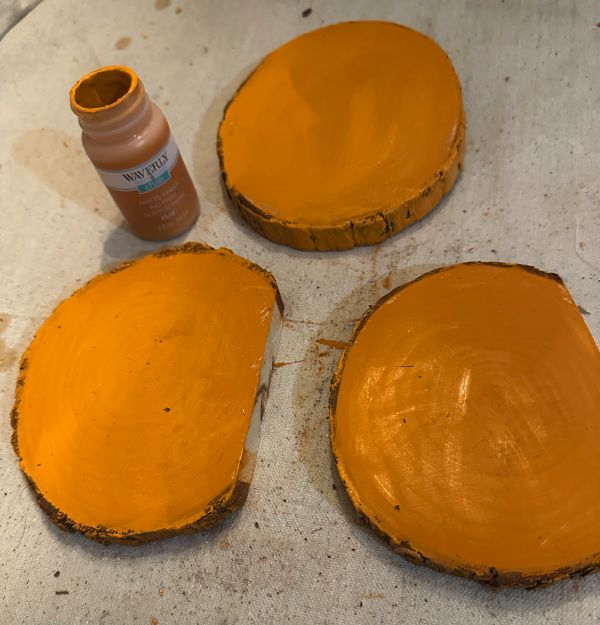
Paint all three wood slices with orange paint. Don’t forget to paint the edges, too. I used Waverly chalk paint in the color pumpkin.
Then using a combo of hot glue and E6000, I glued the two cut wood slices together.
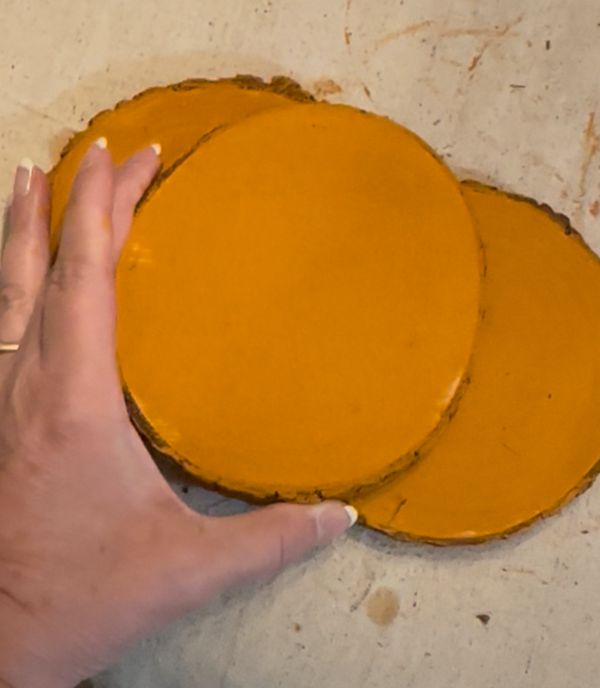
And next, I glued the third wood slice on top centered on the other two. As you can see, the pumpkin is taking shape.
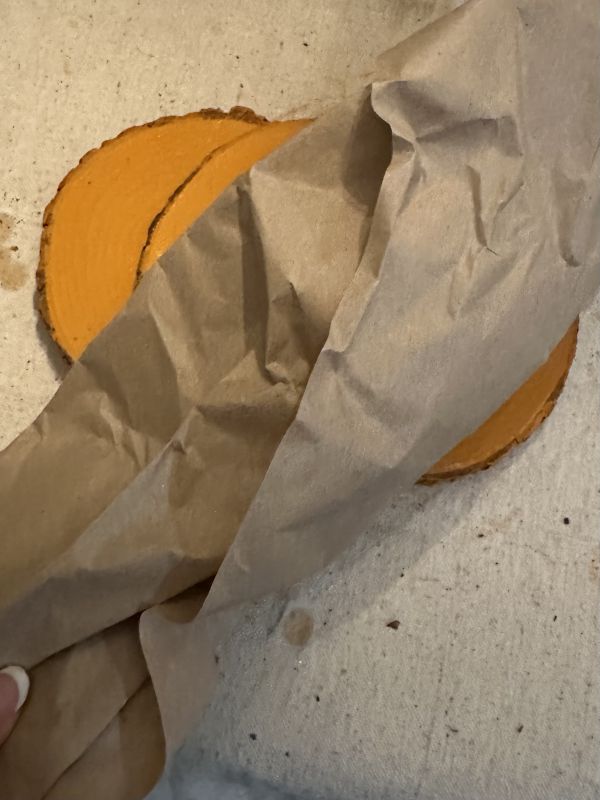
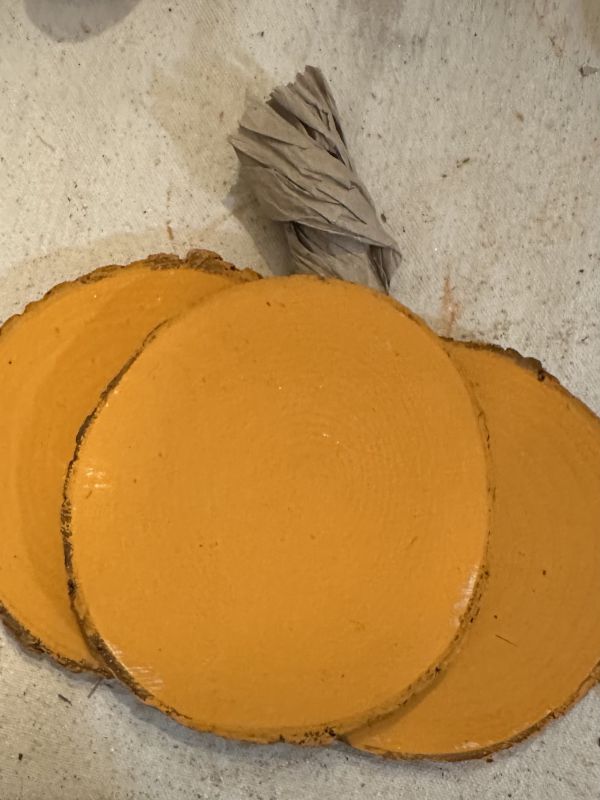
It was now time to add a stem to the pumpkin; so I took some brown paper that I had and twisted it into a stem. I cut it to size and then glued it to the back of the pumpkin.
Finishing the Wood Slice Pumpkin
For the finishing touch, I made a messy bow from some fabric strips and raffia. The bow was tied with a long piece of rustic wire. (I use this wire in so many of the projects. Affiliate link here: rustic wire.)
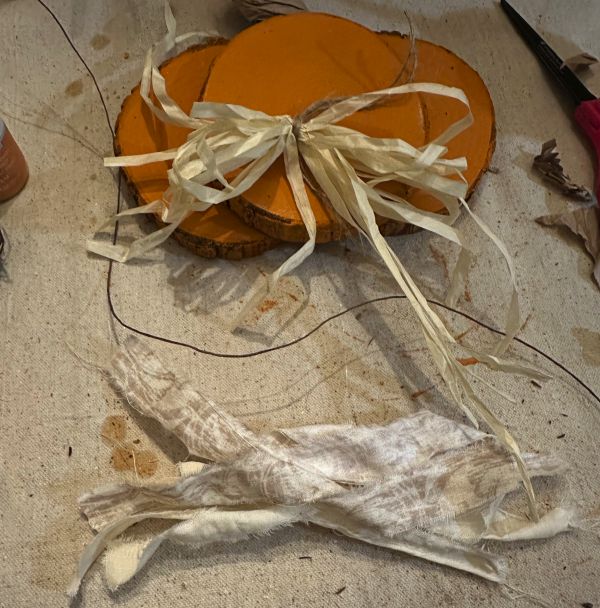
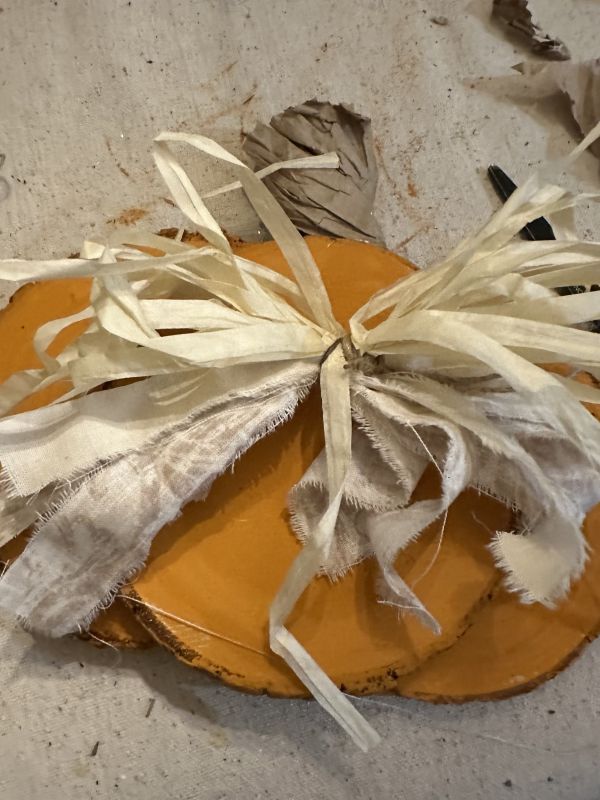
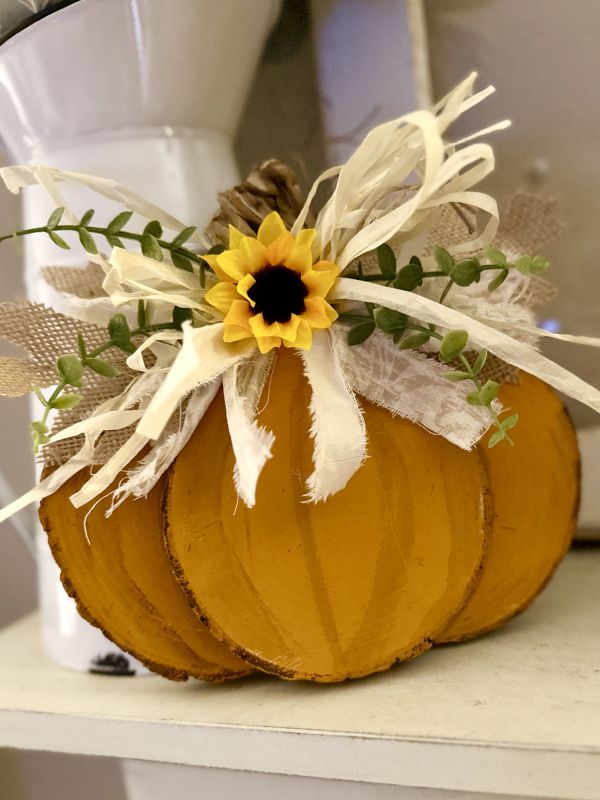
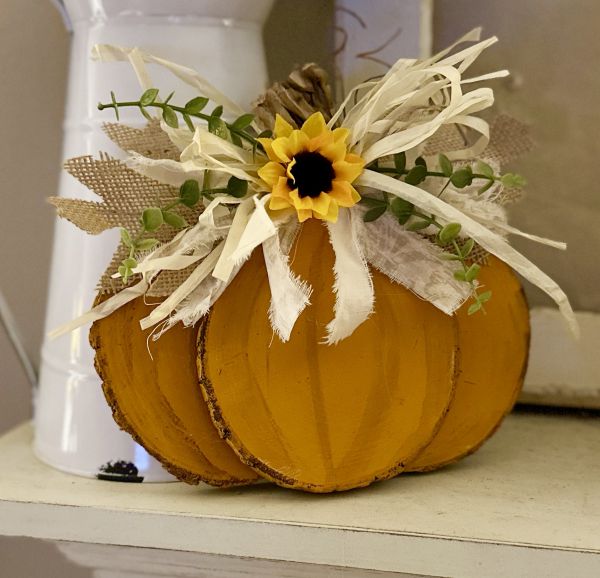
The final step was to glue the messy bow onto the pumpkin. I also added a small faux sunflower and a few other embellishments. The ends of the rustic wire were curled to create tendrils on the pumpkin stem.
LOOK how cute this wood slice pumpkin turned out!
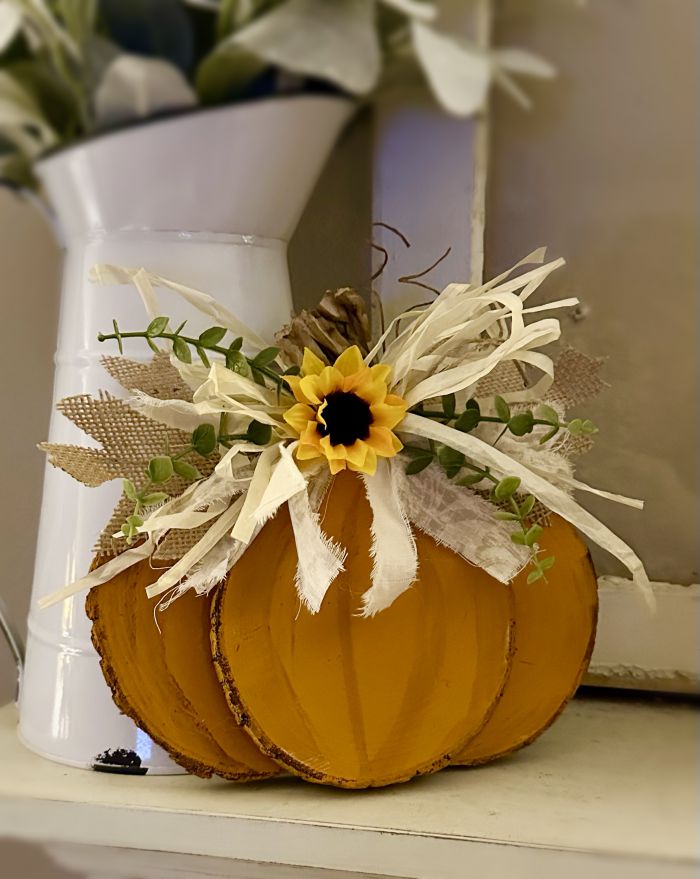
I also forgot to say that I added some pumpkin stripes with a little brown paint. Of course, this step is optional.
Here are a few more pictures of the finished piece.
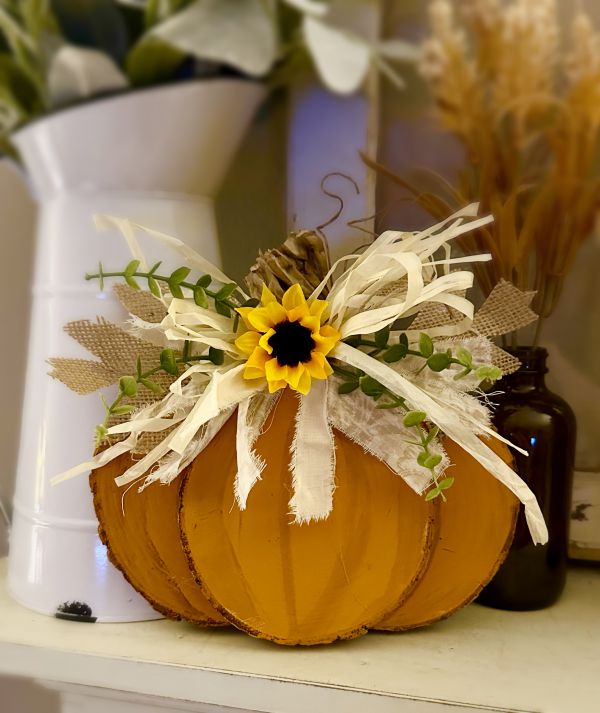
I hope you like this little idea as much as I do. And I hope it inspires you to get creative and make something similar for your home this fall.
Until next time…….. Happy crafting!
Pamela
If you like this pumpkin craft, you may also like this DIY wall tile pumpkin idea.
 Create a Pumpkin Centerpiece on Pedestal