


Hello Sweet Friends,
Today I am sharing a super CUTE DIY Easter egg wreath created with plastic Easter eggs from Dollar Tree. So not only is this craft idea cute, it is very budget-friendly, and EASY to make. Don’t you just LOVE a good Dollar Tree DIY?
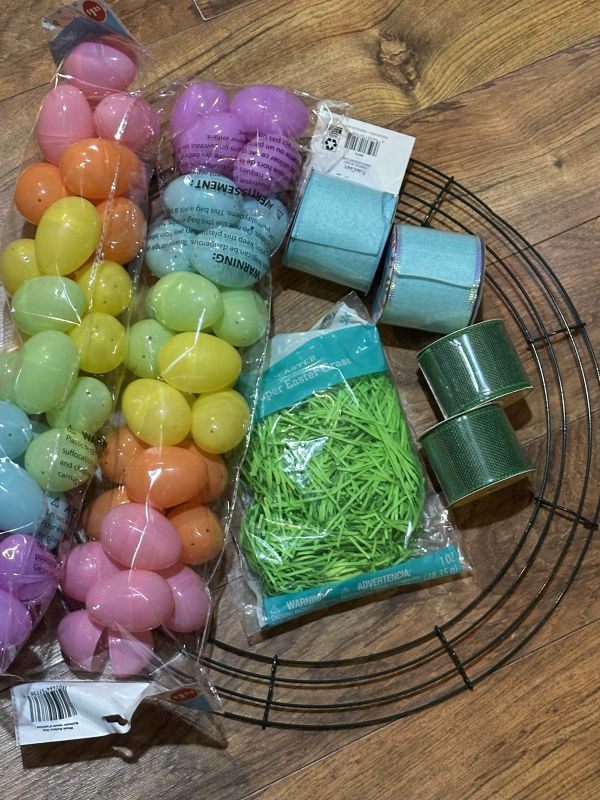
Follow along for the supply list and the easy instructions to create one for your home. You’ll want to run to your nearest Dollar Tree ASAP!
Supply list
- two packs of plastic Easter eggs (30 pack)
- wire wreath form
- two rolls of green ribbon
- two rolls of seafoam ribbon
- pack of Easter grass
- scissors
- glue gun
- wire or something to tie a bow with
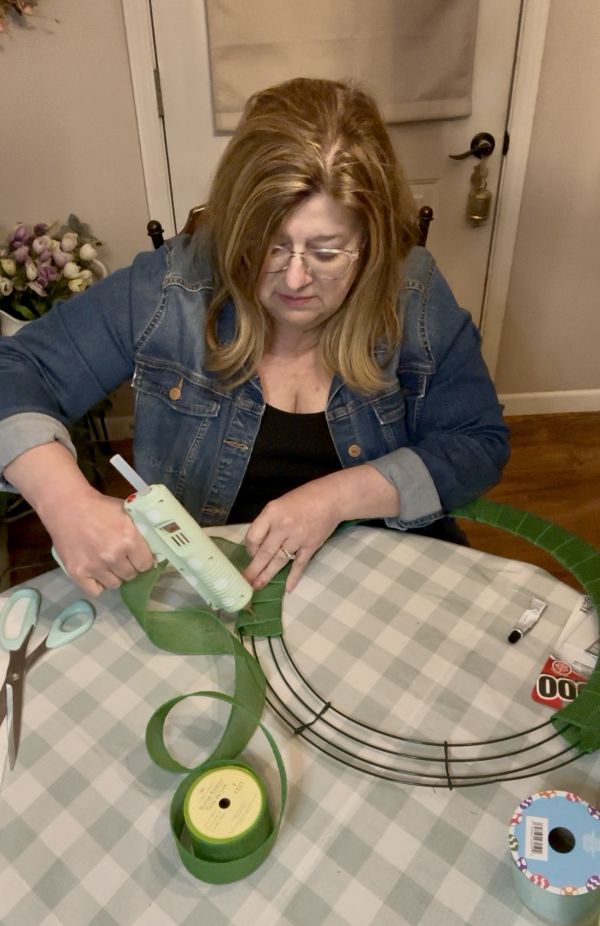
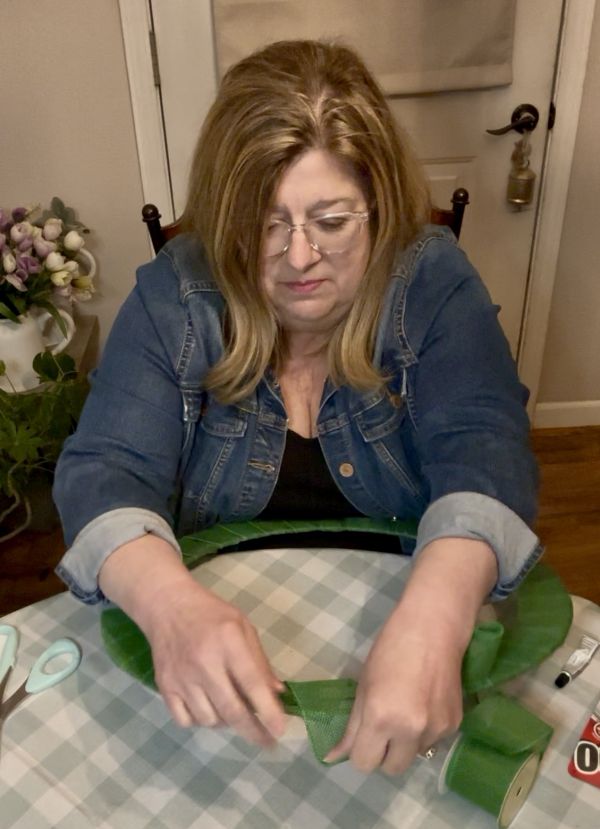
The first order of business was to cover the wire wreath with the green ribbon. Using my glue gun, I attached one end of the ribbon and wrapped it around the wreath form until it was covered. I did this so the plastic eggs would have something to adhere to.
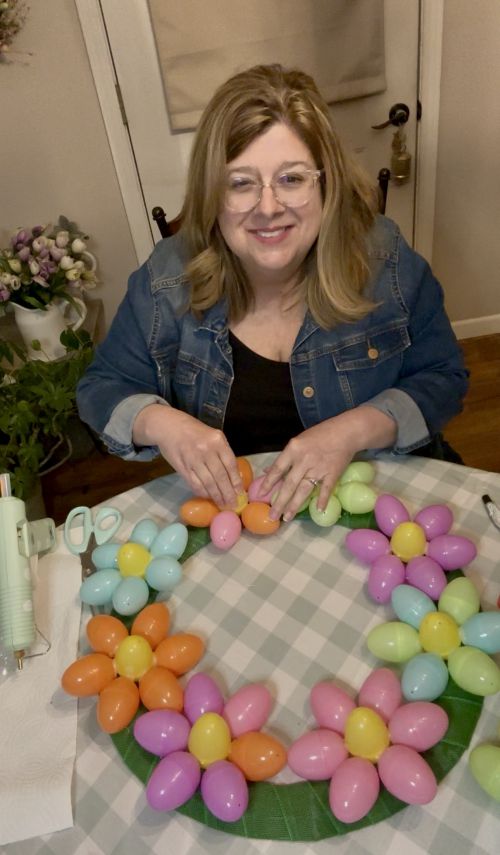
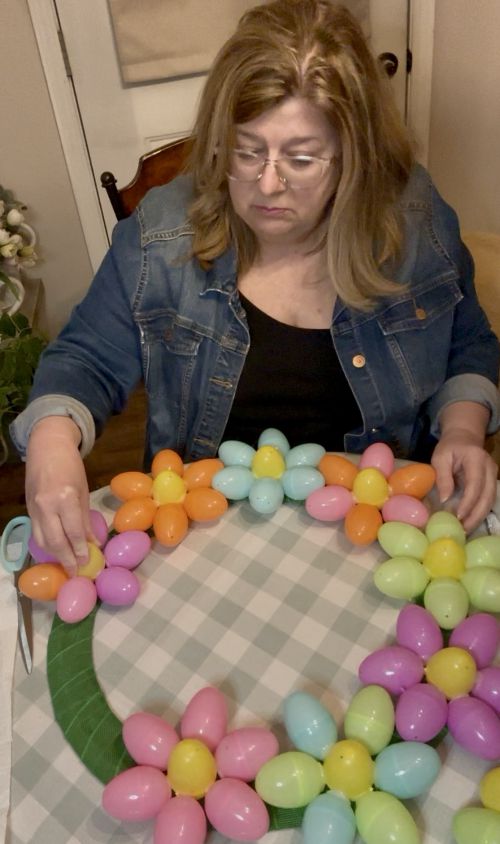
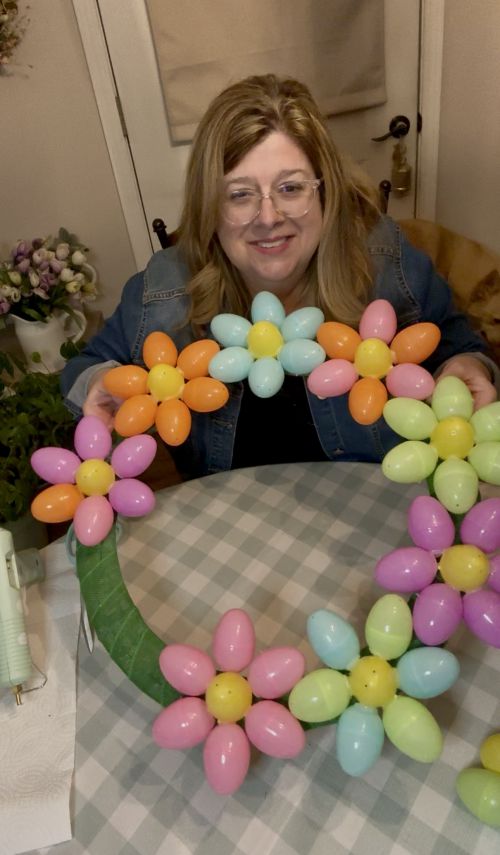
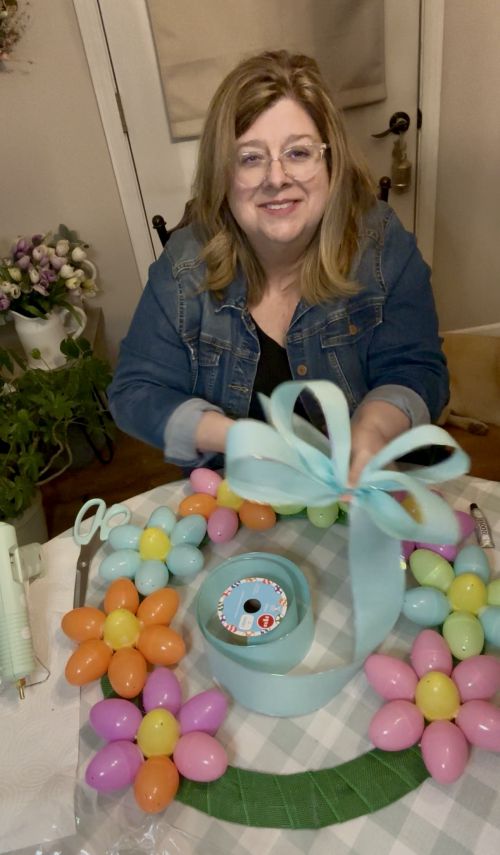
The next step was to create Easter egg flowers I which I would later add to the wreath. Each flower was made with a yellow egg center and then six of the same colored eggs surrounding the center. I used my glue gun to glue the eggs together; some E6000 could also be used for a more secure and longer-lasting hold.
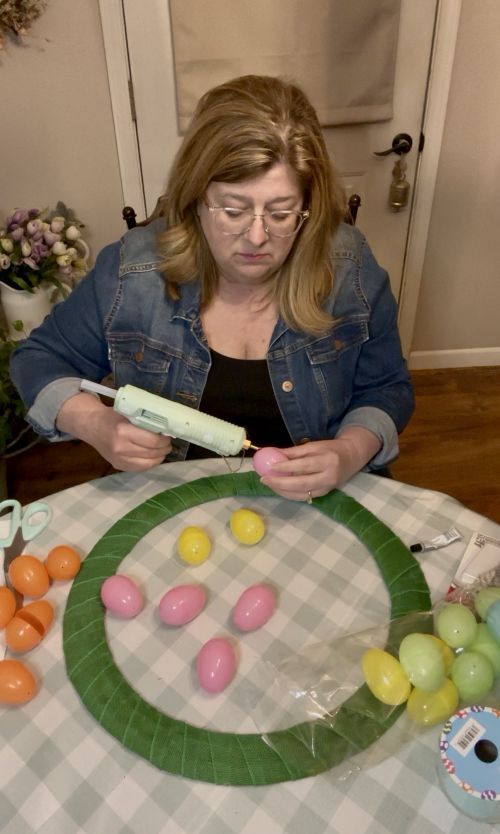
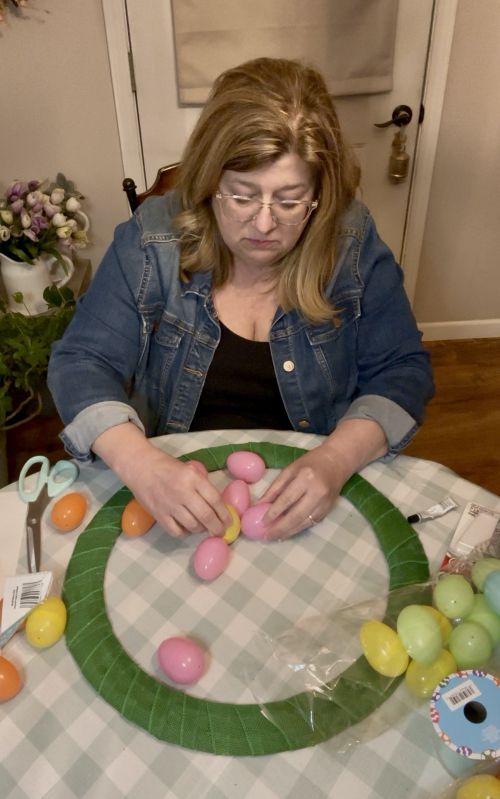
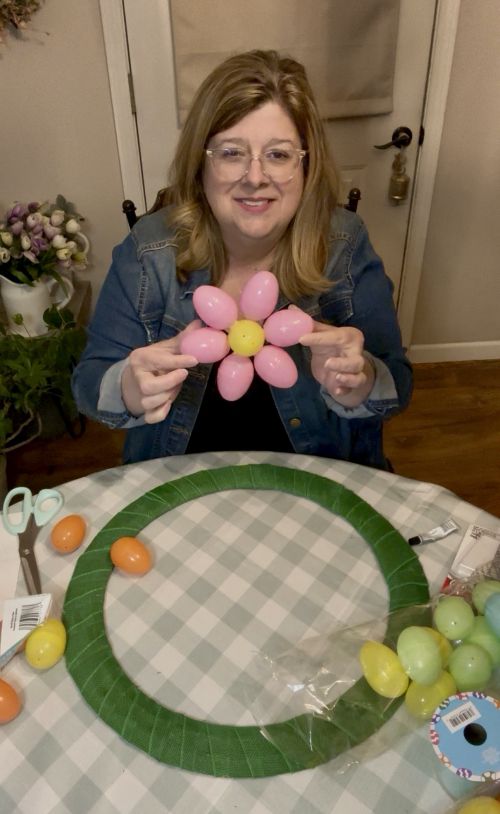
Then I just kept gluing the egg flowers together on repeat; each one was a different color.
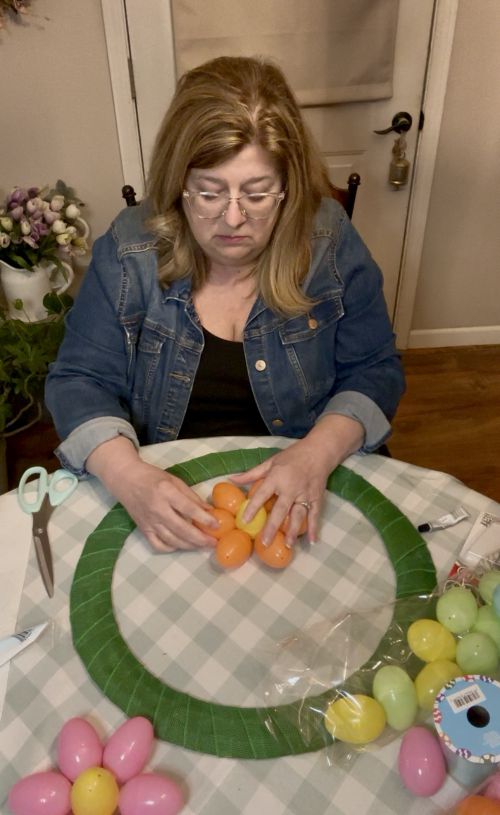
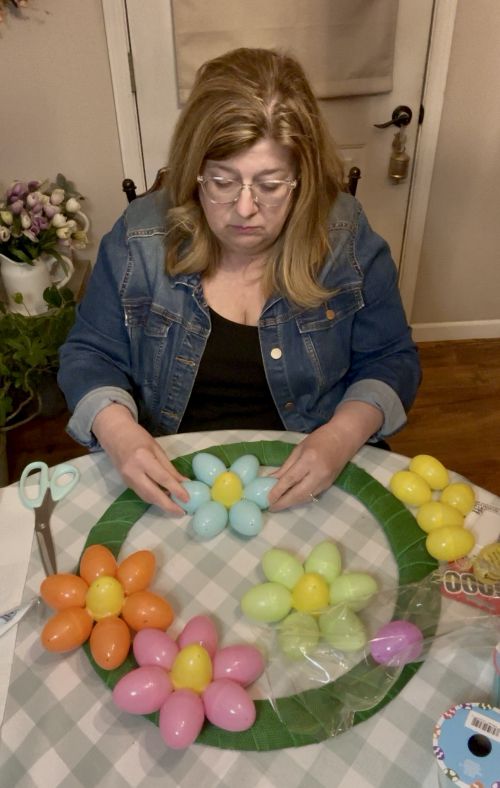
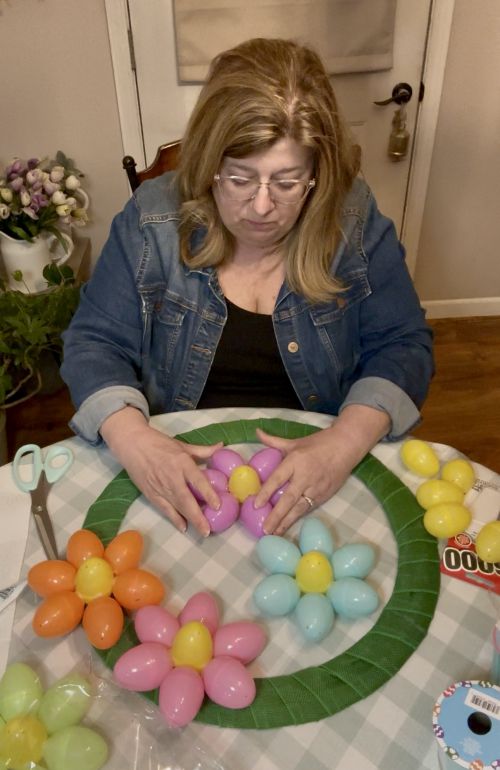
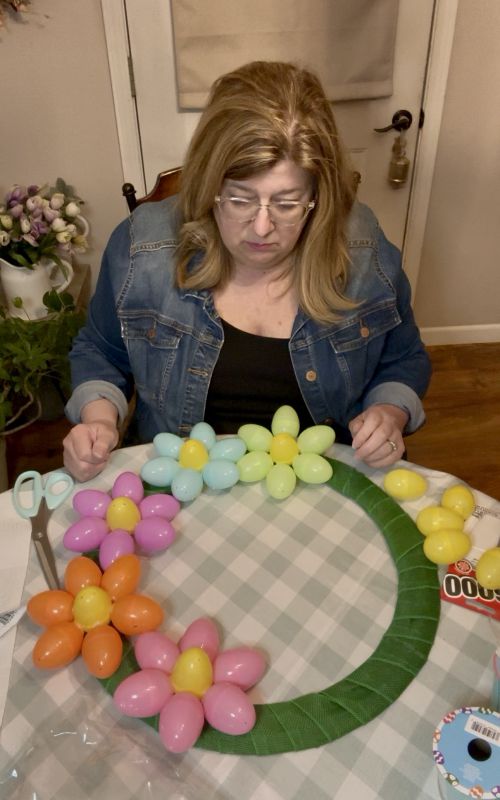
When I found myself short a few flowers, I made some mixed-colored flowers. With the remaining eggs, I was able to make three more eggs flowers. (I was going to run back to Dollar Tree for more eggs, but it was 9:30pm and they were closed. So I made do with what I had.)
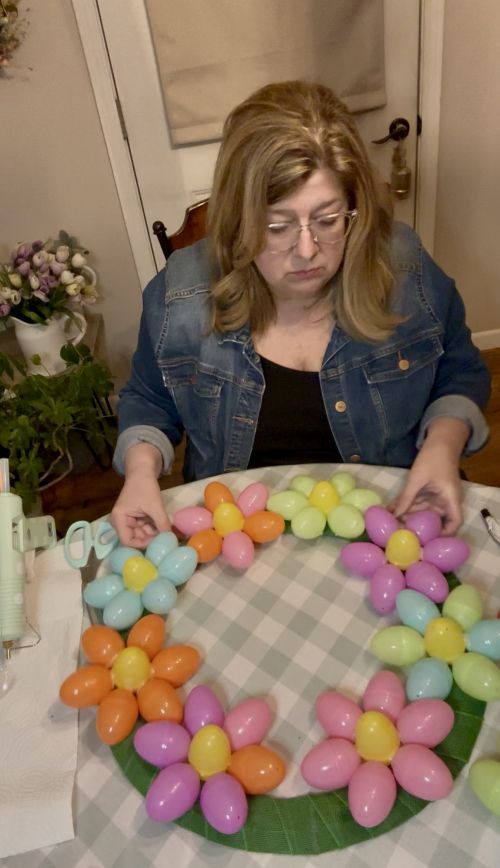
After arranging the egg flowers, I began to glue them onto the wreath, making sure to leave an open space for a bow at the top.
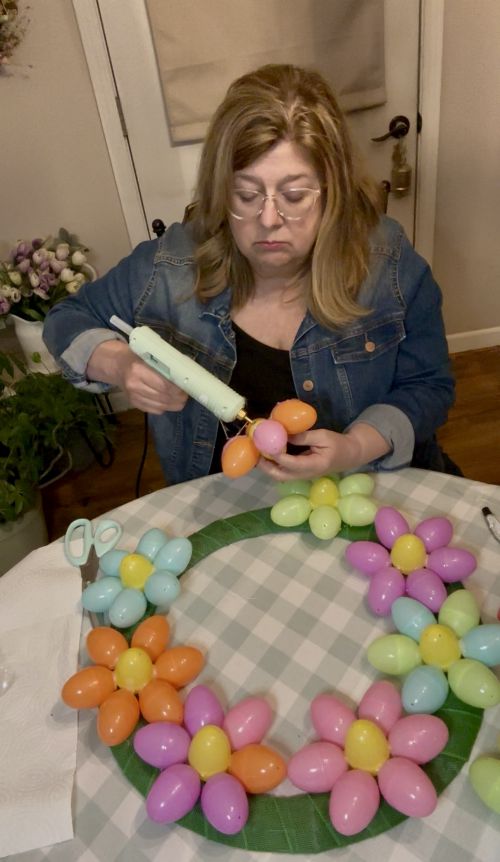
Let’s finish the Easter egg wreath
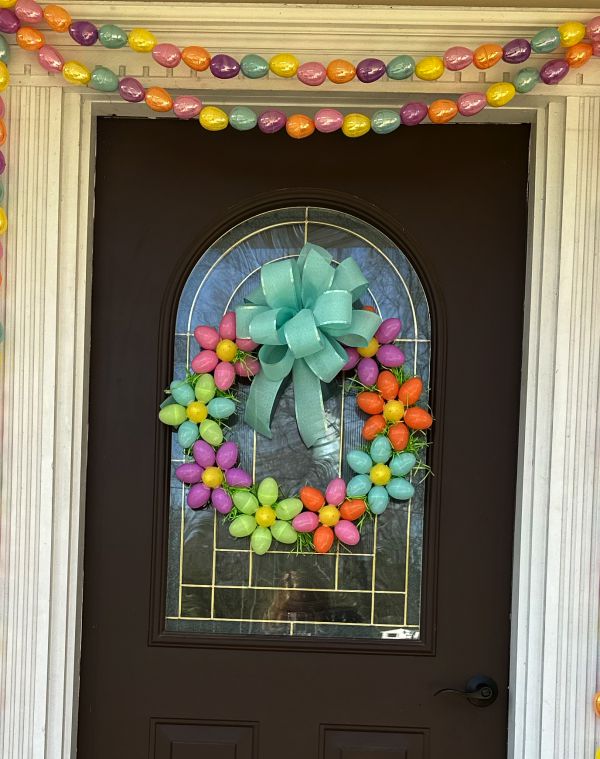
The final step for the Easter egg wreath was to add a bow. Using two rolls of ribbon from Dollar Tree, I tied a fairly large bow.
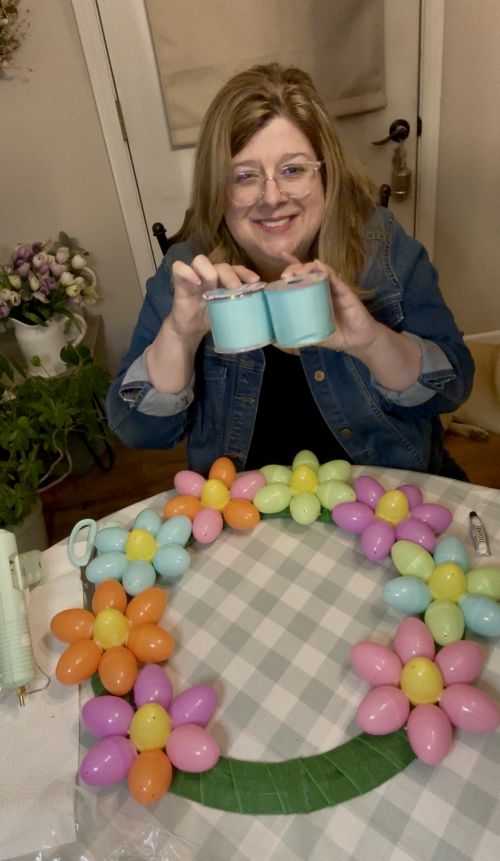
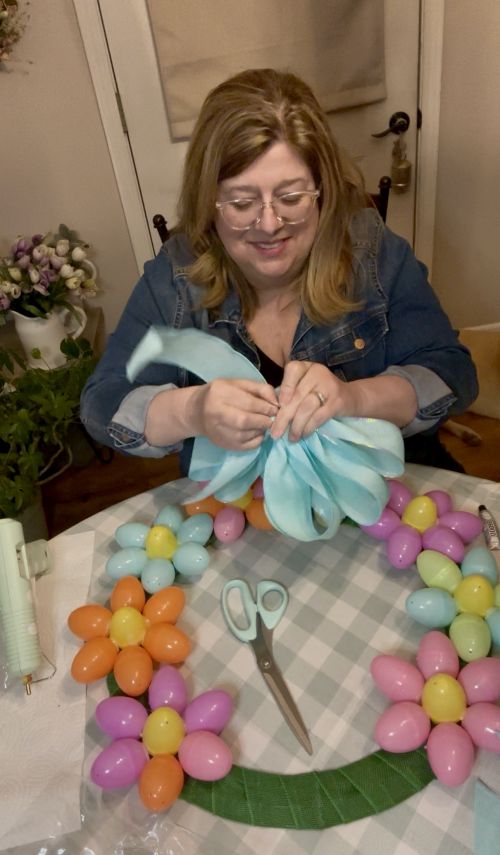
To attach it to the wreath, I used the same wire that I had tied the bow with.
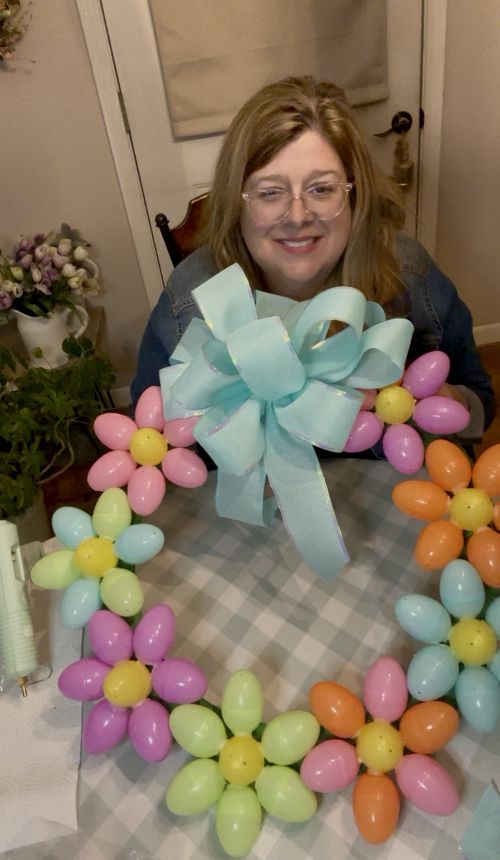
At this point, the wreath was really finished, but I decided to add some Easter grass to finish it off. Using the glue gun, I just added the grass around the egg flowers until I liked how it looked.
Wowza! Didn’t this wreath turn out super CUTE!!!

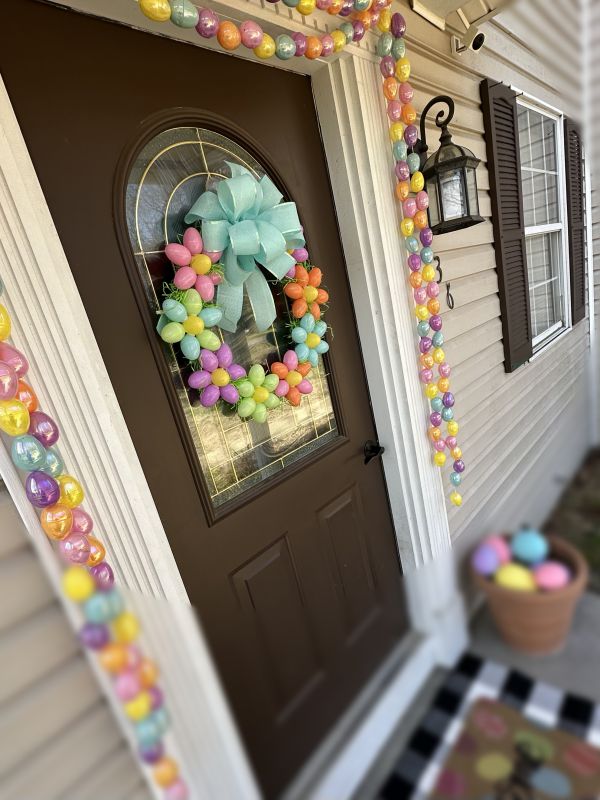
If you can’t already tell, I just LOVE how this turned out. In the photo below, I paired it with my Easter egg garland on my front porch. It’s definitely a KEEPER! Find a tutorial for the Easter egg garland here: https://craftsysoul.com/easter-egg-garland/
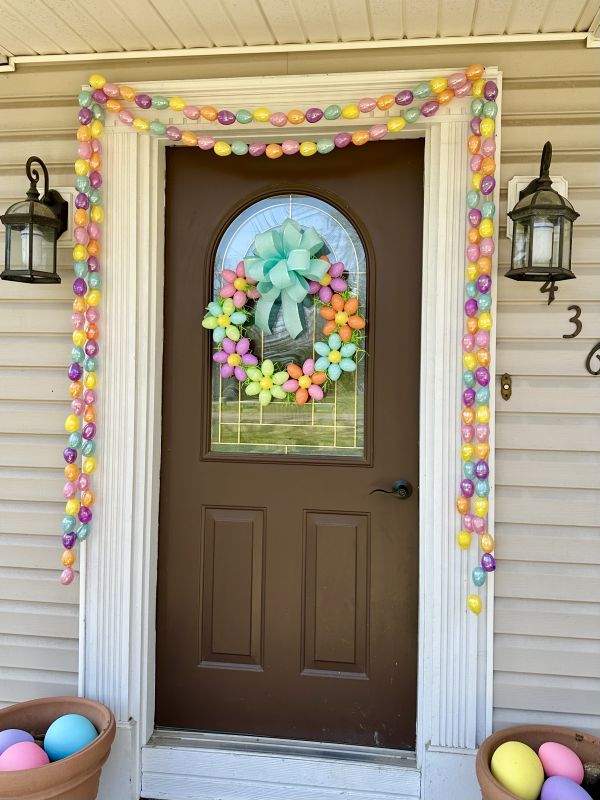

Check out the Easter rugs from Amazon I got to coordinate with my porch decor. Affiliate links here: https://amzn.to/42pcOFp and https://amzn.to/4lFFovd
I hope you LOVE this idea as much as I do and that it inspires you to make something PRETTY for your home. Until next time…….
Happy Crafting!
Pamela
 DIY Chinoiserie Easter Bunny