
Hello Sweet Friends,
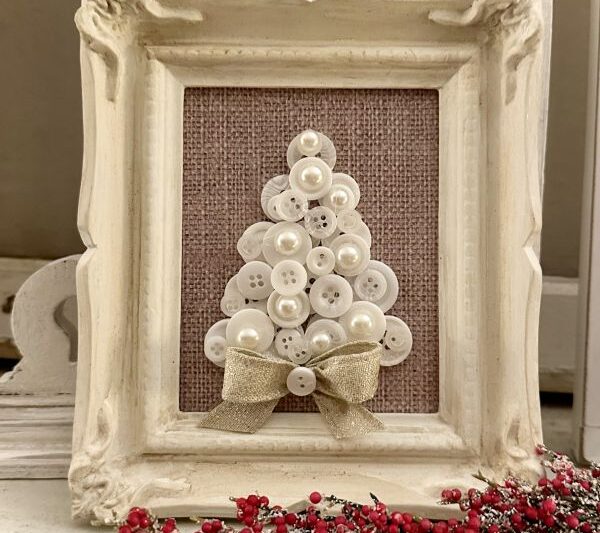
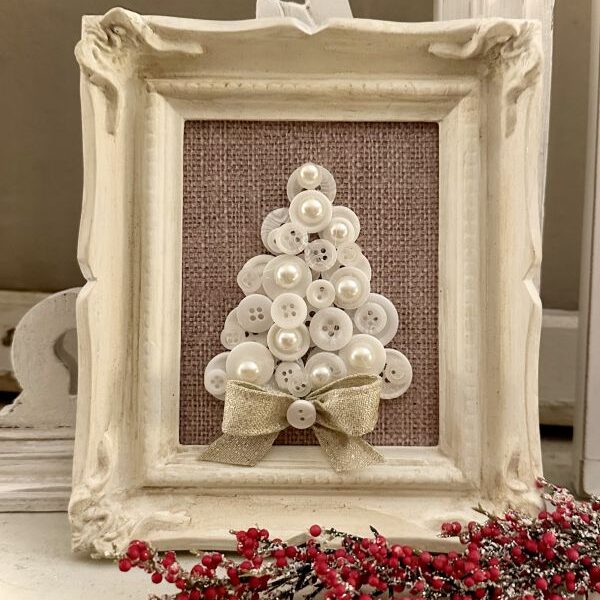
Today’s craft idea is super EASY and you probably have the supplies already in your home: a framed button Christmas tree. It makes a cute Christmas decor piece, or great gift idea.
When I was a child, I remember my grandmother having a tin full of buttons. We would grab a button out of the tin and play “Who’s got the button?” Such a sweet memory from childhood; but I digress.
All you really need for this project besides buttons is a frame, some cloth or paper, and glue. Of course, a few embellishments would be nice too, but not necessary.
Follow along for the simple instructions for creating a beautiful framed button Christmas tree.
Supply list
- Buttons
- Frame, with glass removed
- Glue
- Scrapbook paper, or cloth for background
- Paint for frame, optional
- embellishments, optional
Let’s Get Started
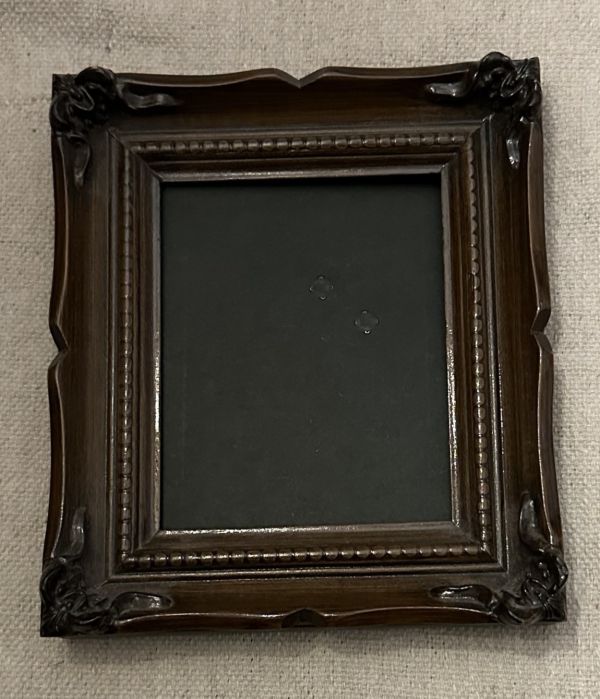
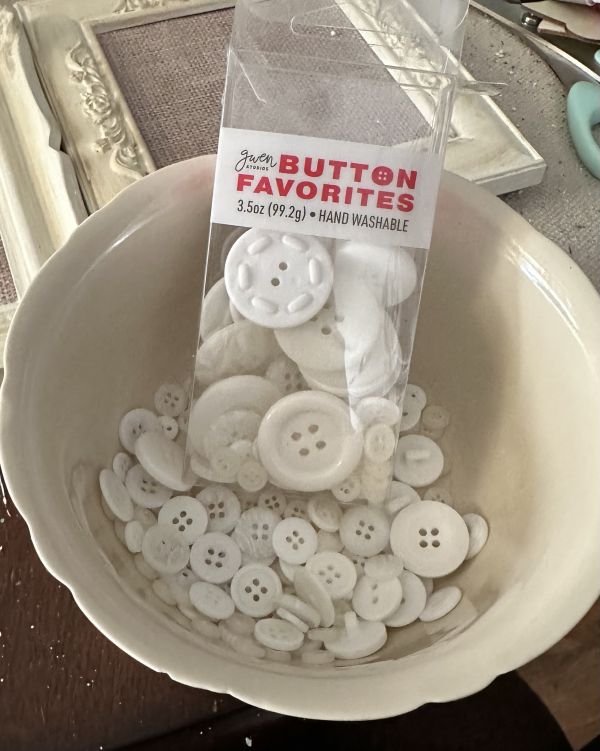
The frame that I used is a thrifted frame from a moving sale and most of the buttons I used were purchased at Walmart. I knew that I wanted to create an all white/ivory tree so when I saw the box of mixed size white buttons, I grabbed them. (If your’e an Amazon shopper, here’s my affiliate like to bulk buttons of assorted sizes and the buttons come in many colors. https://amzn.to/3YSCVCR)
After deciding on a white button tree, I wanted the frame to be white also, so I painted it with Waverly chalk paint in the color plaster.
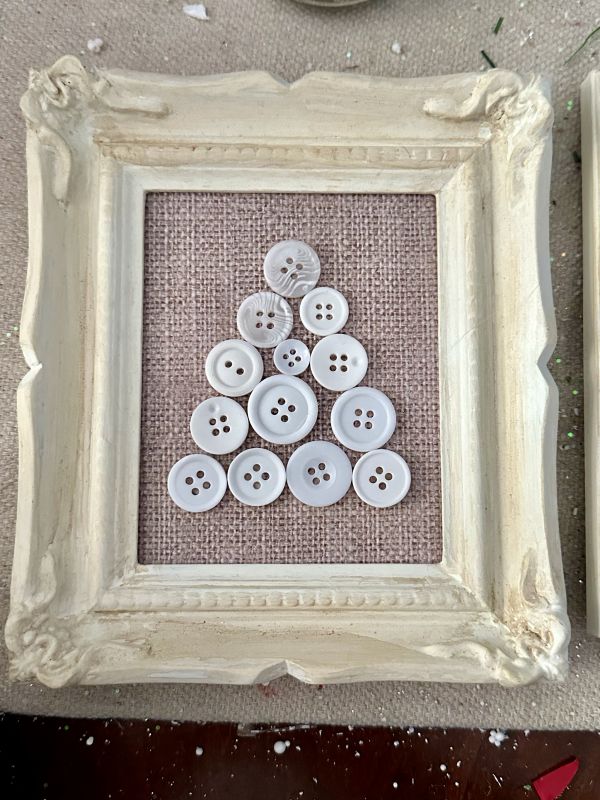
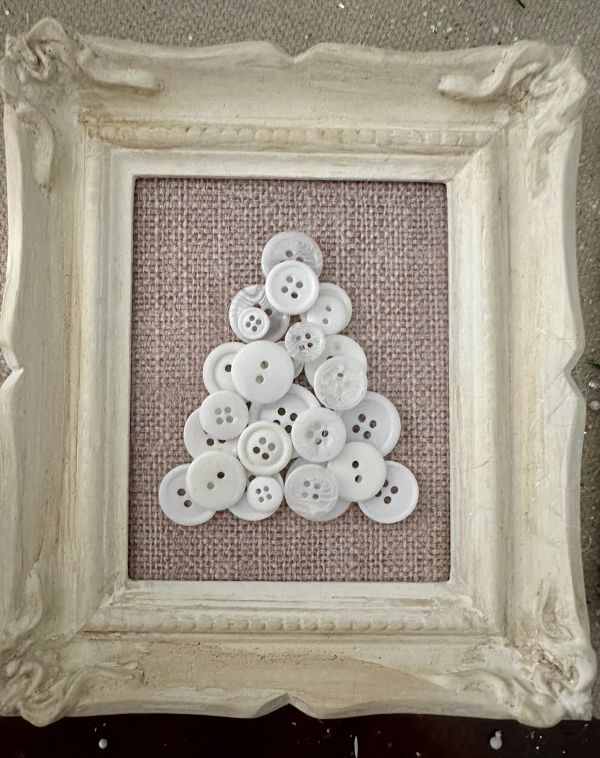
A piece of burlap scrapbook paper was cut to size and then the buttons were arrange into a tree pattern. Once I liked the way it looked, I glued the buttons on with a glue gun. Craft glue could also be used instead. Then I added some buttons on top, again gluing them with hot glue.
And of course, I couldn’t stop there, so I added some pearl accents. The pearls were adhesive-backed so no glue was necessary.
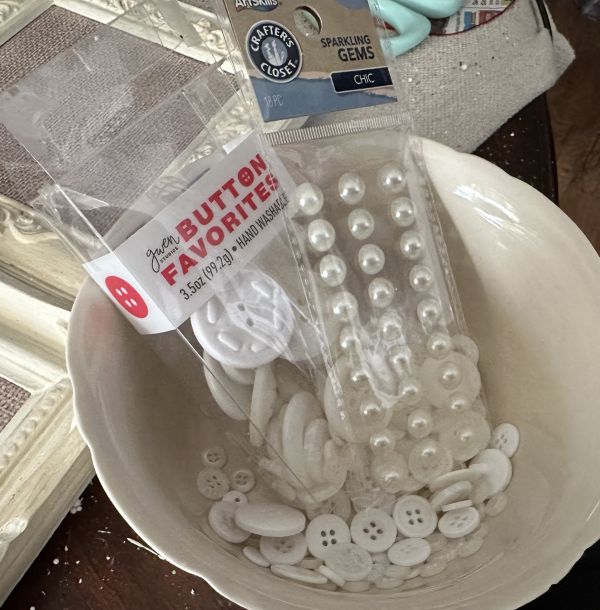
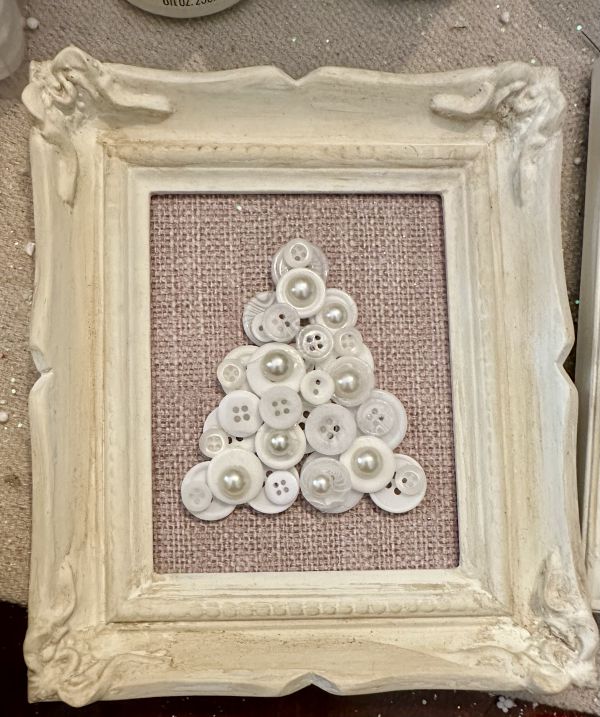
Embellishing the Framed Button Christmas Tree
And the final embellishment was a small bow at the base of the tree.
Didn’t this project turn out as cute as a BUTTON? You knew that was coming, didn’t you!
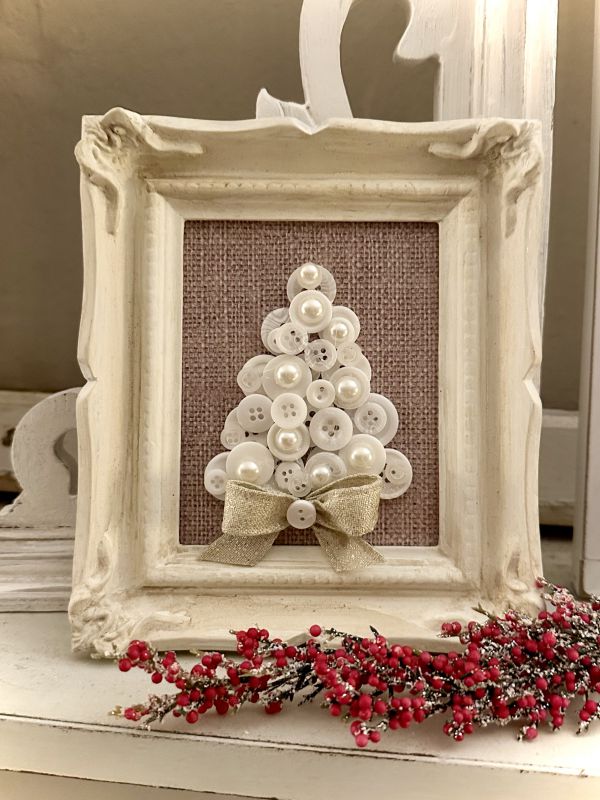
If you love the button tree, then keep going as I show you how to create a framed button wreath.
Framed Button Christmas Wreath
The directions are basically the same. Paint the frame white, then cut the scrapbook paper to fit. Glue the first layer of buttons in a circle shape.
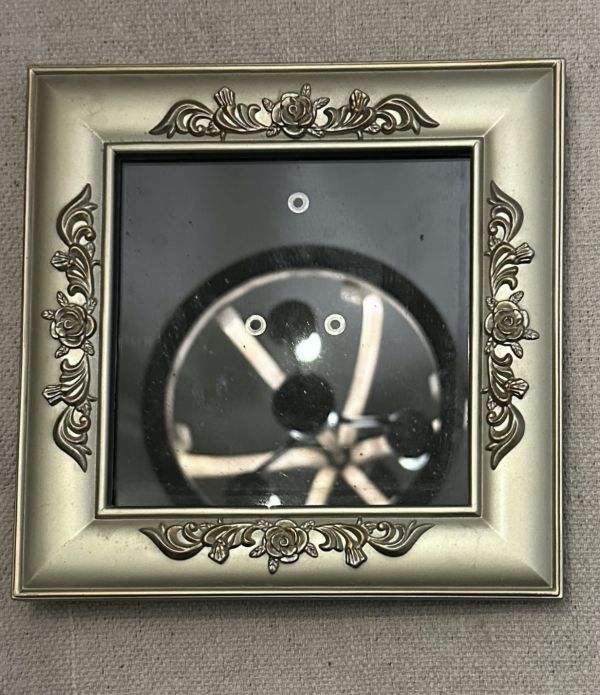
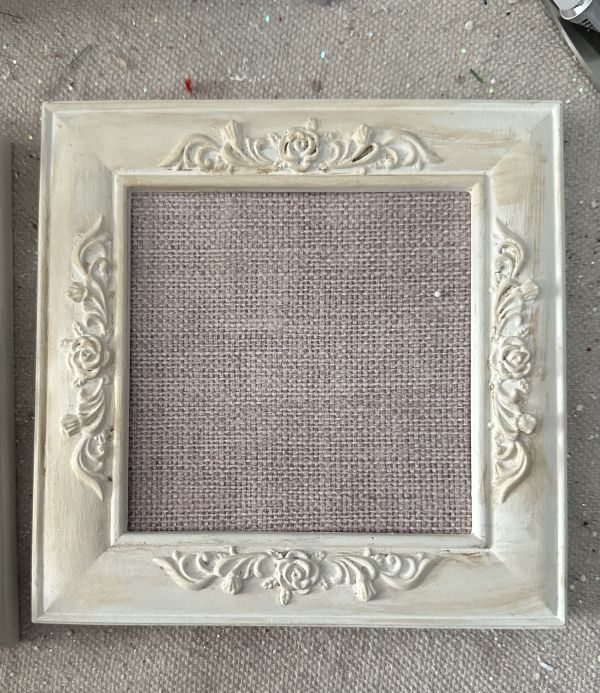
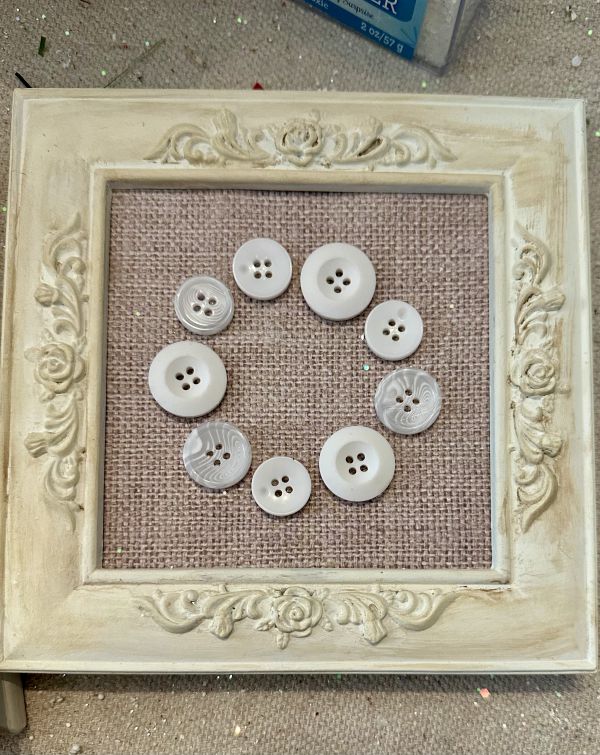
Then glue the top layer of buttons and add any embellishments you like.
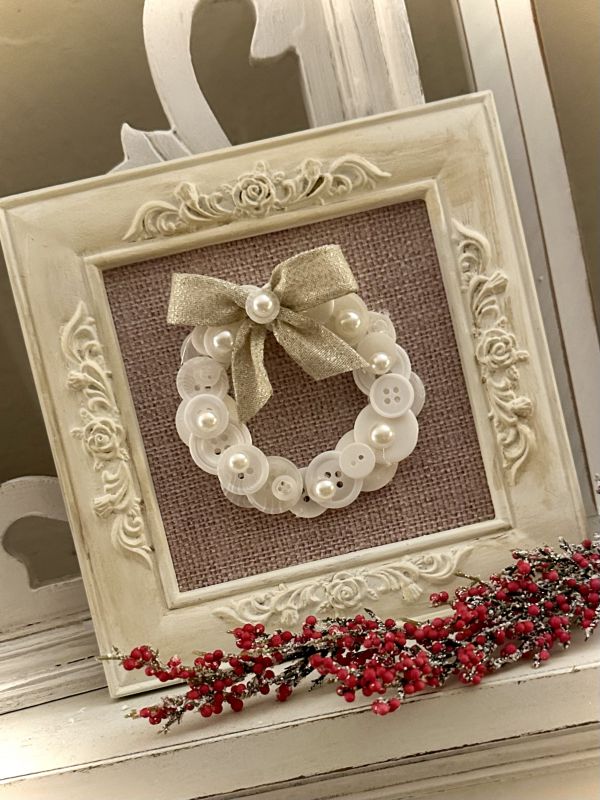
I can’t believe how CUTE both of these projects turned out. It would be hard to pick a favorite.
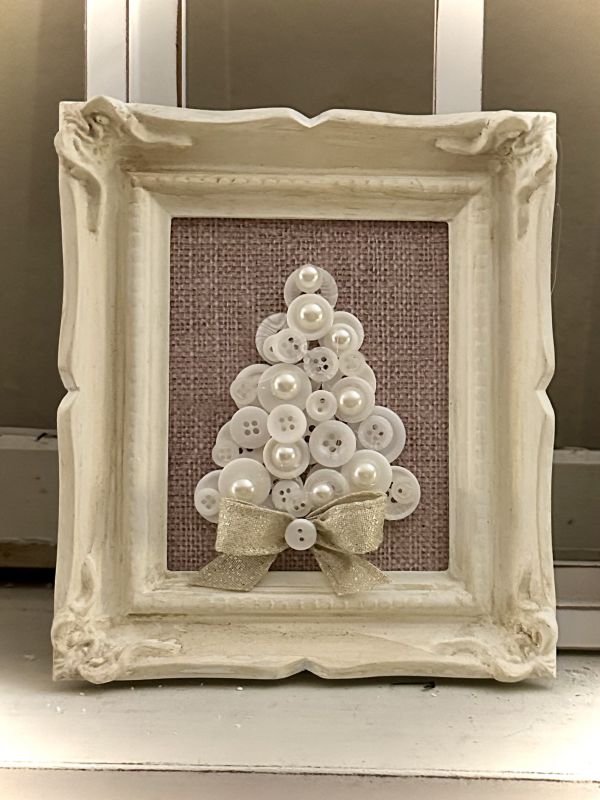
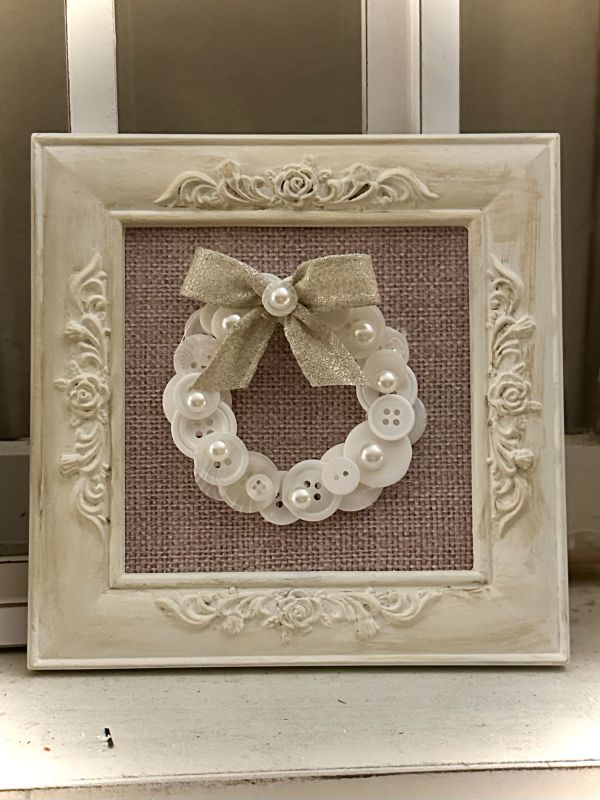
I hope you love this EASY Christmas craft as much as I do, and just maybe it will inspire you to get crafty and make something beautiful with buttons.
Until next time…… Happy Crafting!
Pamela
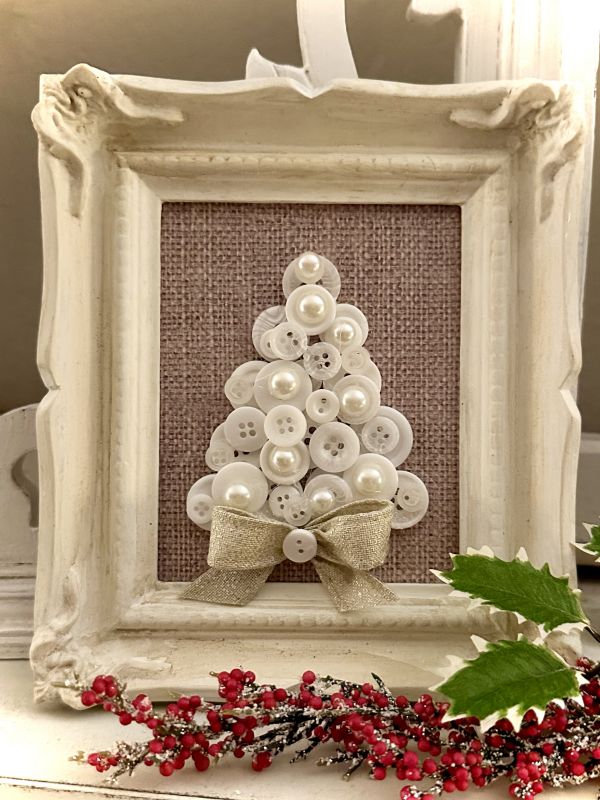
If you like framed craft projects, you may also like this Dollar Tree Christmas sign idea.
 Let’s Create a Clothespin Snowflake Ornament
