Hello Sweet Friends,
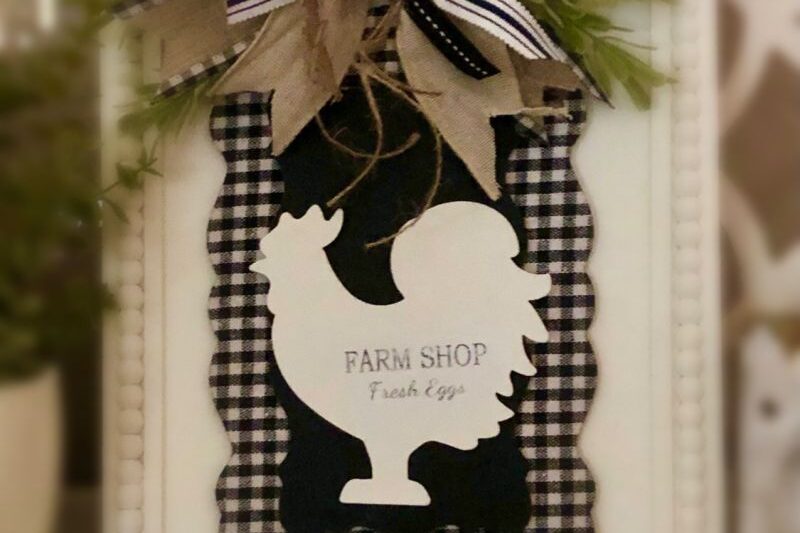
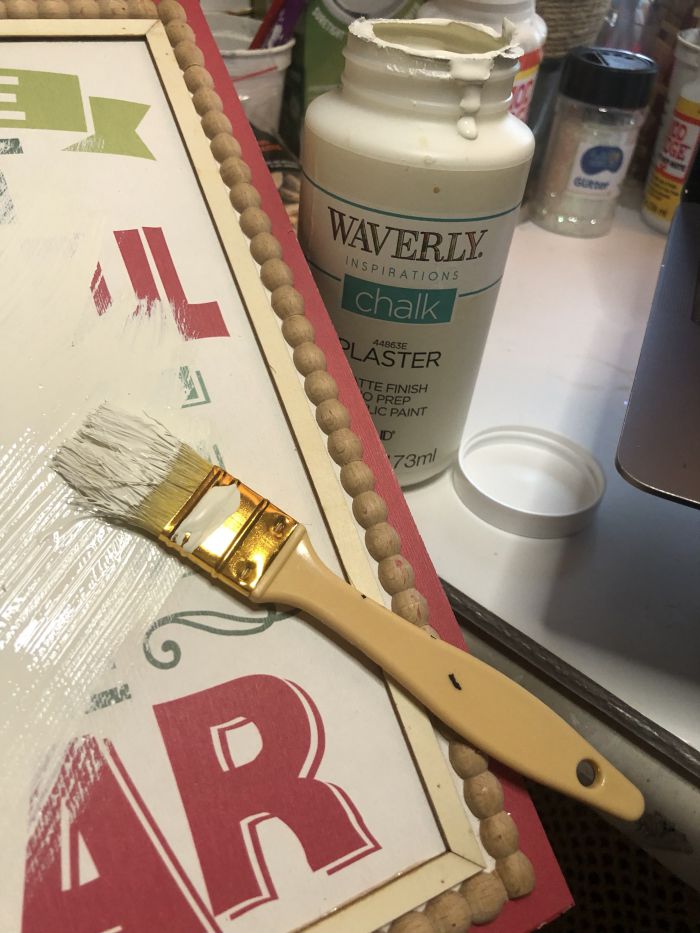
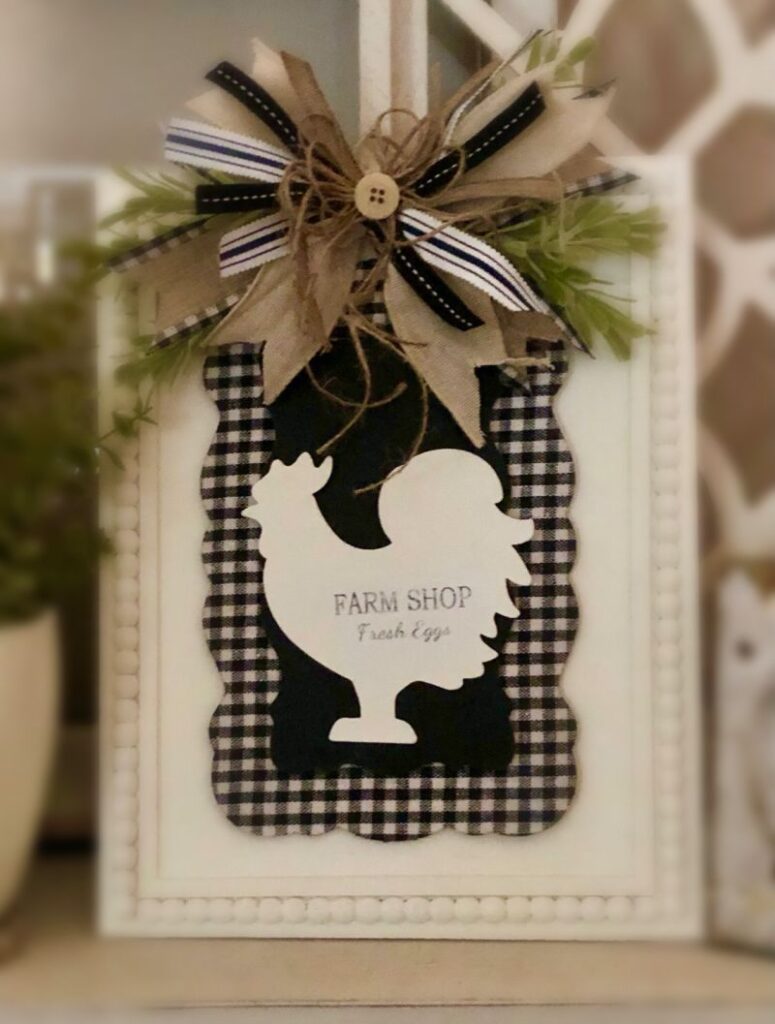
For today’s DIY project, I will show you how to transform a clearance sign into farmhouse rooster decor. I found the sign in January as a Christmas clearance item and thought it had potential. The font and color of the letters was not appealing to me, but I LOVED the beaded frame. So I knew it could easily be transformed into something FANTASTIC!
This project is fairly simple, even those with limited crafting experience can easily create something similar. Besides the clearance sign, I used items from Dollar Tree, Dollar General, and Walmart, so this DIY is very budget-friendly.
I think this project turned out super CUTE and I hope you do too. Follow along for the simple instructions on how this clearance sign was transformed into farmhouse decor.
Supply list
- Christmas clearance sign
- Waverly chalk paint – color, plaster
- paint brush
- Dollar Tree mini chalk board sign
- Dollar General mini rooster
- various coordinating ribbons/twine
- small piece of wire
- faux greenery
- button or other embellishment
- glue gun
- scissors
The first thing I did was paint the entire sign with Waverly chalk paint in the color plaster. It took two good coats with dry time in between.
Doesn’t just about anything look better with a fresh coat of paint?
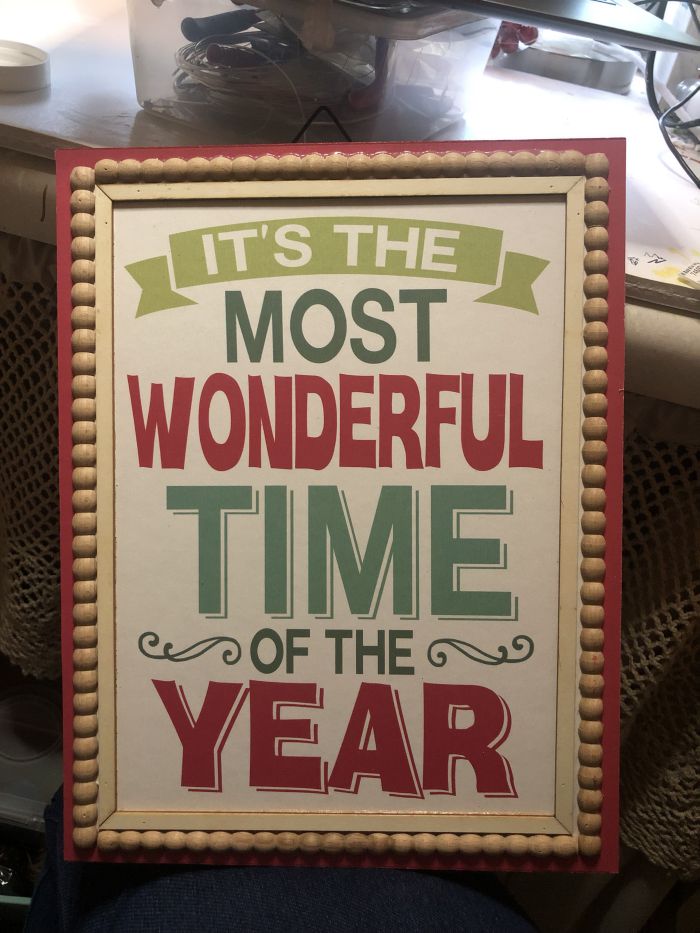
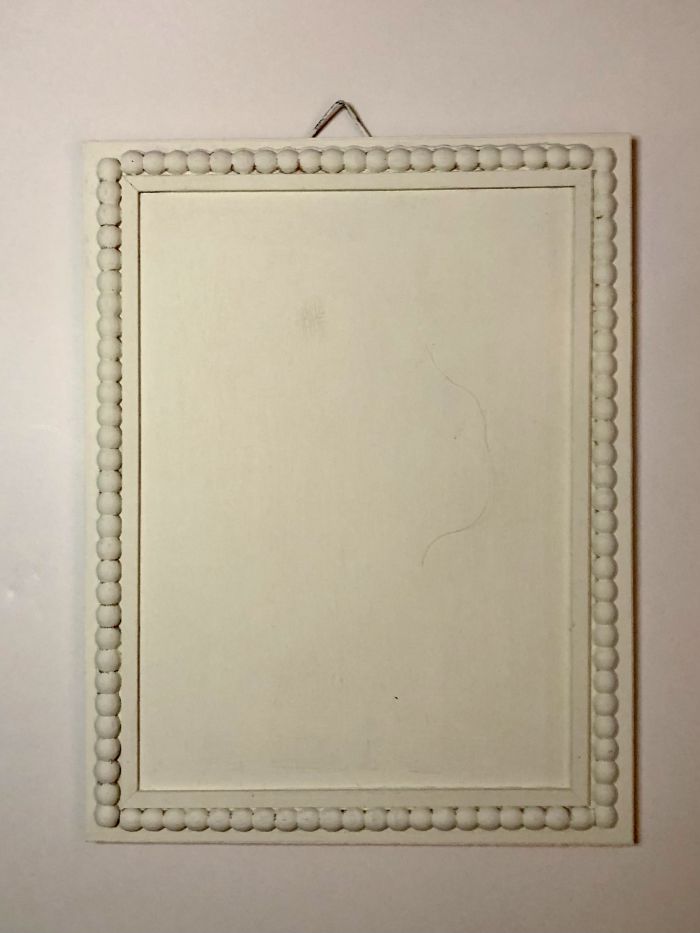
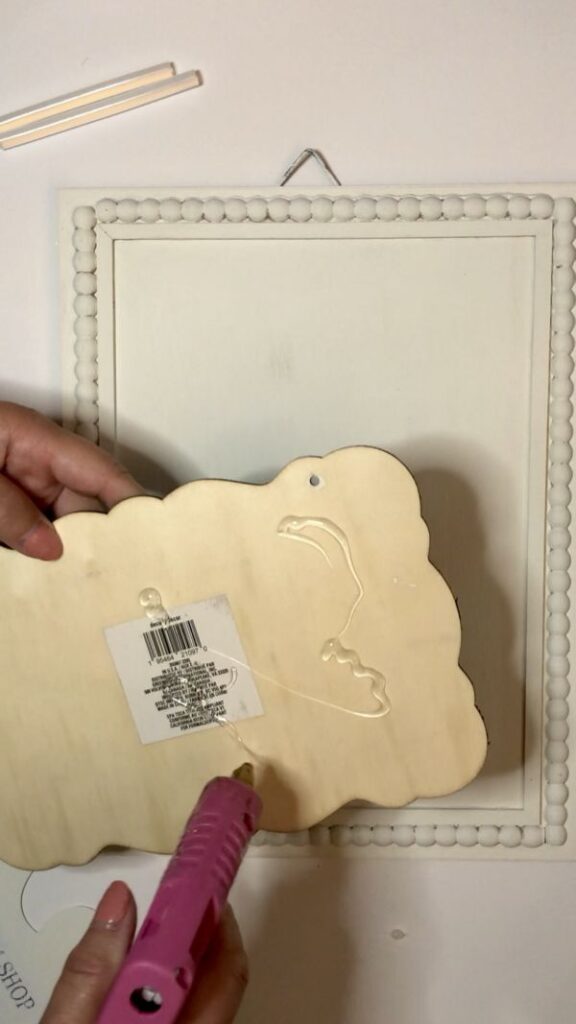
Then I removed the hangers from the mini chalk board and the mini rooster. I filled in the holes on the rooster with some of the chalk paint.
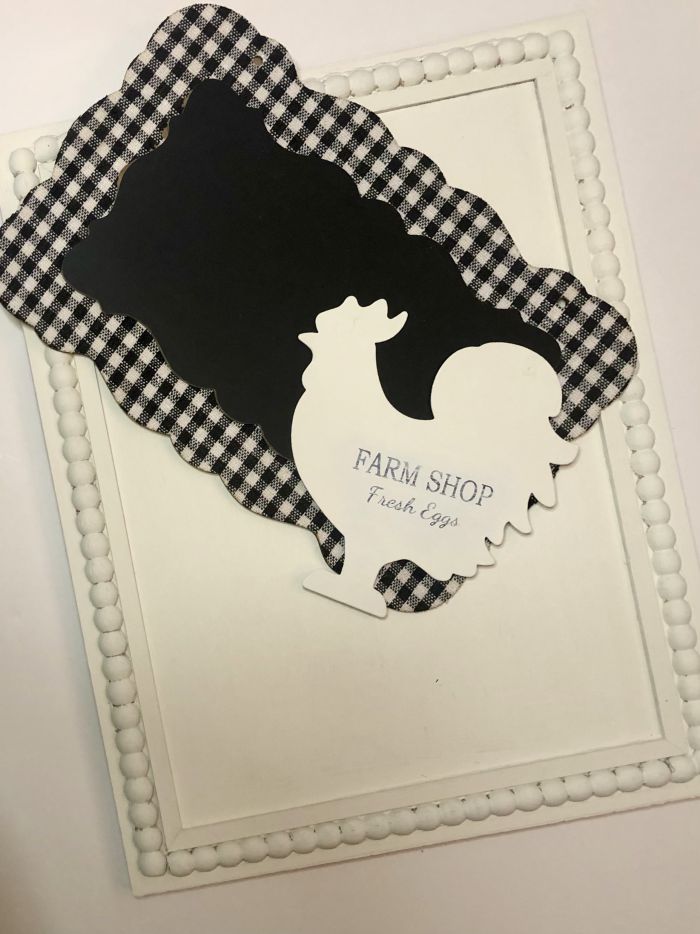
Once the paint had dried, I hot-glued the mini chalkboard to the center of the sign.
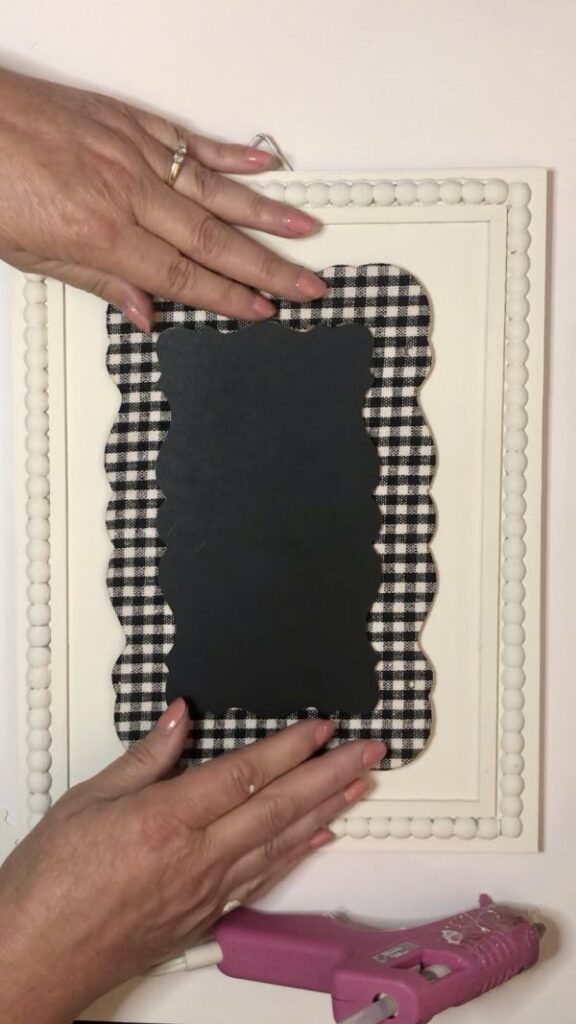
Then I followed with glueing the rooster to the mini chalkboard, attaching it slightly towards the bottom. This left some space at the top for a bow.
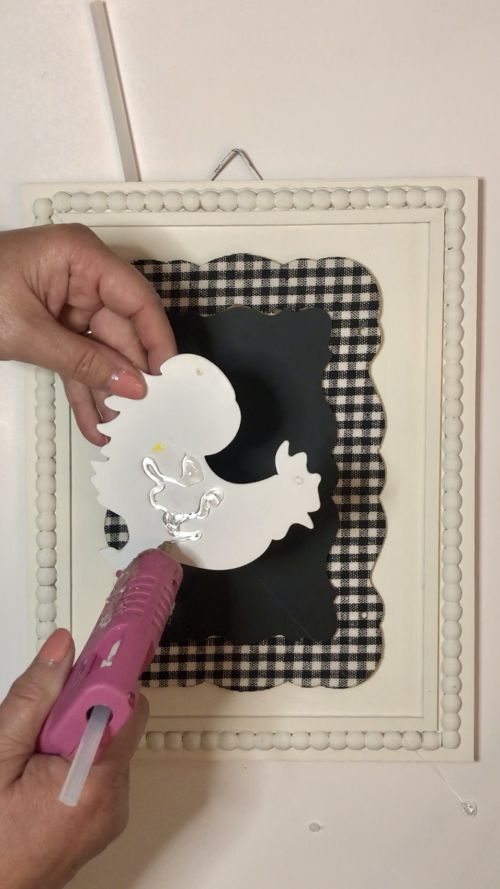
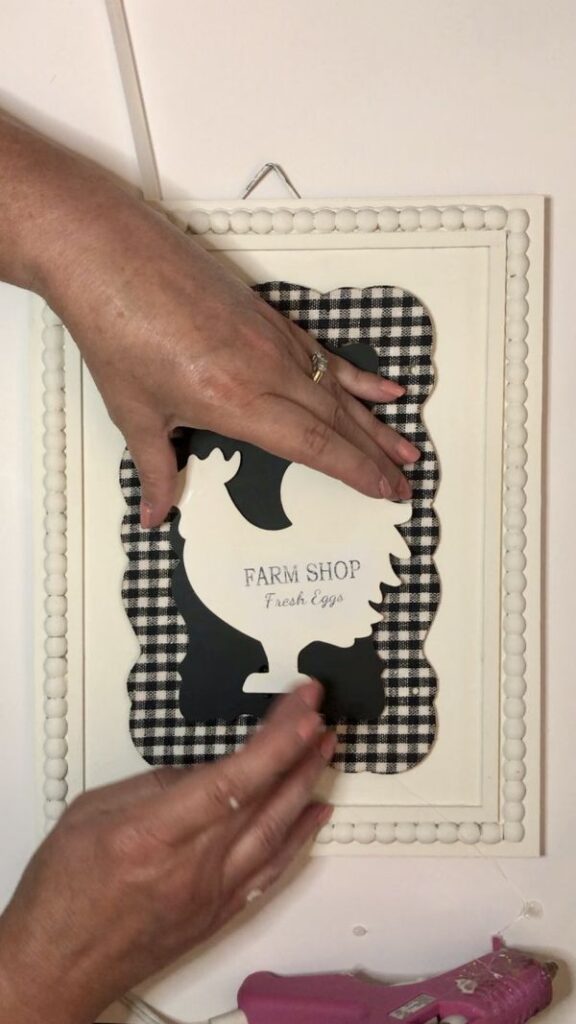
It was now time to make a bow! The bow was created by cutting and criss-crossing in a stack various coordinating ribbons. Then I secured it in the center with a piece of wire.
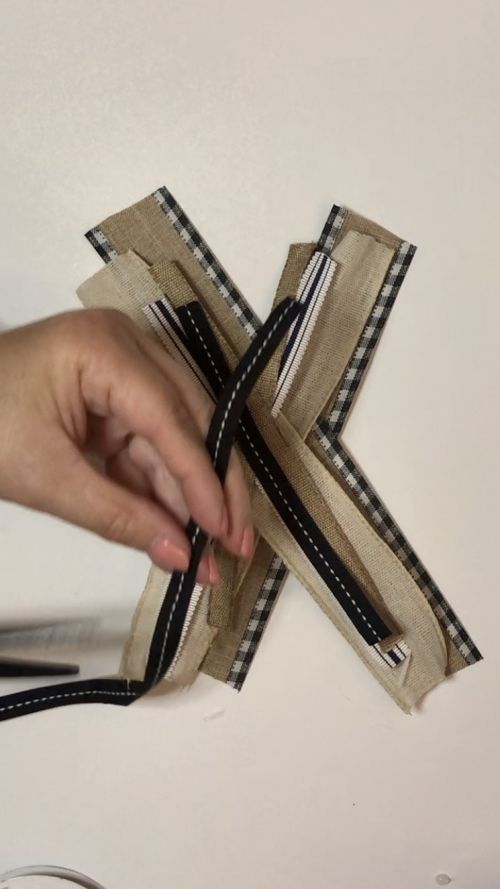
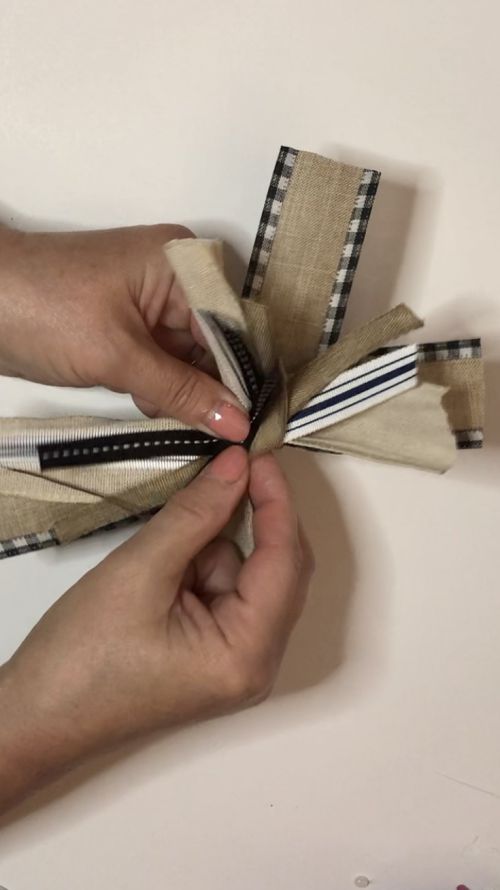
Before glueing the bow to the sign, I trimmed and dovetailed the ribbons and then fluffed it out a little bit.
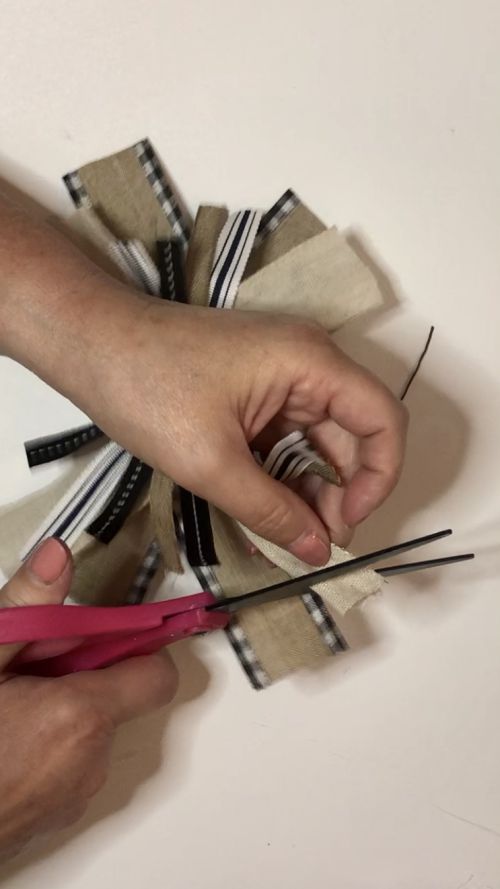
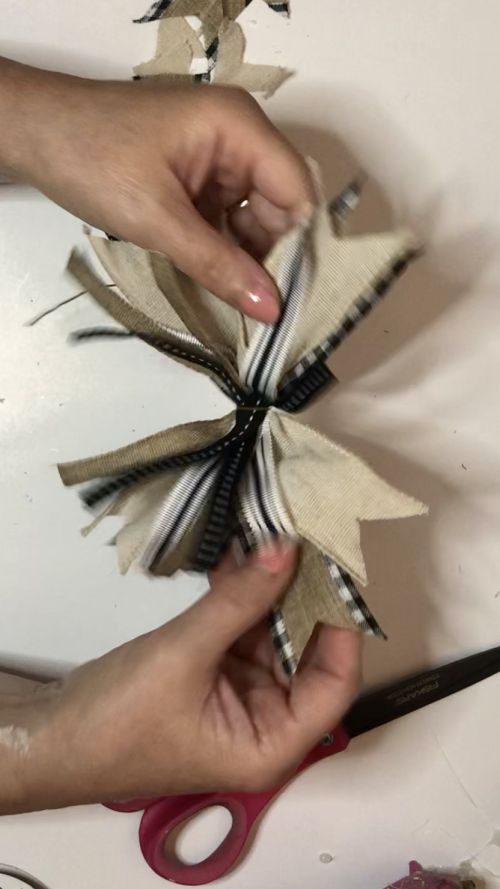
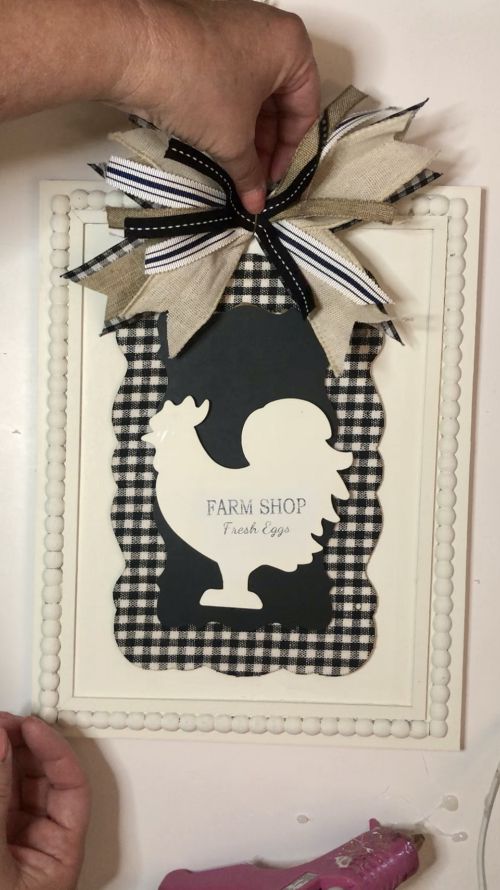
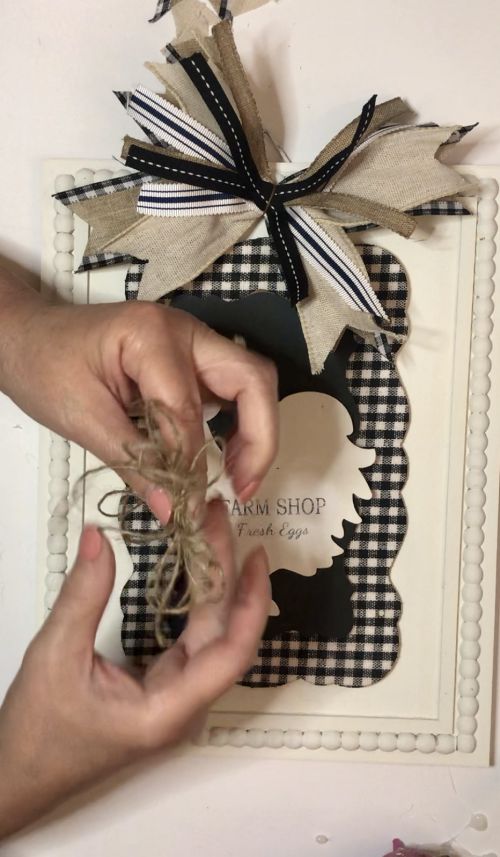
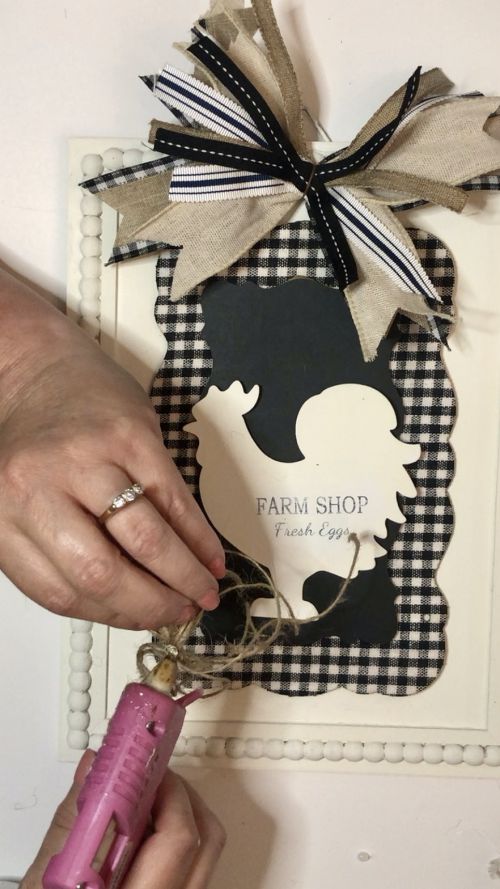
At this point, I thought the bow needed a little bit of twine added. So I tied a small twine bow and glued it in the center.
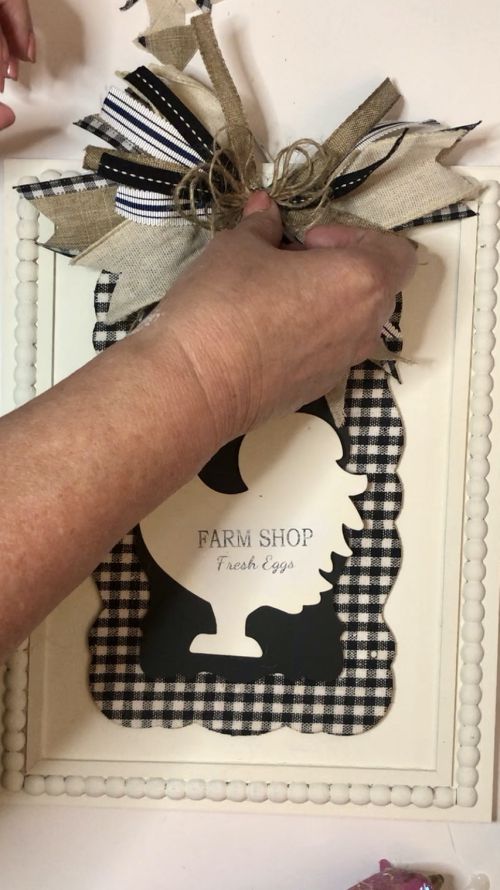
A small button glued in the center of the bow and some faux greenery completed the project.
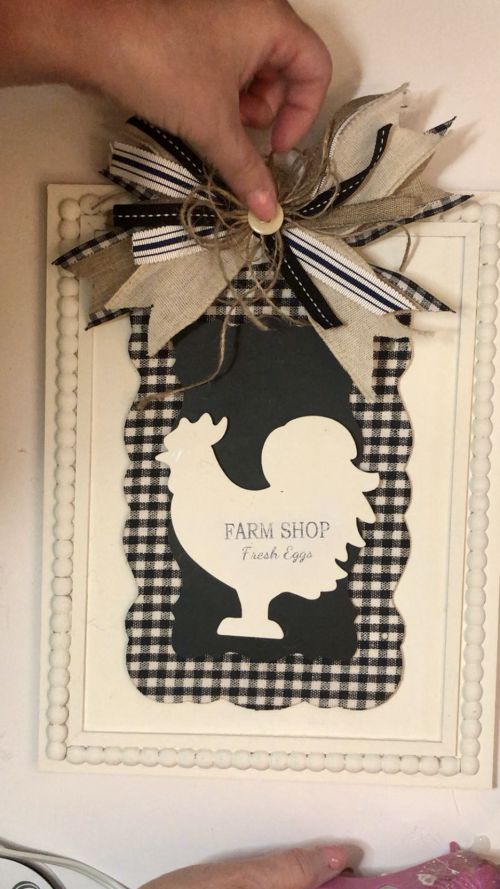
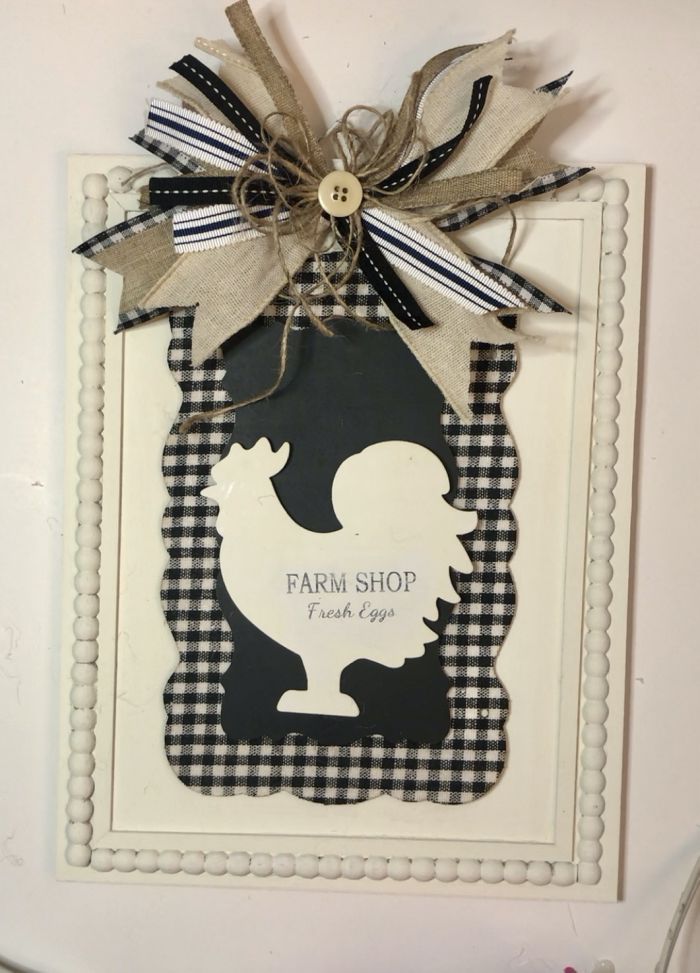
I am just thrilled with how this DIY turned out! How CUTE is it? Don’t you just love the farmhouse vibe?
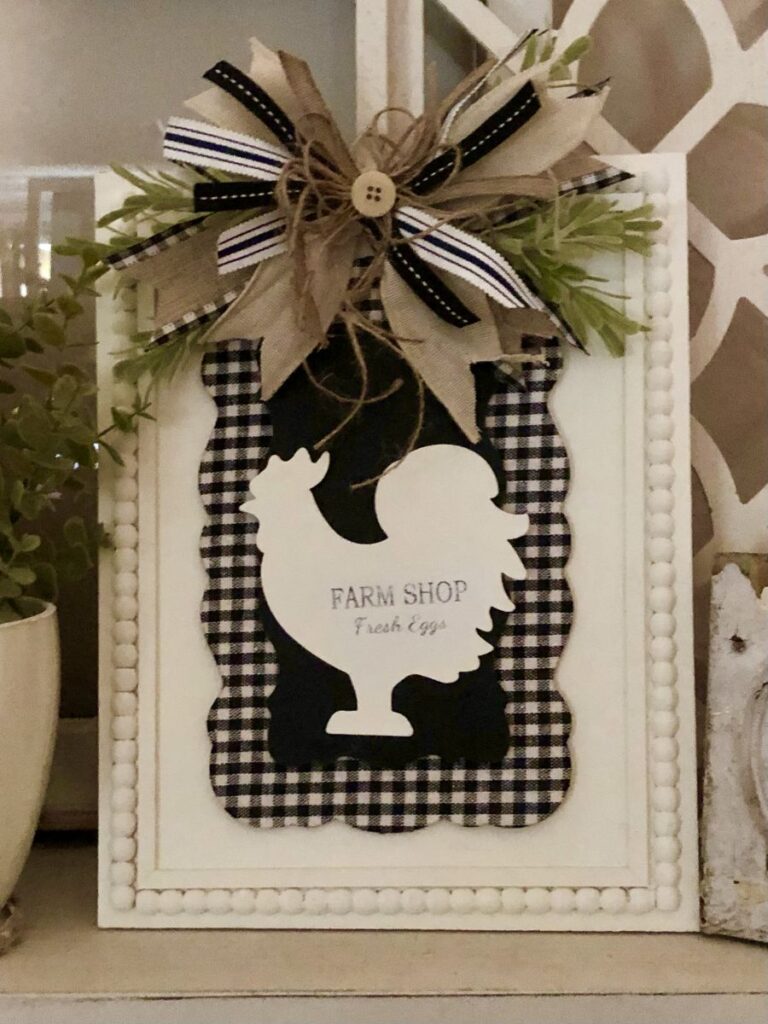
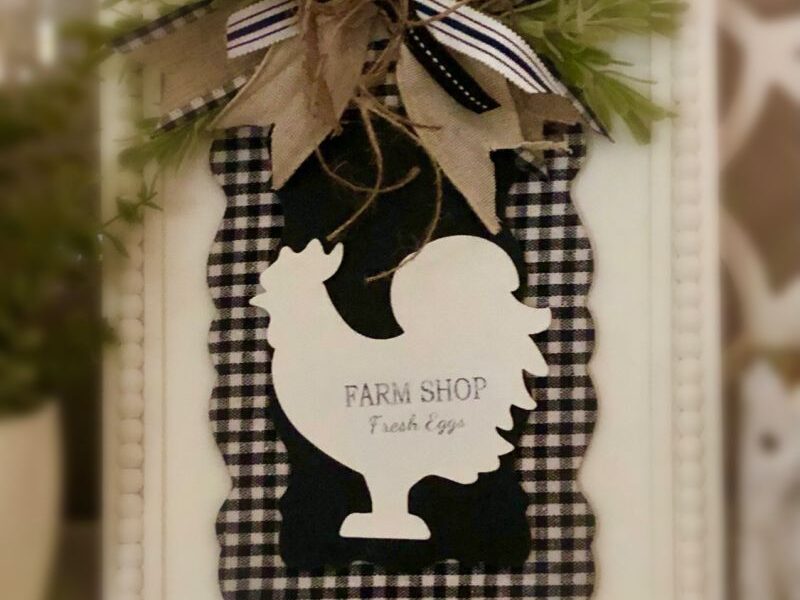
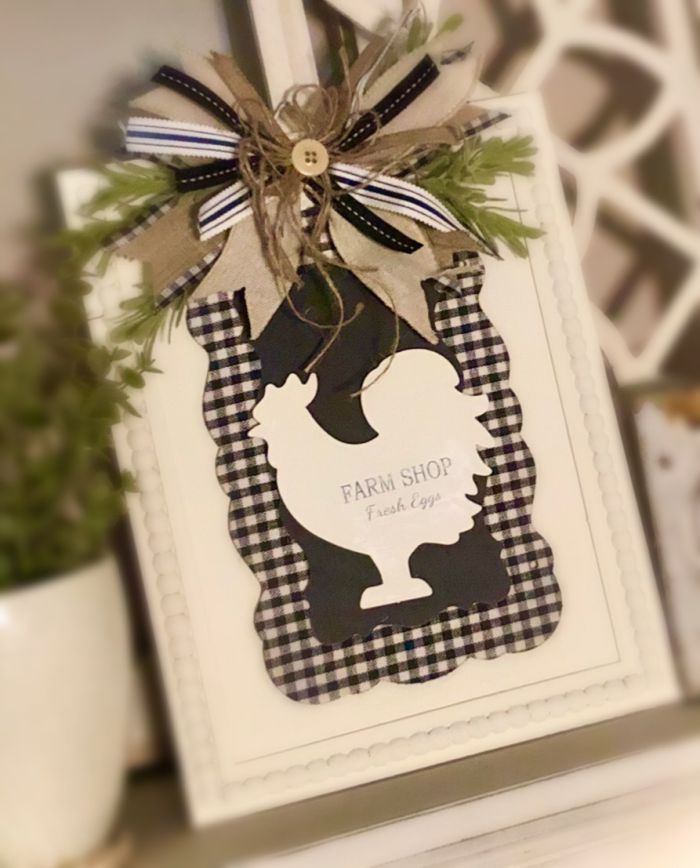
I hope this project has inspired you to create something similar for your home. Here’s a few more pictures of the finished sign.
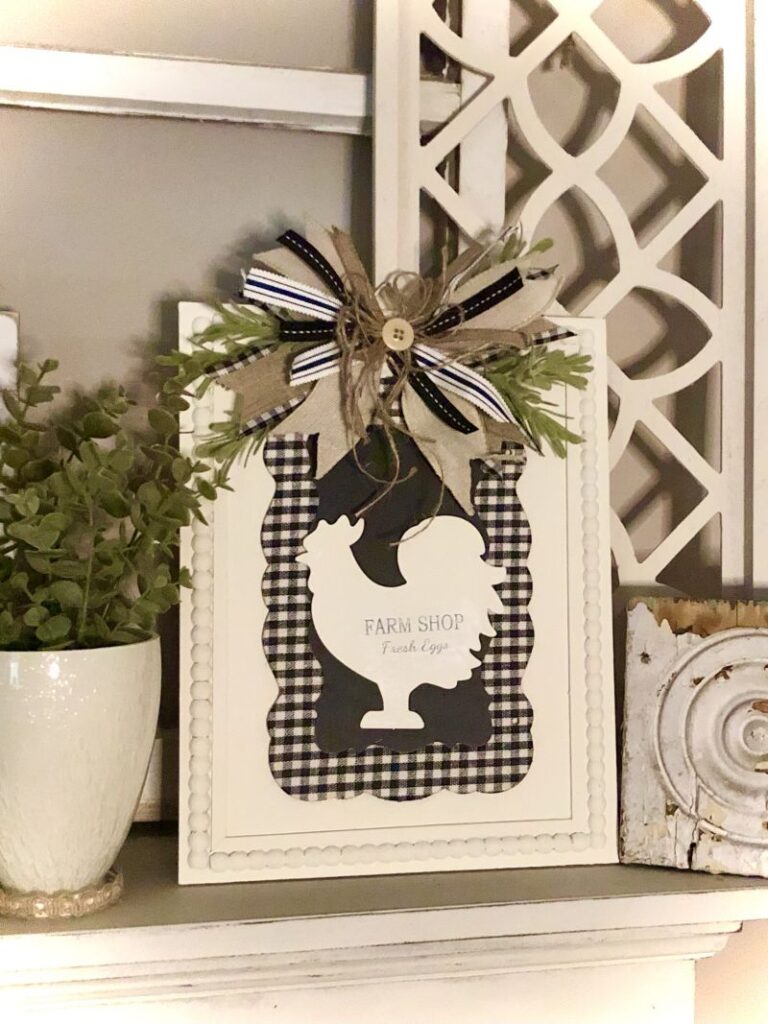
If you liked this project, you may also like this one featuring a Dollar Tree mini chalkboard. Also the little vase above left is an DIY repurpose project you may be interested in.
Until next time…..
Happy Crafting!
Pamela
 Create Christmas Decor using a December Calendar Image
