
Hello Sweet Friends,
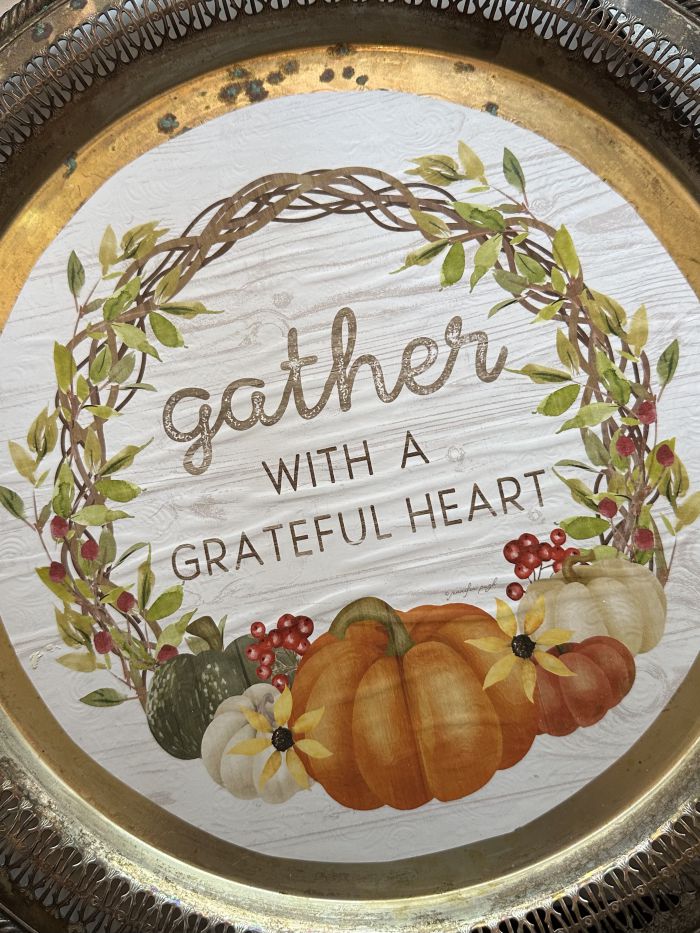
Today I am sharing an easy DIY using a calendar image and a thrifted silver tray. This is my final project from Jennifer Pugh’s 2023 Seasons of Joy calendar and I will be using the November image.
If you have been following me for very long, you may have already seen my other projects using images from the same calendar. I have tried to come up with twelve different projects, but in reality, a few of them were very similar ideas. It has really been a fun endeavor and I hope you have enjoyed the other projects as well as this one.
So without any other delay, let’s get right to it!
Supply list
- vintage silver tray
- November calendar image
- Waverly white chalk paint and antique wax
- Mod Podge
- paint brush, scissors, pencil, round paper plate
- ribbon
- assorted faux fall florals and foliage
- glue gun
- small crafting iron and parchment paper, optional
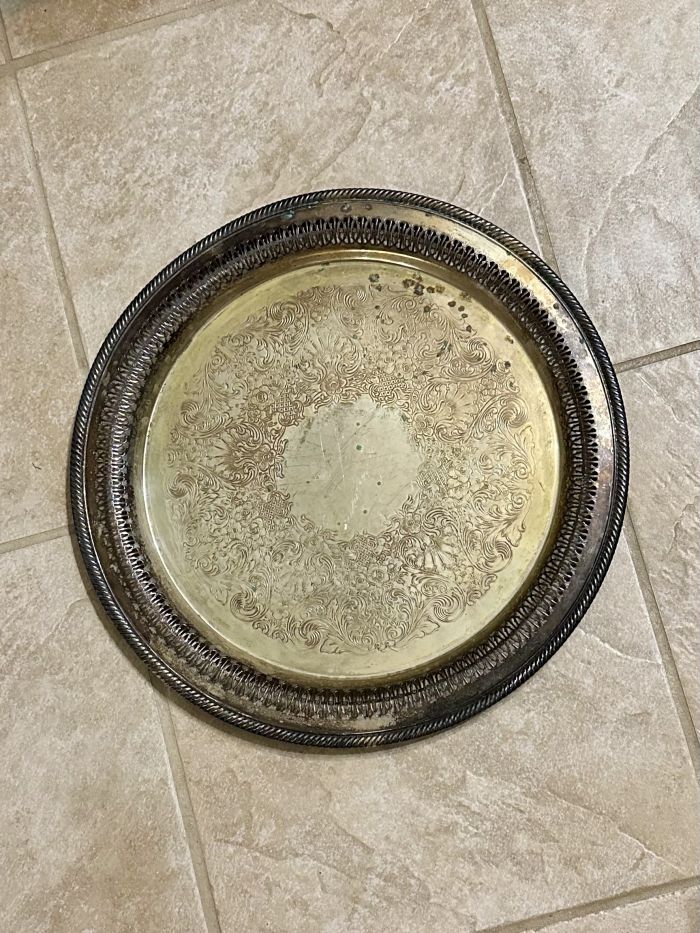
As you can see in the picture below, the silver tray I found at a thrift shop is full of tarnish and a rich aged patina. I may not be for everyone, but I just love the vintage look of aged silver!
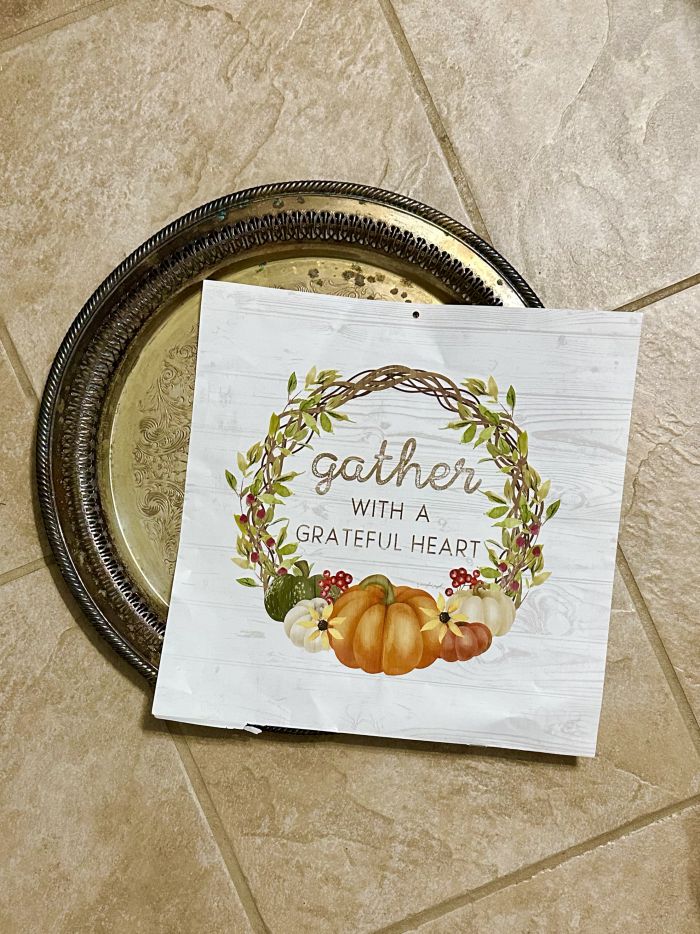
For the first step, I needed to cut the image down to size for the silver tray. I traced around a paper plate, then cut it out.
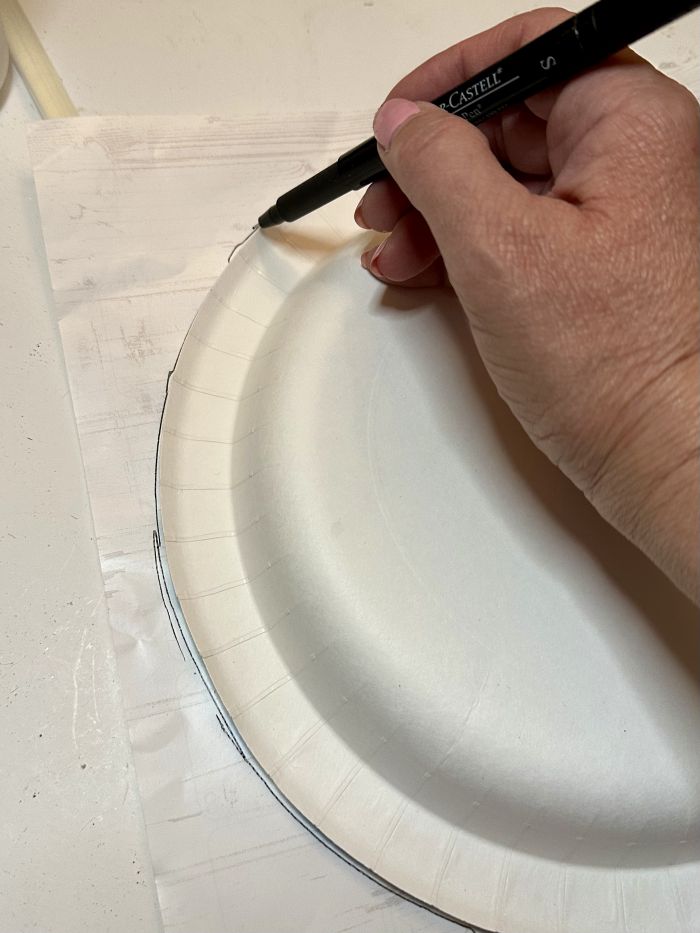
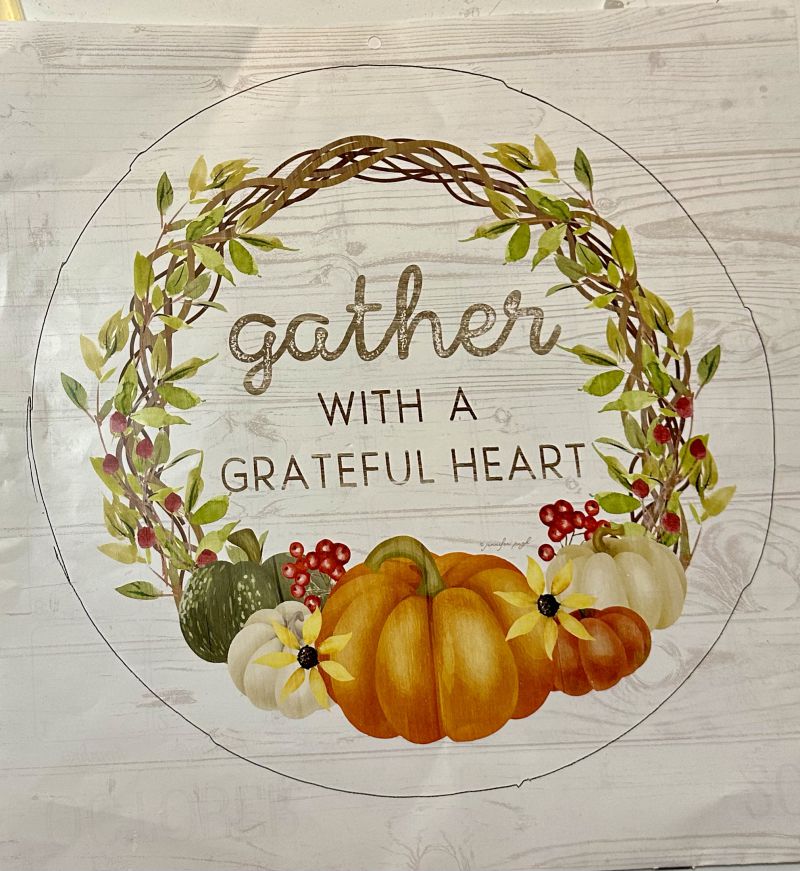
I then applied a liberal coat of Mod Podge to the silver tray. Then gently pressed the image to it. Then topped the image with another coat of Mod Podge,
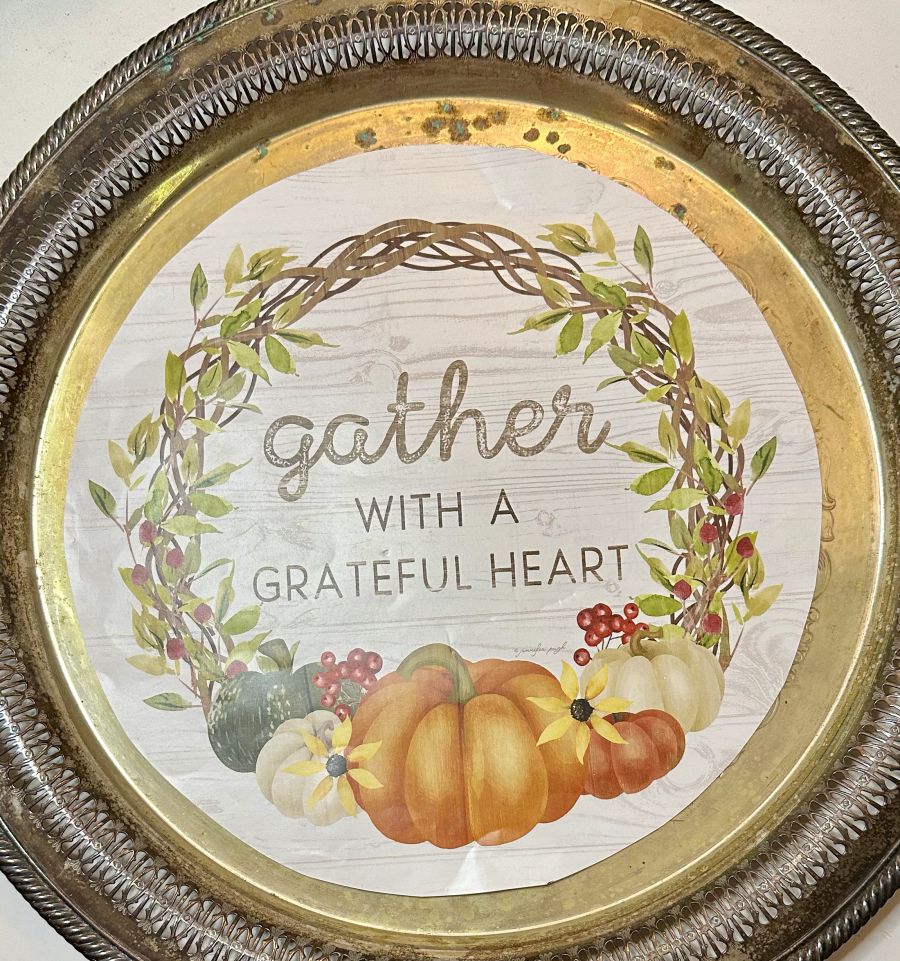
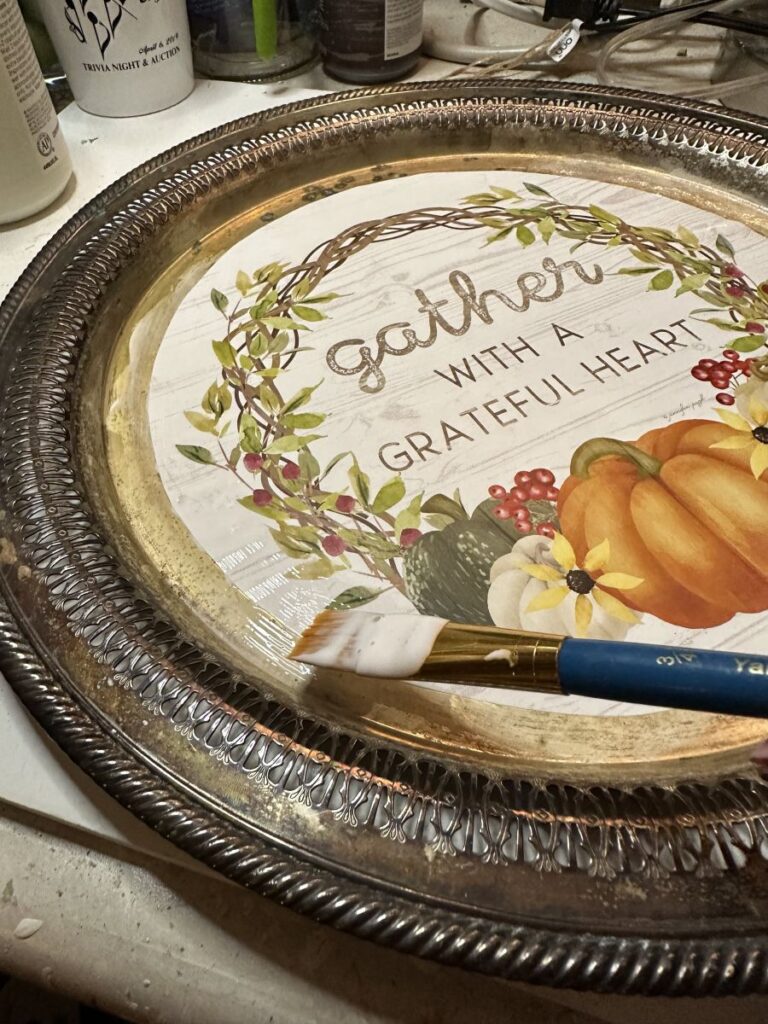
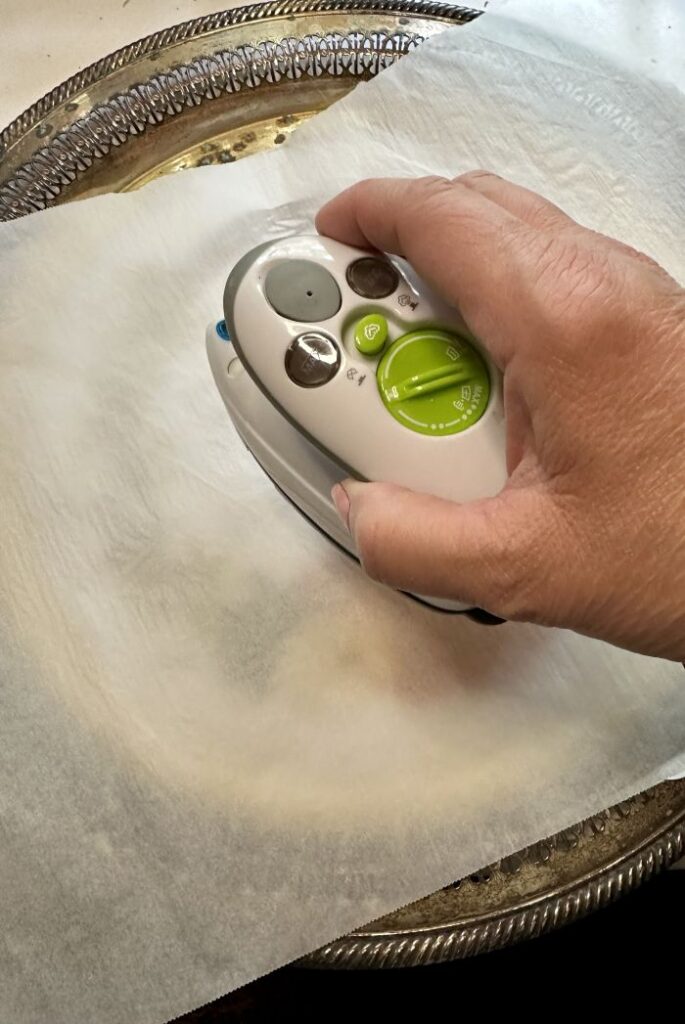
After it was dry, I noticed a few “wrinkles” in the image, so I used my small crafting iron and some parchment paper to help smooth them out.
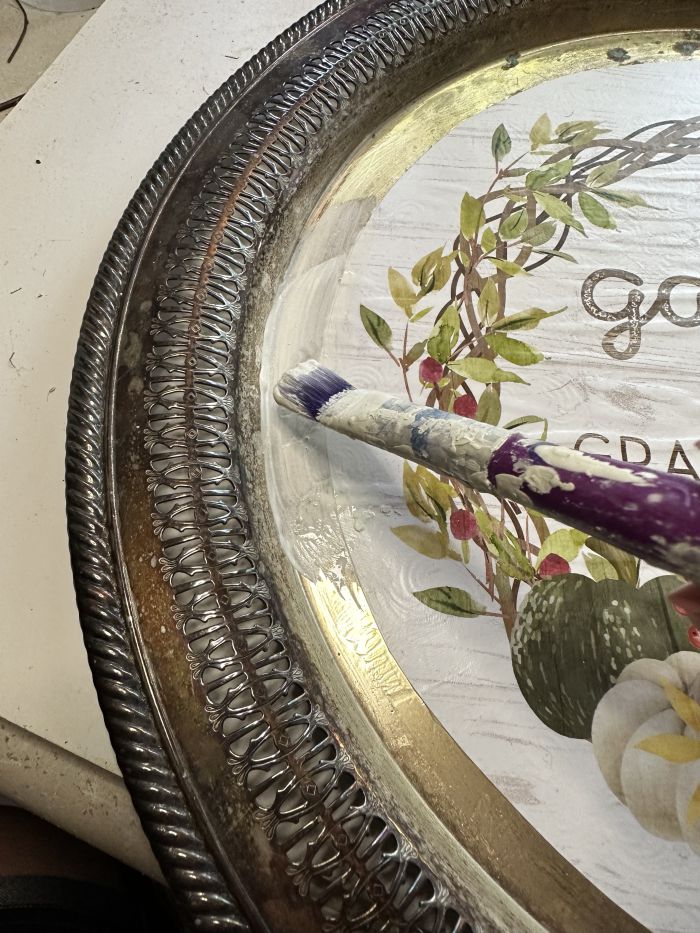
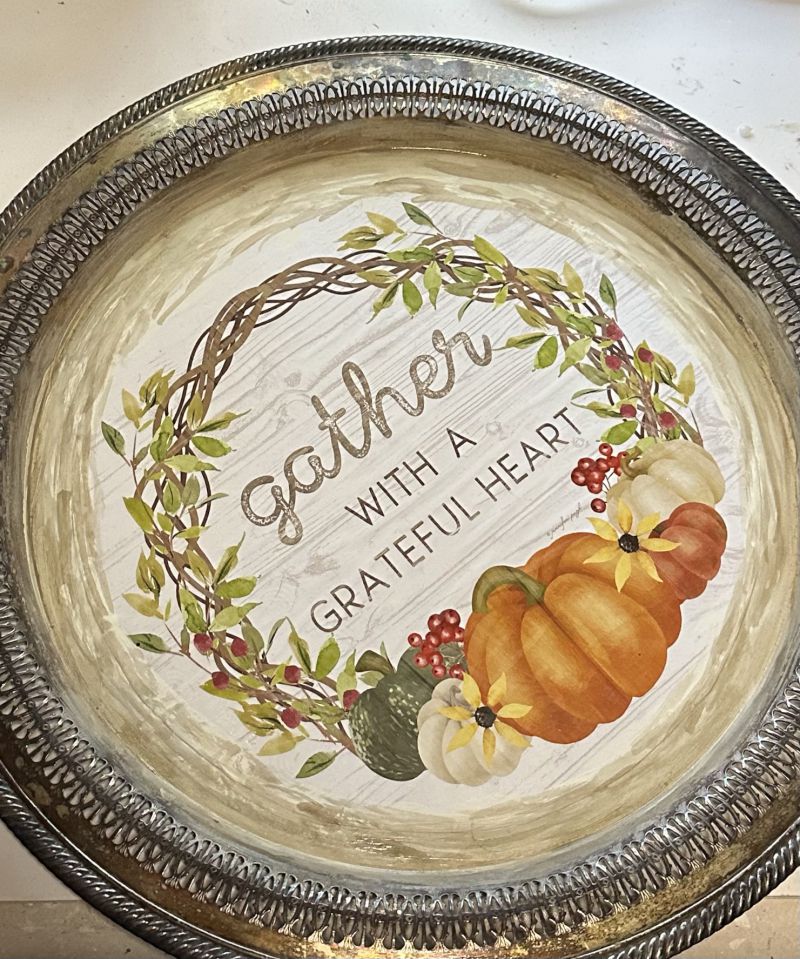
To help blend the calendar image with the silver tray, I painted some off-white paint around the perimeter, followed by some antique wax. I just love how the antique wax sort of transitioned into the vintage silver so nicely.
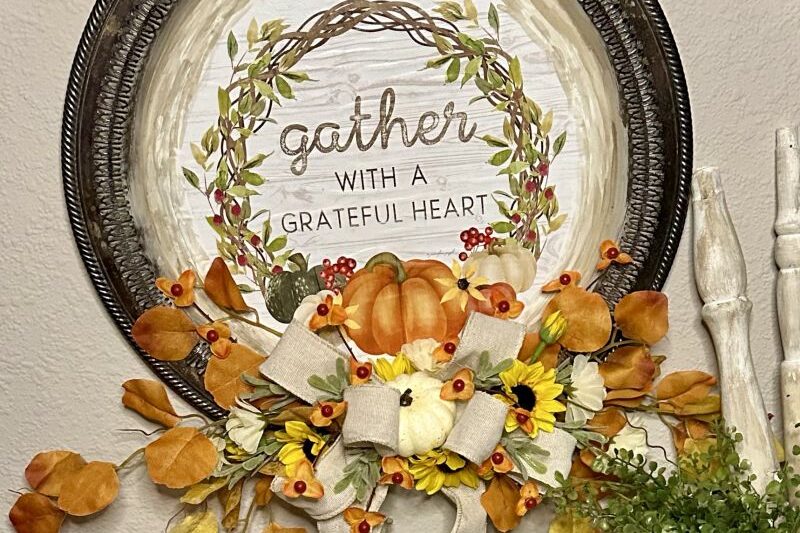
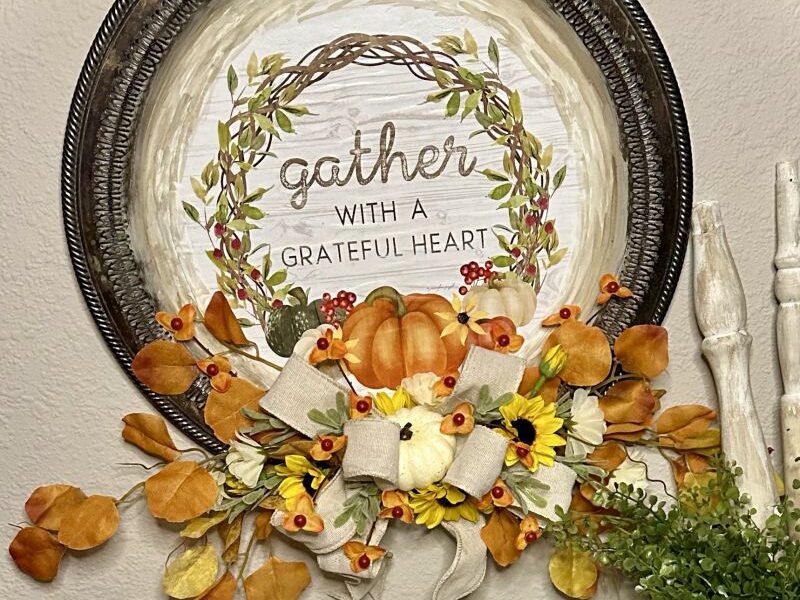
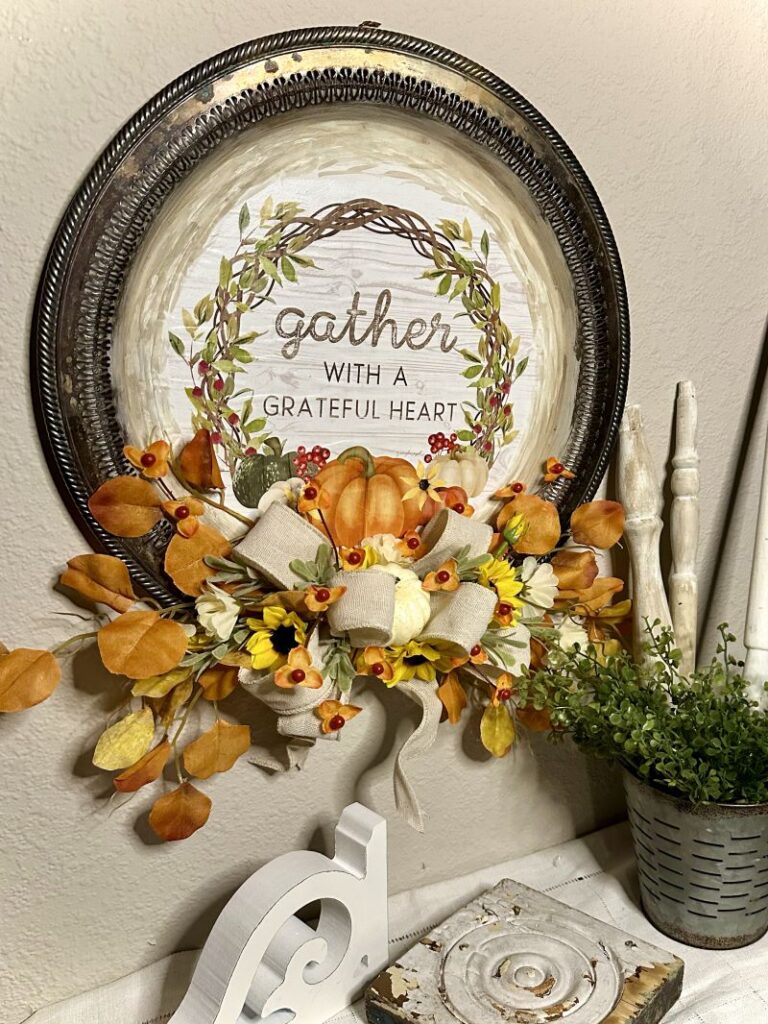
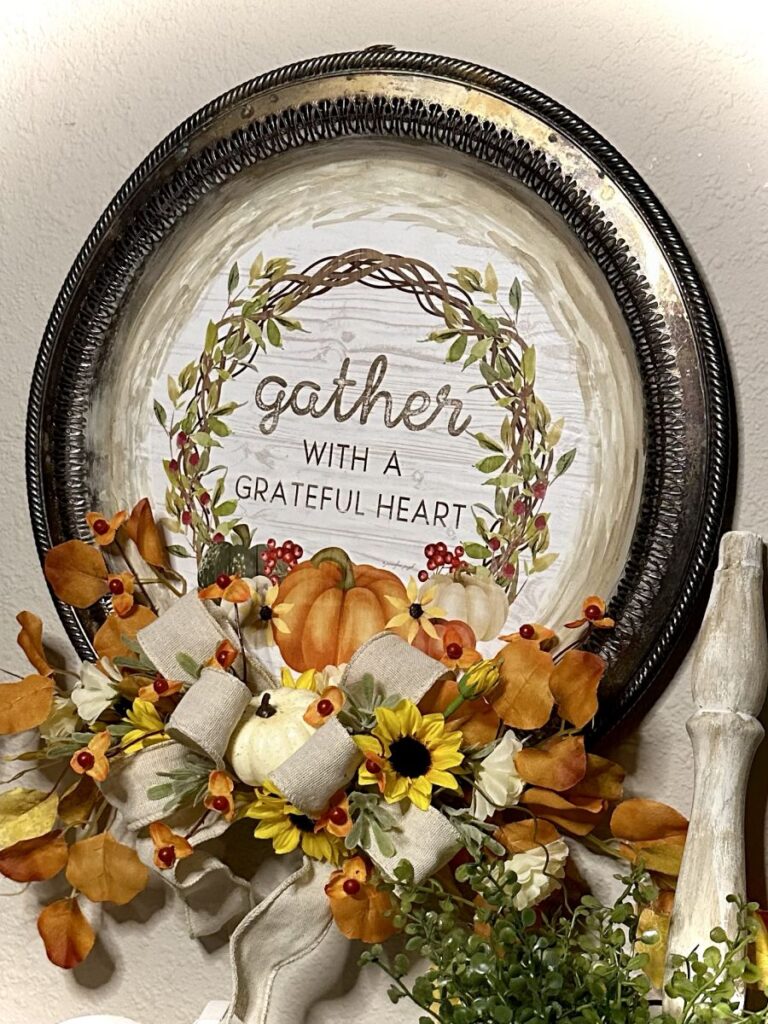
The final embellishment that I added was a neutral bow and some faux fall flowers to match the image. I wired the bow to the bottom of the tray through the small holes in the design. Then I hot glued the fall florals onto the tray.
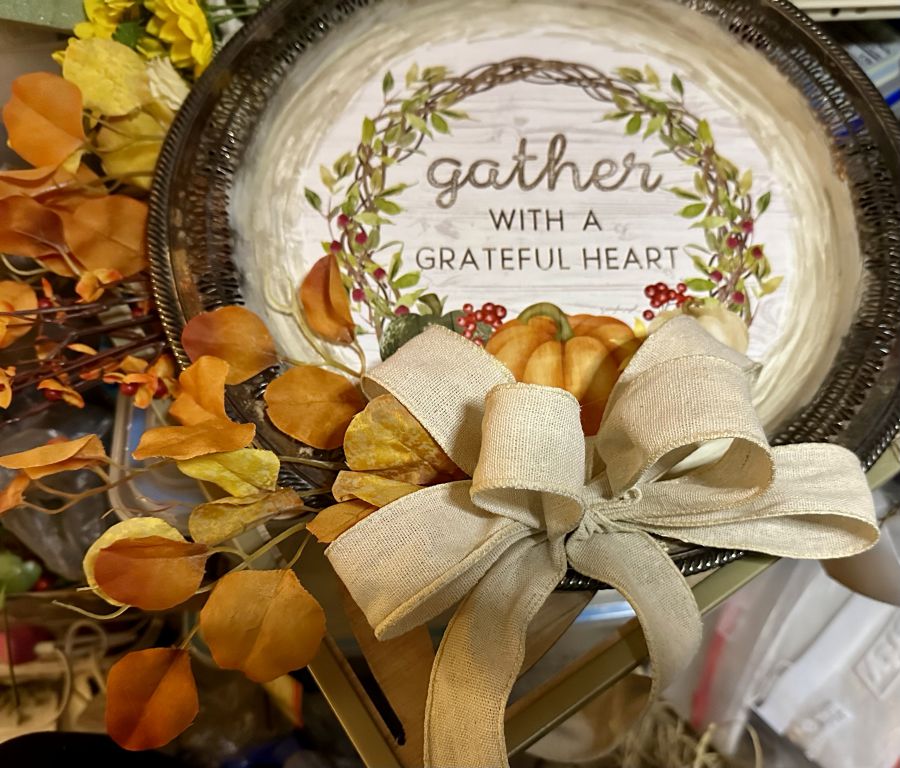
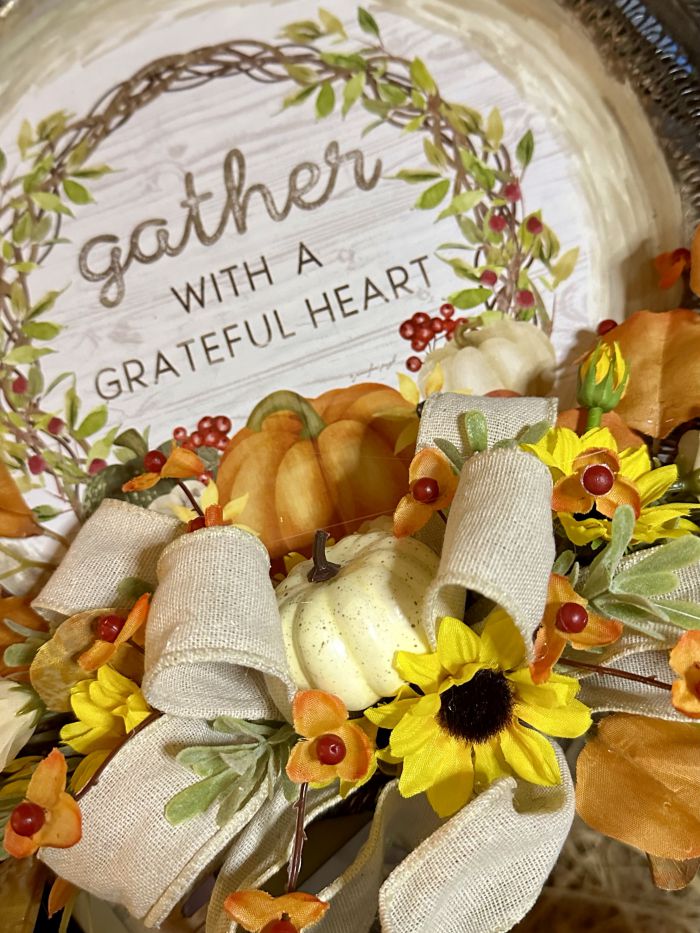
This calendar page craft project just might be my favorite! How CUTE is it? I’m just THRILLED with how it turned out.
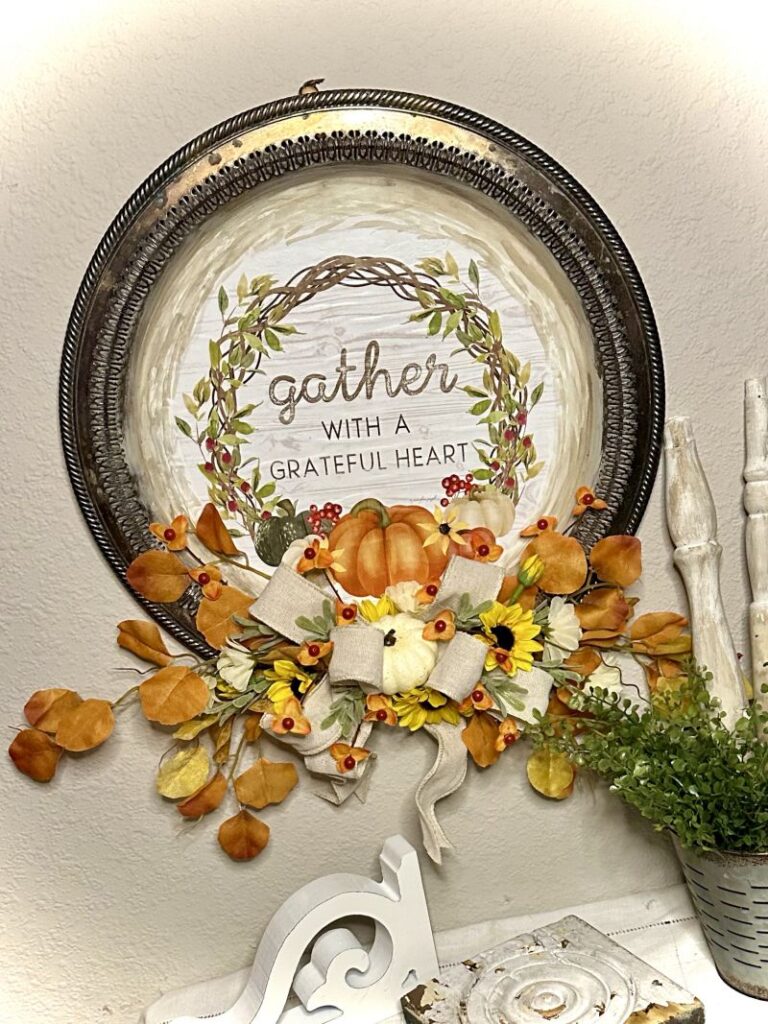
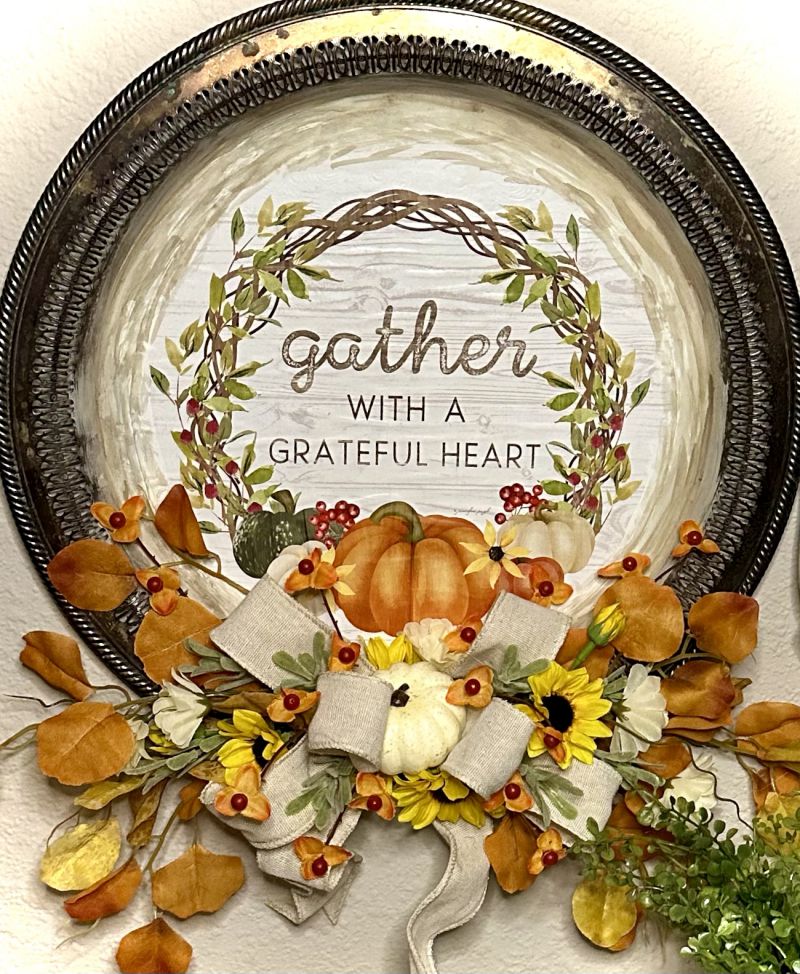
If you like this project, check out a few of my other calendar page craft ideas here and here. Or simply type “calendar” in the search bar.
I hope you have enjoyed the calendar projects as much as I have and that I have inspired you in some small way to get crafty and create something beautiful for your home.
Until next time…
Happy Crafting!
Pamela
 Easy Way to Create a Pumpkin out of Twine

Clever idea ???? with vintage tray with calendar pic!! Love ???? the blended affect with the off white and wax also! Beautiful piece!????