
Hello Sweet Friends,
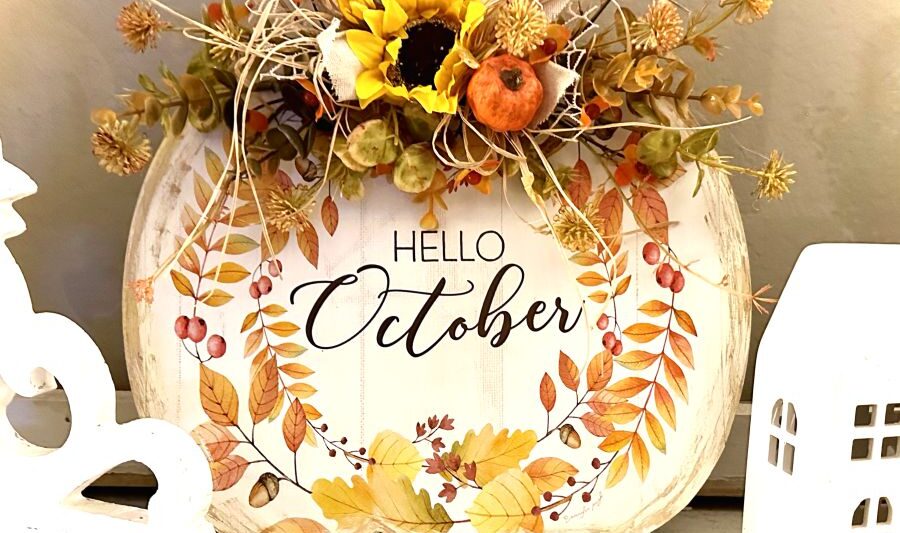
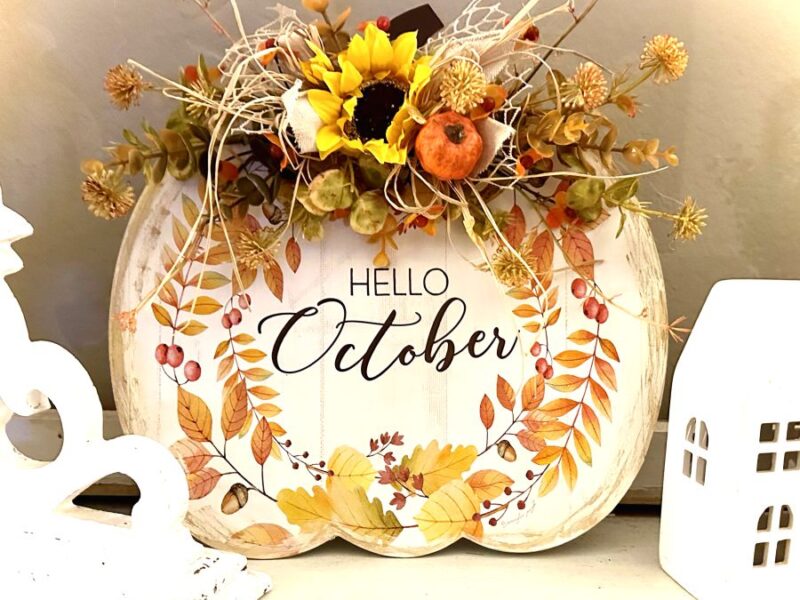
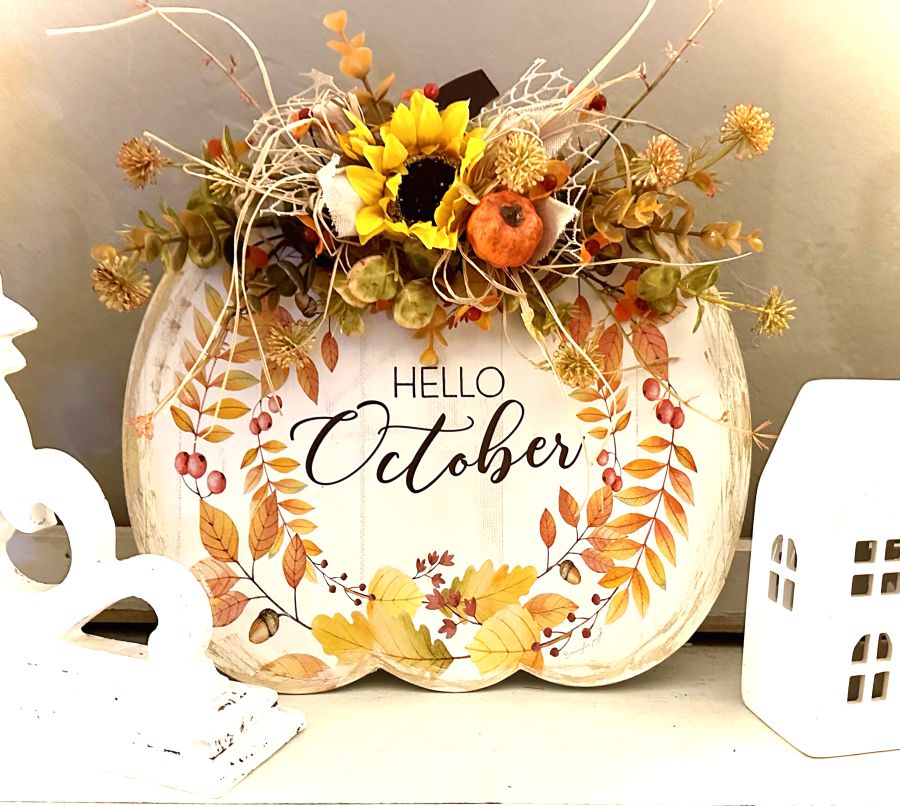
My latest craft project is a Dollar Tree pumpkin sign makeover. I’ve chosen the October image from the 2024 Jennifer Pugh calendar, also from Dollar Tree, to transform the pumpkin sign into a SUPER cute piece of fall decor.
All of the fall foliage is so colorful and beautiful this time of year, and I love using those colors in my fall creations. So this latest project has been a lot FUN to create!
Follow along and I’ll show you how you can easily create one for yourself.
Supply list
- Dollar Tree pumpkin-shaped sign
- October image from Dollar Tree calendar
- ribbon, fall florals and foliages, other embellishments
- sandpaper
- Waverly chalk paint, color plaster
- Waverly antique wax
- Mod Podge
- small crafting iron
- parchment paper
- paint brush
- scissors
- glue gun
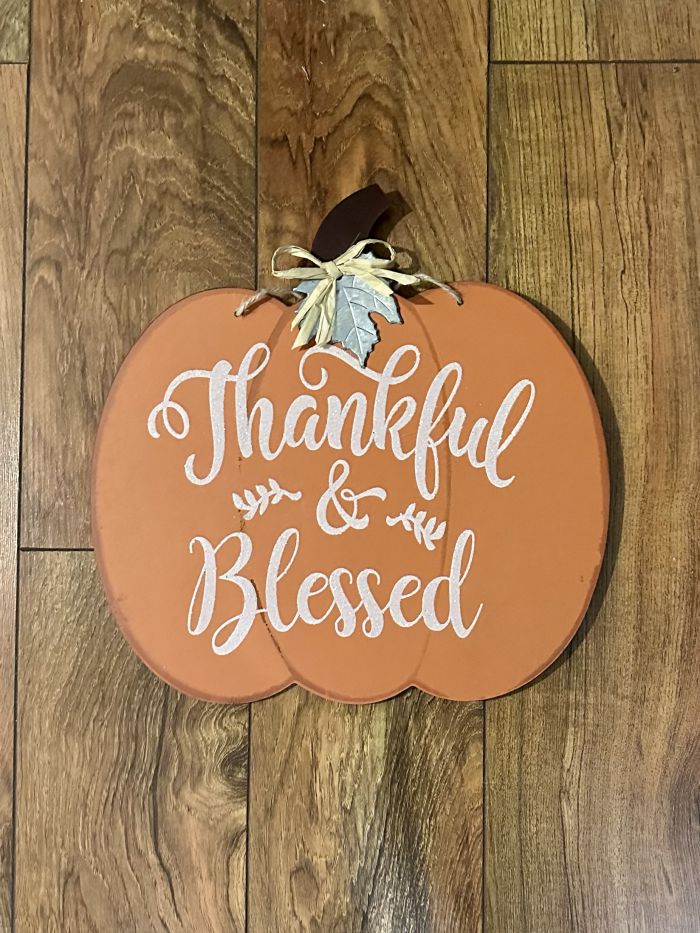
This Dollar Tree sign is kinda CUTE already, but I was ready to change it up, so that’s just what I did. The first order of business was to sand off all of the glitter, and create a smooth surface to work on. It’s kind of hard to see in the above picture, but the lettering is covered in white glitter. So I just kept sanding and sanding until the sign was completely smooth.
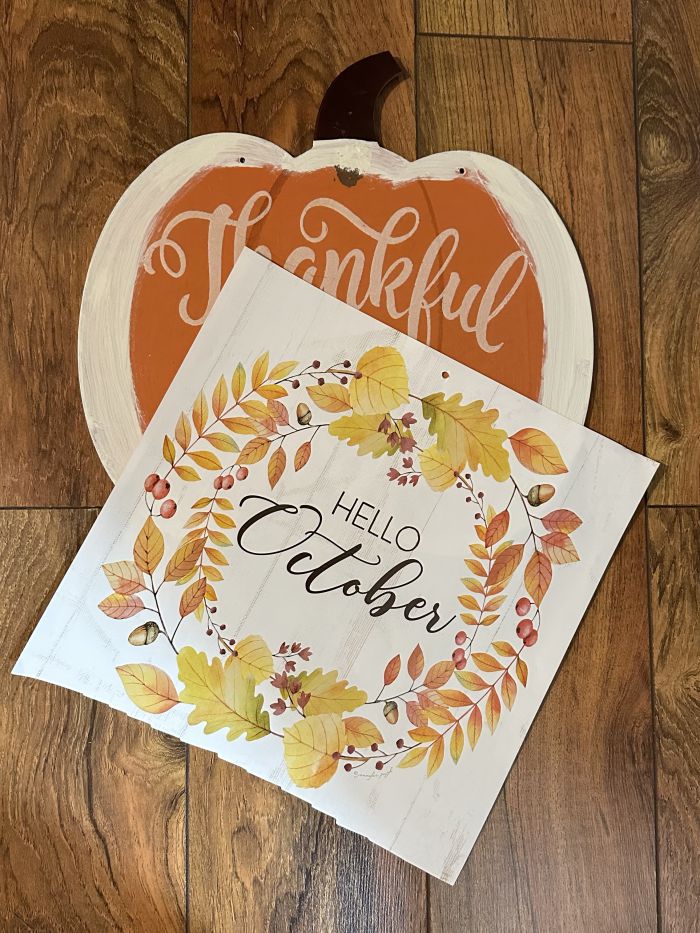
I noticed that the calendar image was slightly narrower than the pumpkin sign, so I painted some off-white paint around the perimeter in hopes that it would blend well with the image.
Once the paint was dry, I painted a very liberal coat of Mod-Podge onto the sign. Before going any further, I also let the Mod-Podge dry.
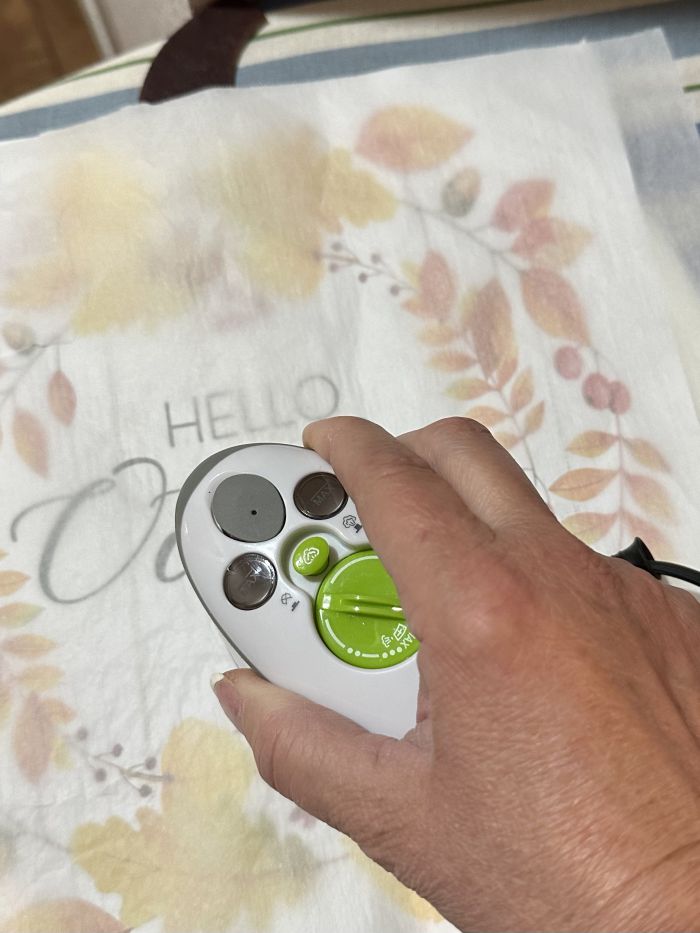
To make the calendar image adhere to the pumpkin sign, I used a small crafting iron and a sheet of parchment paper. The heat from the iron bonds the paper to the sign without any wrinkles. Pretty COOL, right?
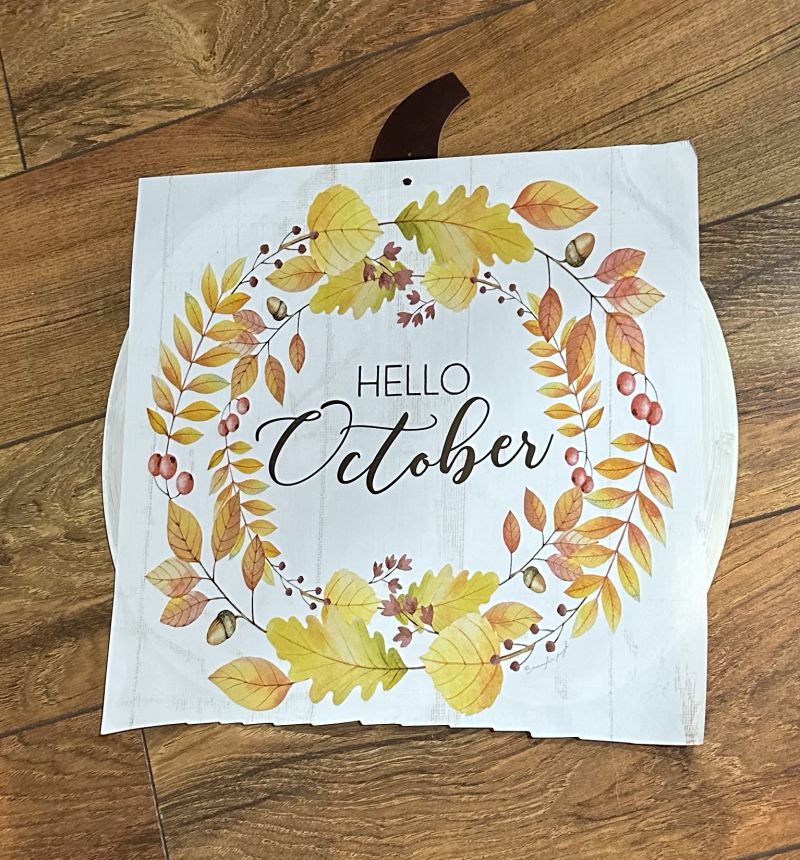
Using scissors, I cut the extra paper edge of the image as close to the pumpkin shape as possible. You can see the outer edge of the pumpkin that did not get covered; the off-white paint matched pretty well, so I was glad for that.
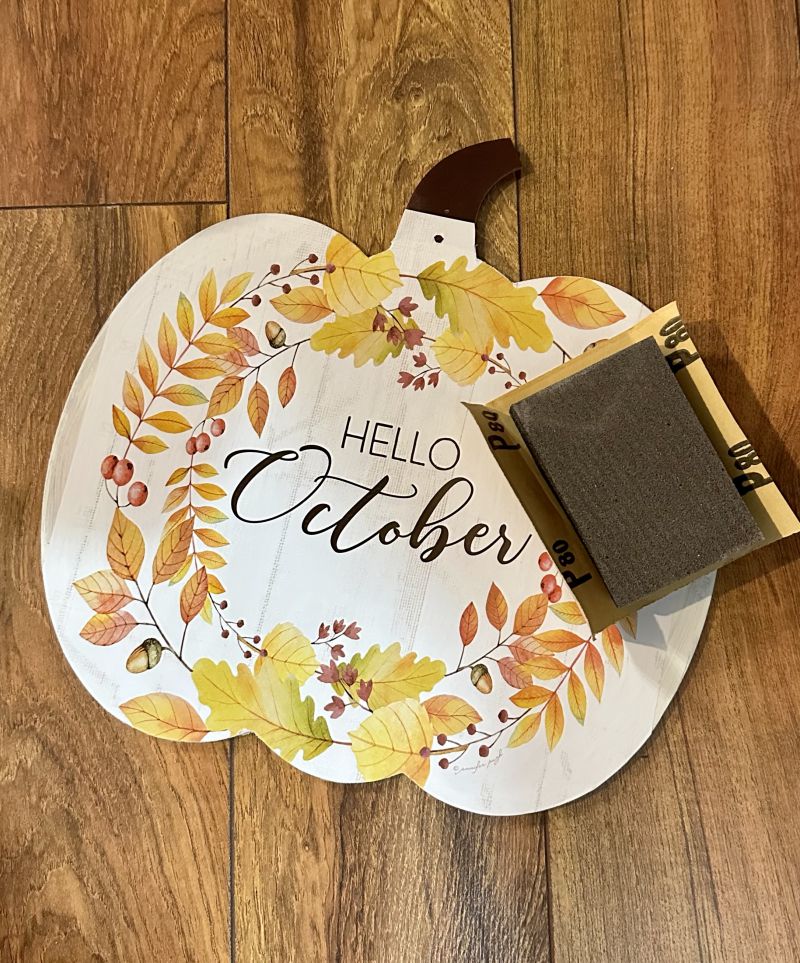
Then I grabbed my sandpaper and got to work sanding around the edge, removing any remaining paper that the scissors left behind.
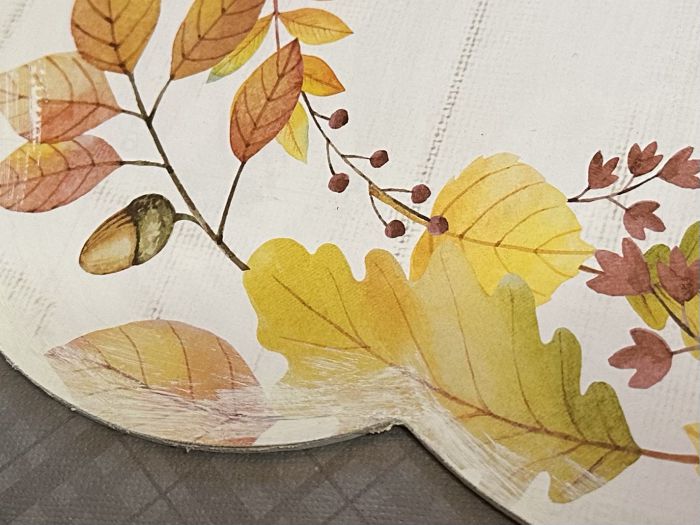
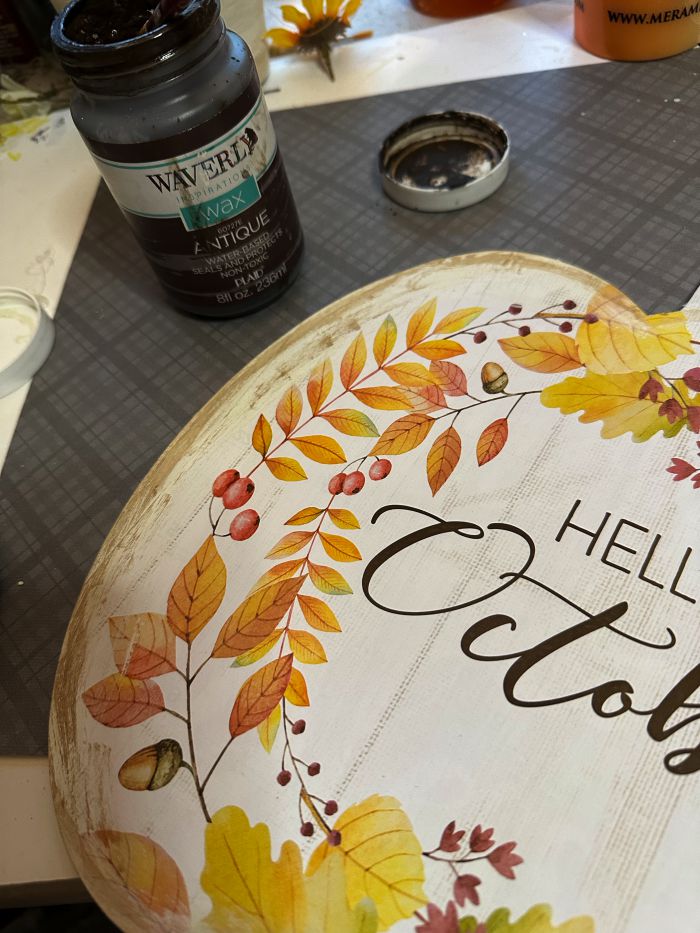
To help blend the edges, I dry brushed some of the white paint, then the antique wax, around the perimeter the pumpkin sign.
Then it was time to add the final embellishments.
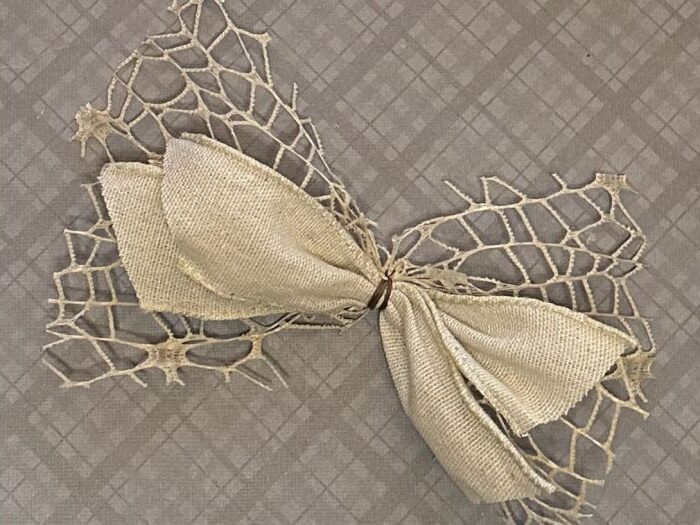
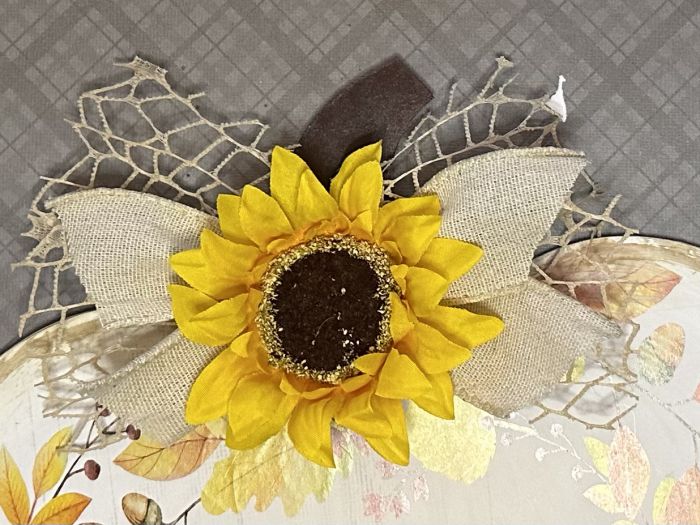
I tied a simple bow with two neutral ribbons and glued it to the pumpkin sign. Then began adding some fall florals, foliages, and accessories.
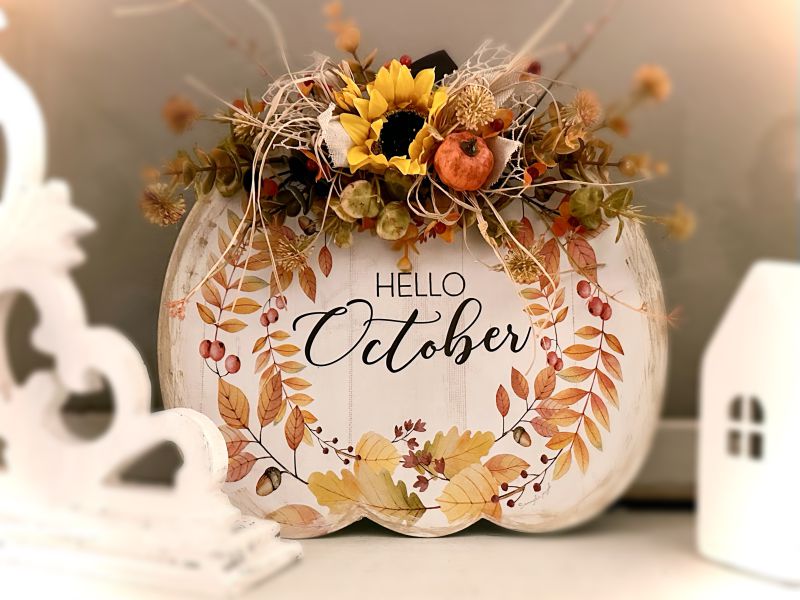
I think the sign turned out SO DARN CUTE, don’t you?
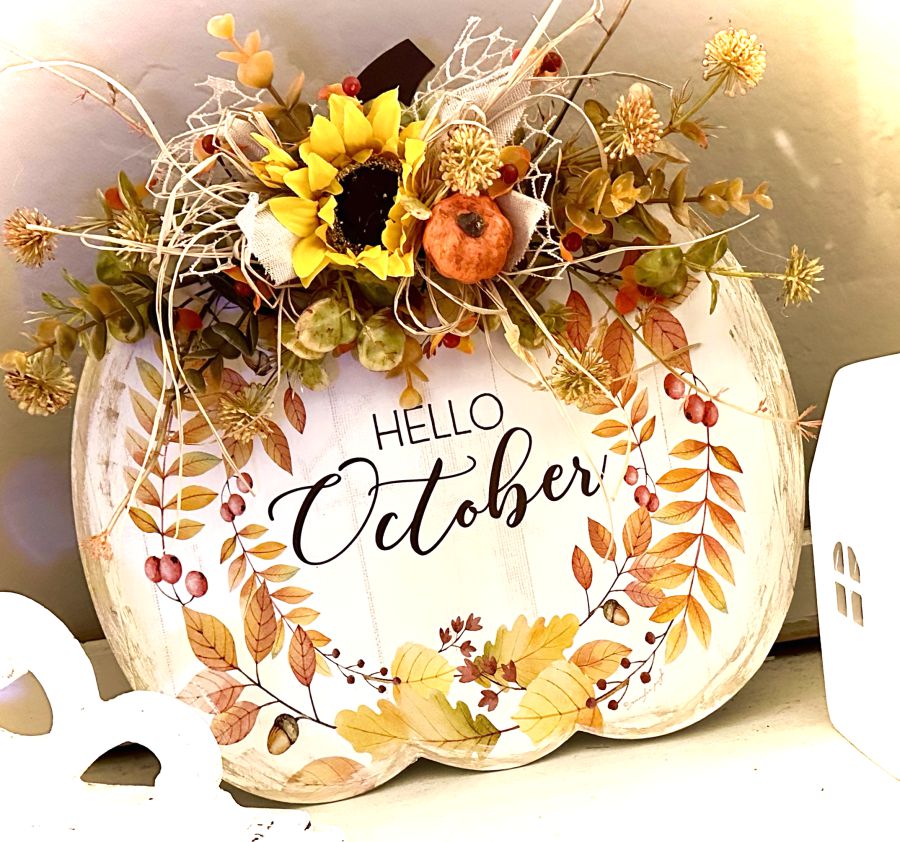
This was such a simple, easy, craft project. I hope you give this idea a TRY!
Let me know what you think!
Until next time…….
Happy Crafting!
Pamela
 Quick and Easy Fall Craft
That is gorgeous I have a couple of these calendars and some blank pumpkins which would work great, I love this idea
So glad you like this idea!