
Hello Sweet Friends,
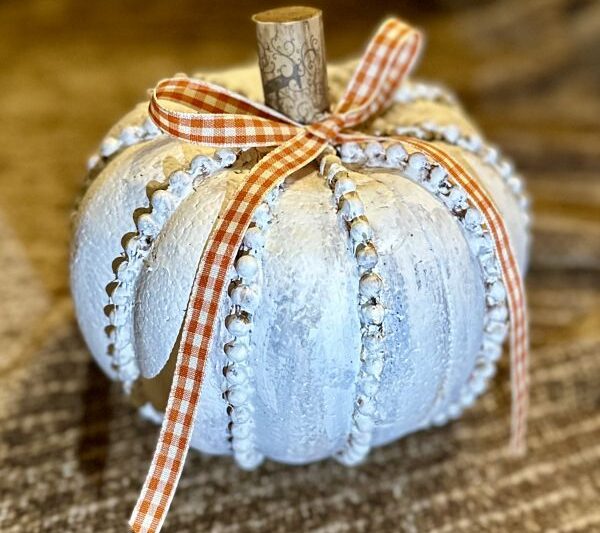
I’m back with another fabulous Dollar Tree fall craft idea: a beaded pumpkin. You’ve probable seen the DT styrofoam pumpkins for the last several years. They used to just come in a bright orange color, but more recently, I’ve seen plain white ones. For this particular craft, one of the white pumpkins would have worked better, but I already had an orange pumpkin in my craft stash, so that’s what I used.
Please follow along to see just how EASY it is to create this beautiful pumpkin.
Supply list for beaded pumpkin
- DT styrofoam pumpkin
- string of mini beads
- glue gun
- scissors
- white paint
- antique wax or brown paint
- cork, stick, cinnamon stick, or other for the stem
- ribbon for embellishment
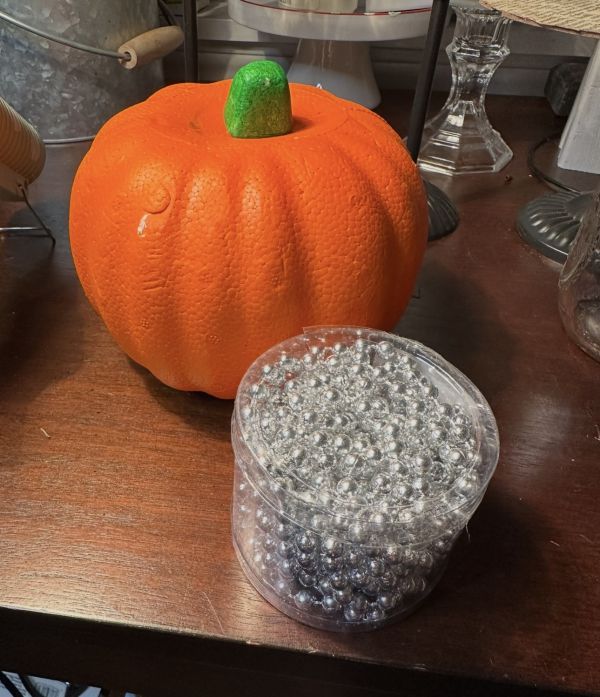
The first step is to remove the pesky bright green stem and set to the side. The cut a small hone in the top of the pumpkin.
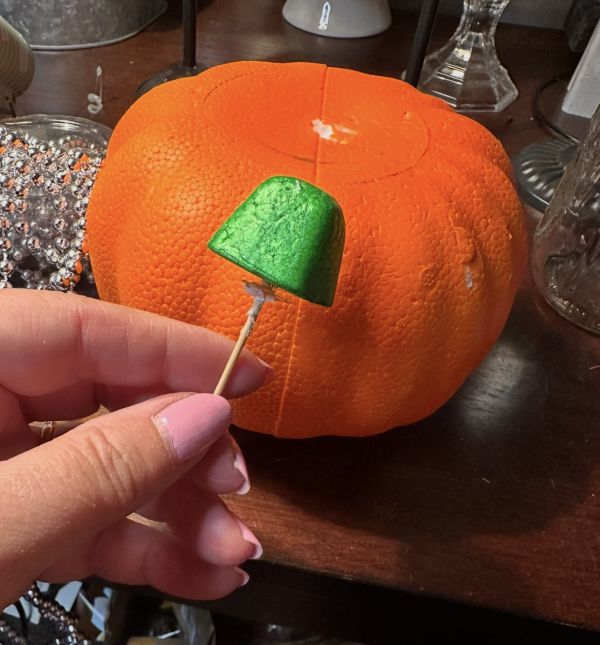
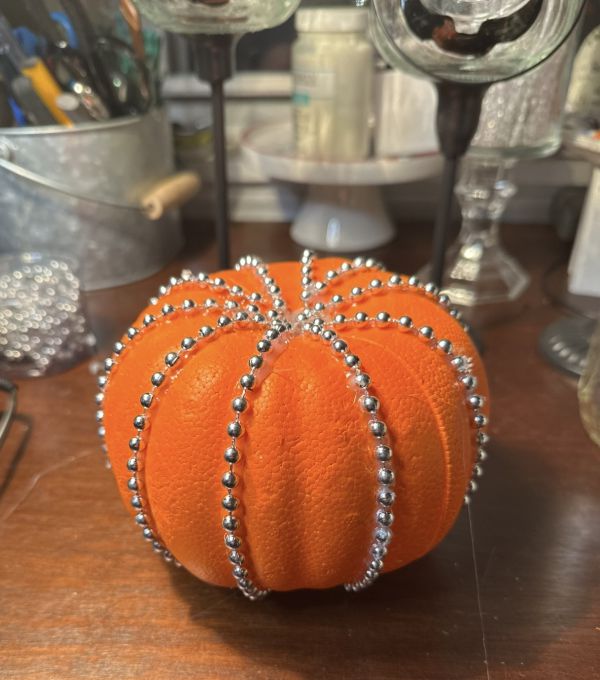
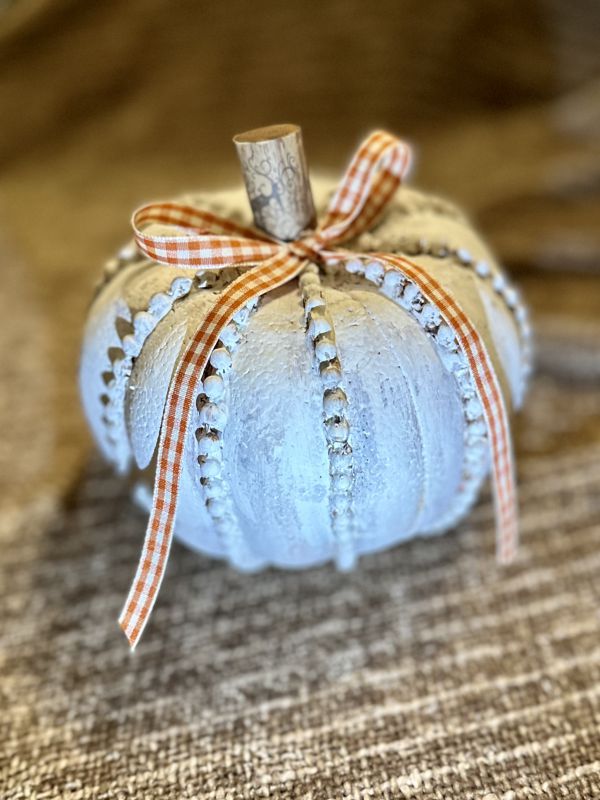
For the next step, I glued strands of beads along the grooves of the pumpkin; spacing them apart as evenly as I could. See photo below.
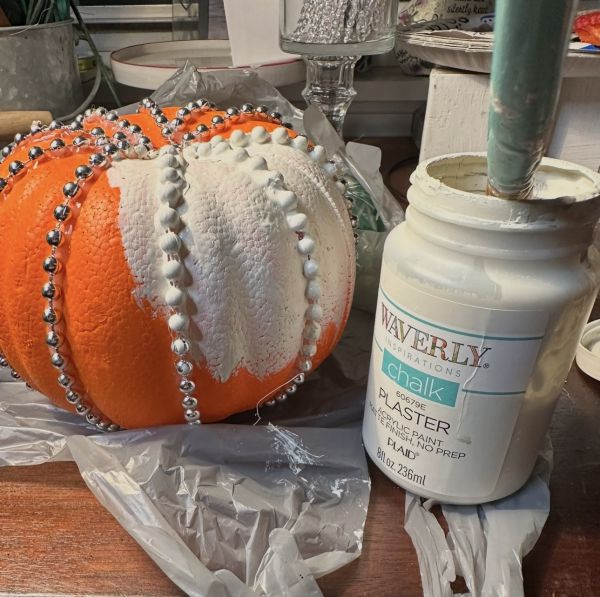
Using Waverly chalk paint in the color plaster, I gave the pumpkin two coats of paint, with dry time in between.
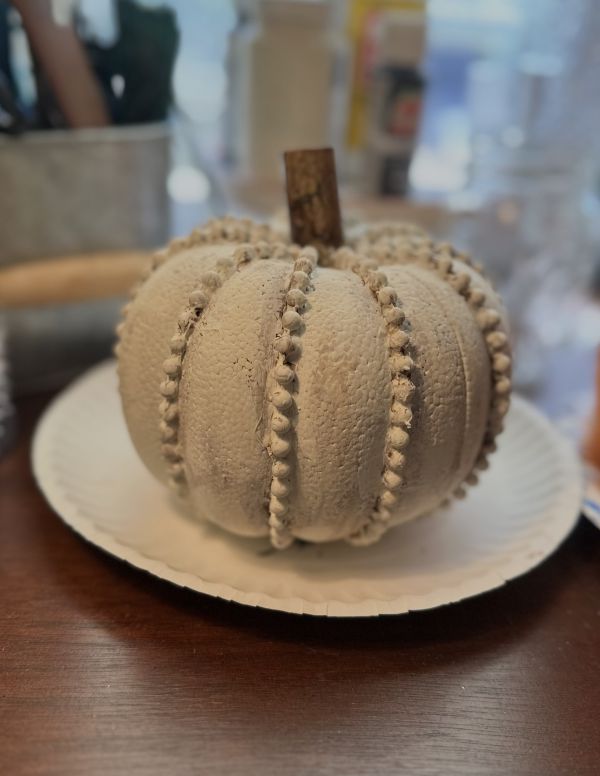
Then I lightly brushed with the antique wax to give it an aged look. I also wedged a cork into the top as a stem added a little glue to secure.
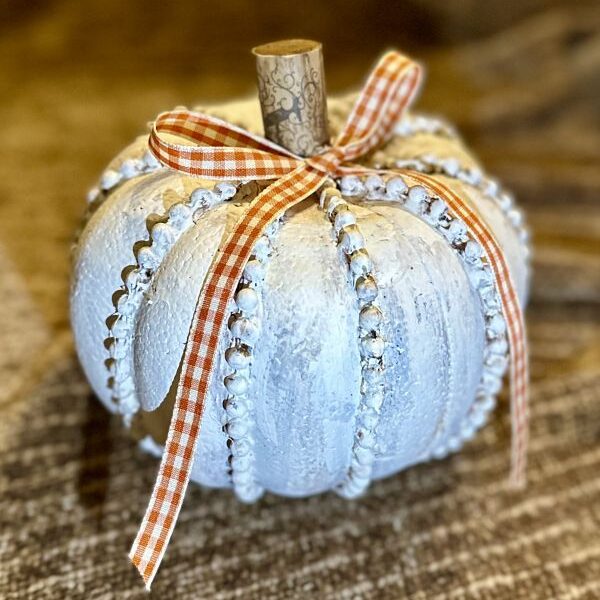
The final embellishment was a small ribbon glued to the stem. And didn’t this little project turn out so CUTE??
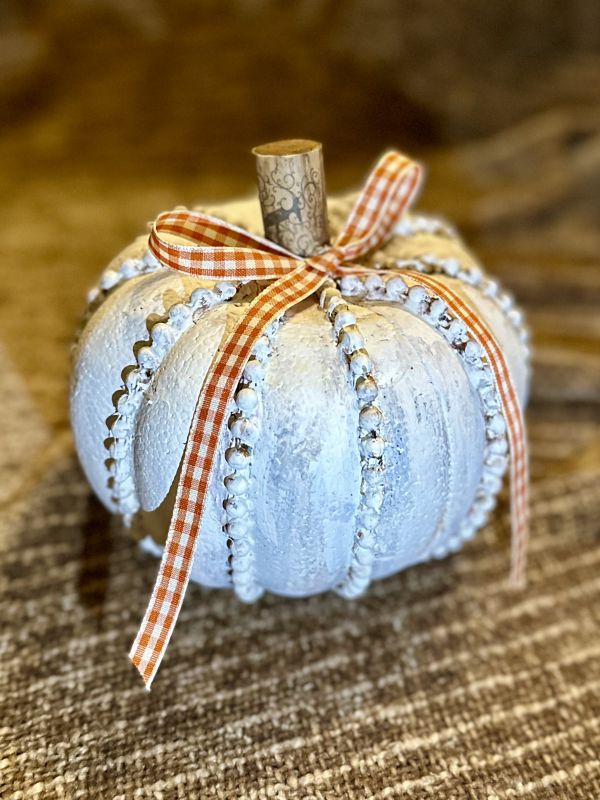
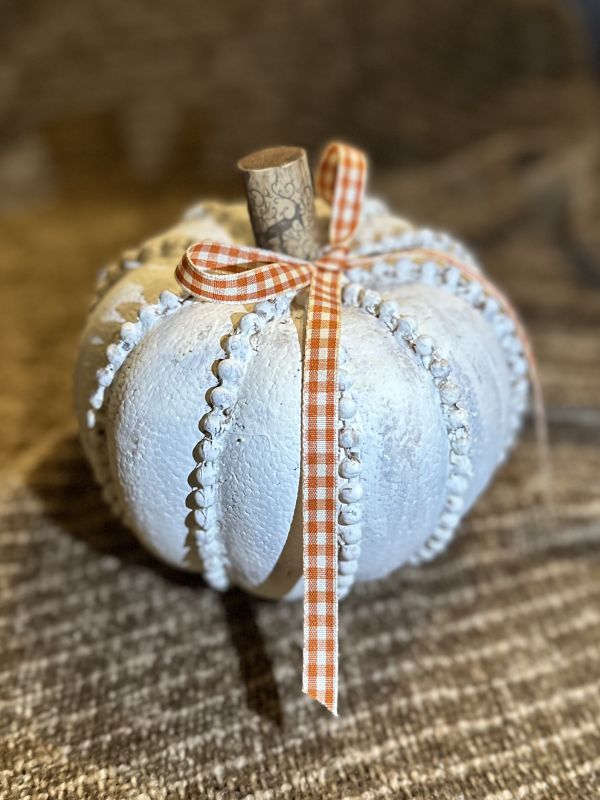
And a few more pictures of the cute little pumpkin.
I hope you’ve enjoyed this cute little craft idea and you are inspired you create something beautiful for your home.
Until next time,………. Happy crafting!
Pamela
If you liked this craft idea, you may also like this DT pumpkin idea: fabric covered pumpkin
 How to Make Fall Decor using a Dollar Tree Frame and a Napkin