
Hello Sweet Friends,
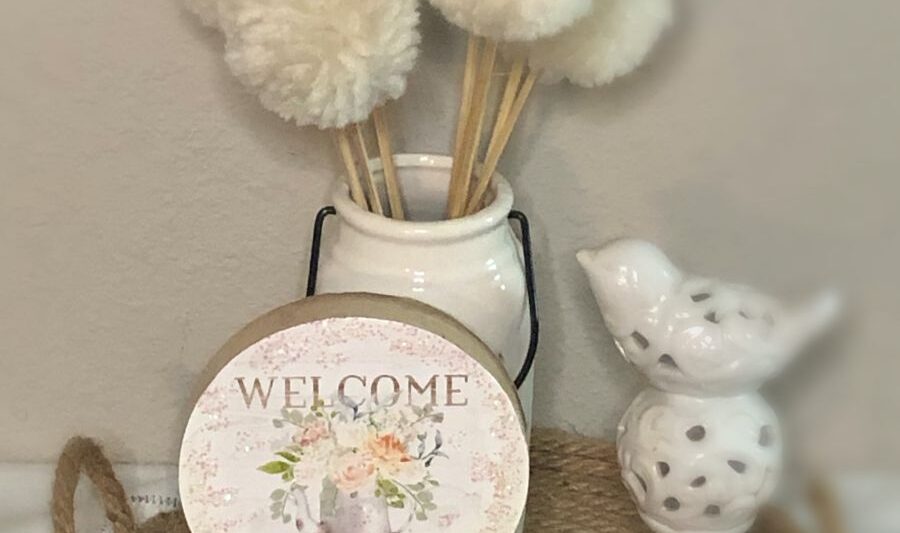
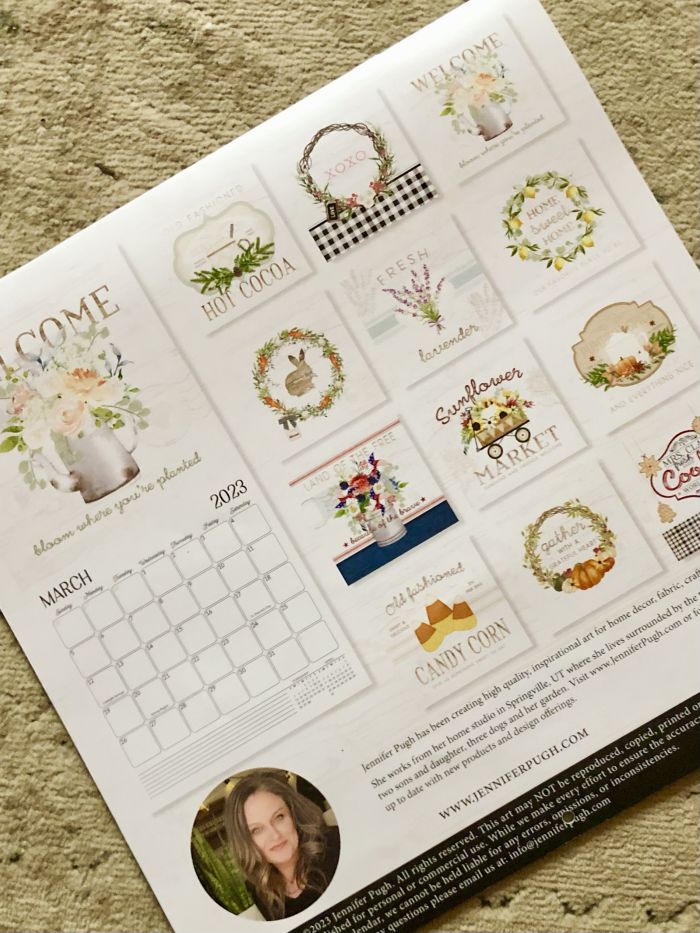
If you have been following Craftsy Soul for any length of time, you have probably seen my posts about using calendar images to create decor pieces. For today’s DIY I will be giving a Dollar Tree snow globe a makeover with a small image from the 2023 Seasons of Joy Calendar by Jennifer Pugh. On the back of the calendar, there are mini images from each month in the calendar, and I chose the March image for this project.
Follow along to see just how quick and easy this makeover was.
Supply list
- Dollar Tree snow globe shelf sitter (a Christmas item)
- calendar image
- scissors and pencil
- Mod Podge and small paintbrush
- off-white chalk paint
- sandpaper
- iridescent glitter
- small burlap trim/ribbon and other small embellishment
- glue gun
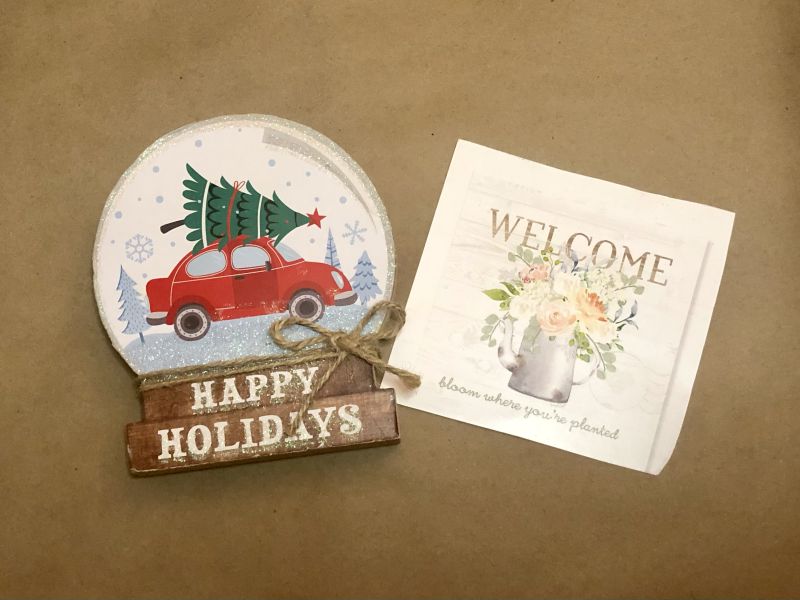
I think this snow globe shelf sitter is pretty cute, so I decided to use the back side for this DIY project. That way, the finished piece will be reversible.
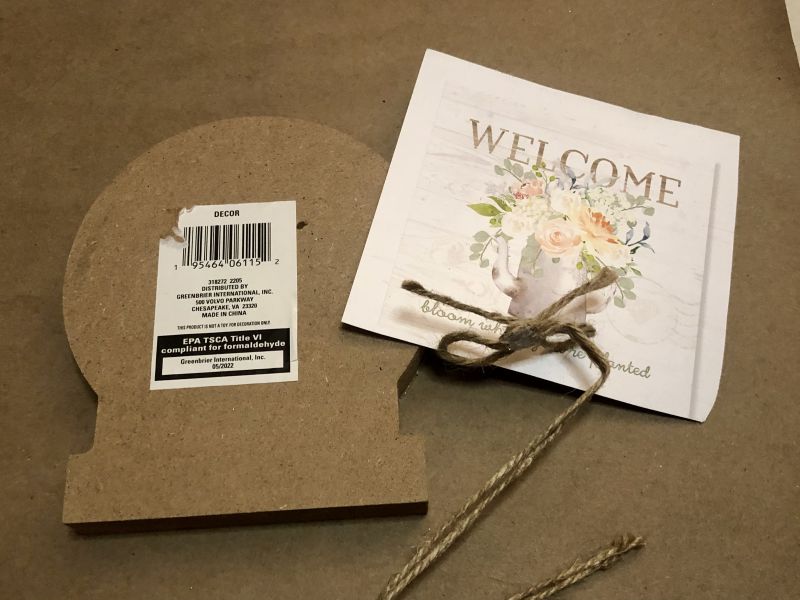
Removing the small twine bow from the snow globe was the first step. Then I removed the sticker from the back, traced around the snow globe, and cut the image to size. I erased a few pencil marks that were showing.
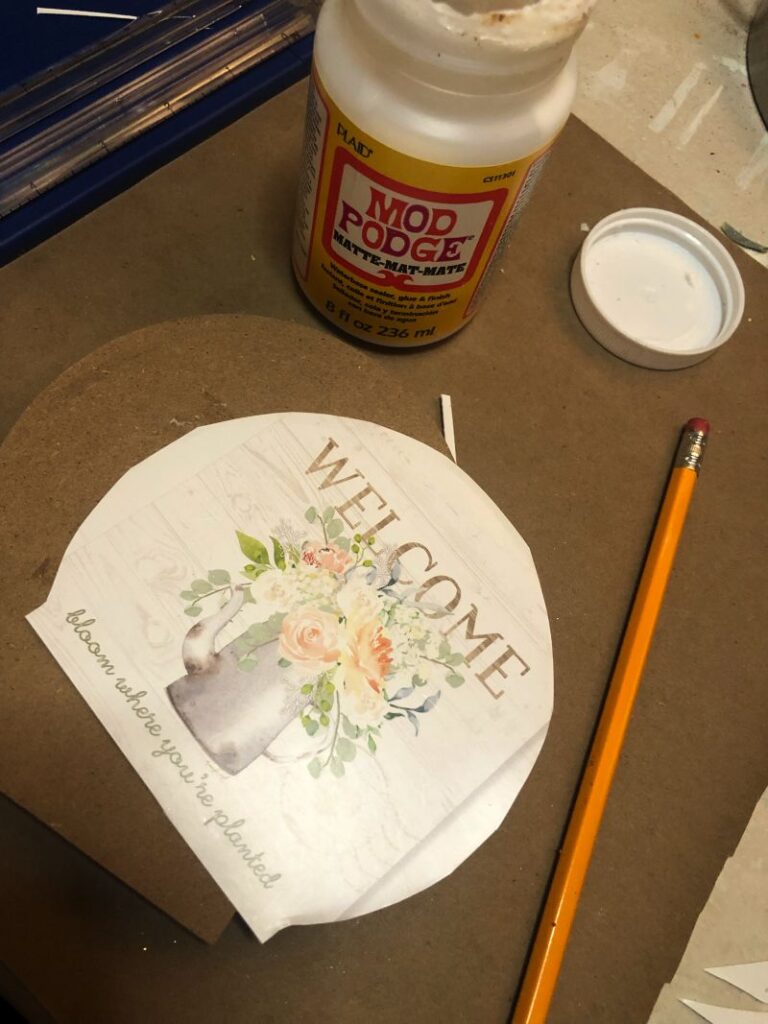
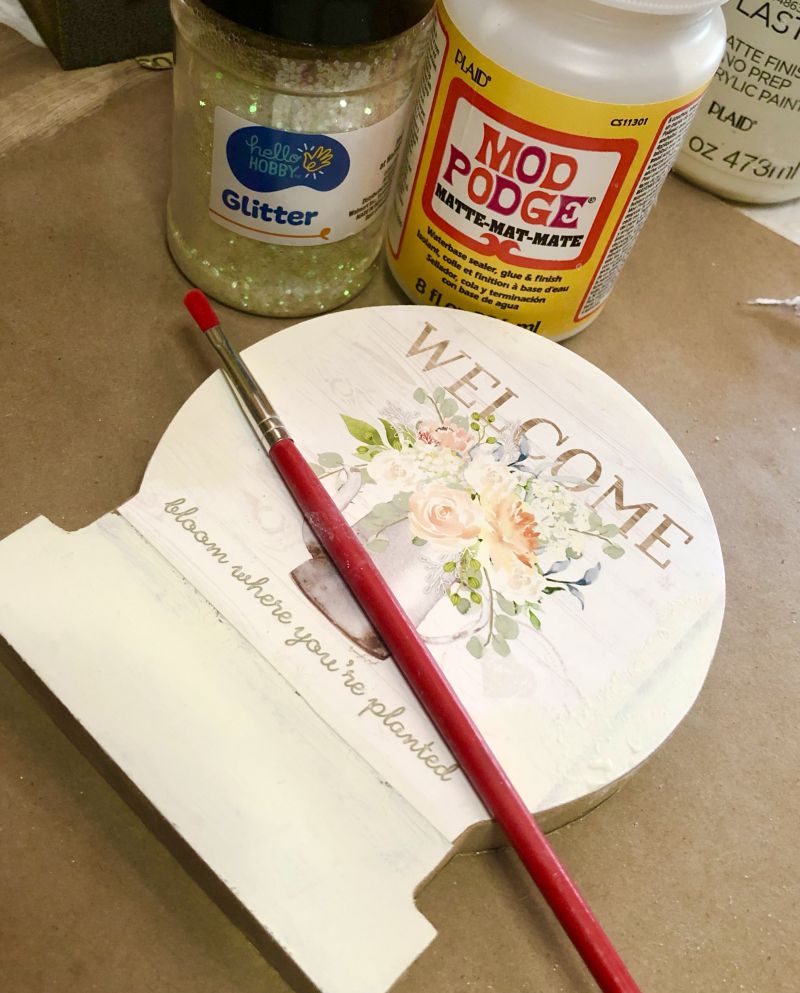
Then I applied a liberal amount of Mod Podge to the snow globe and pressed the image onto it, smoothing out any wrinkles. Afterwards I painted the base of the snow globe with off-white paint.
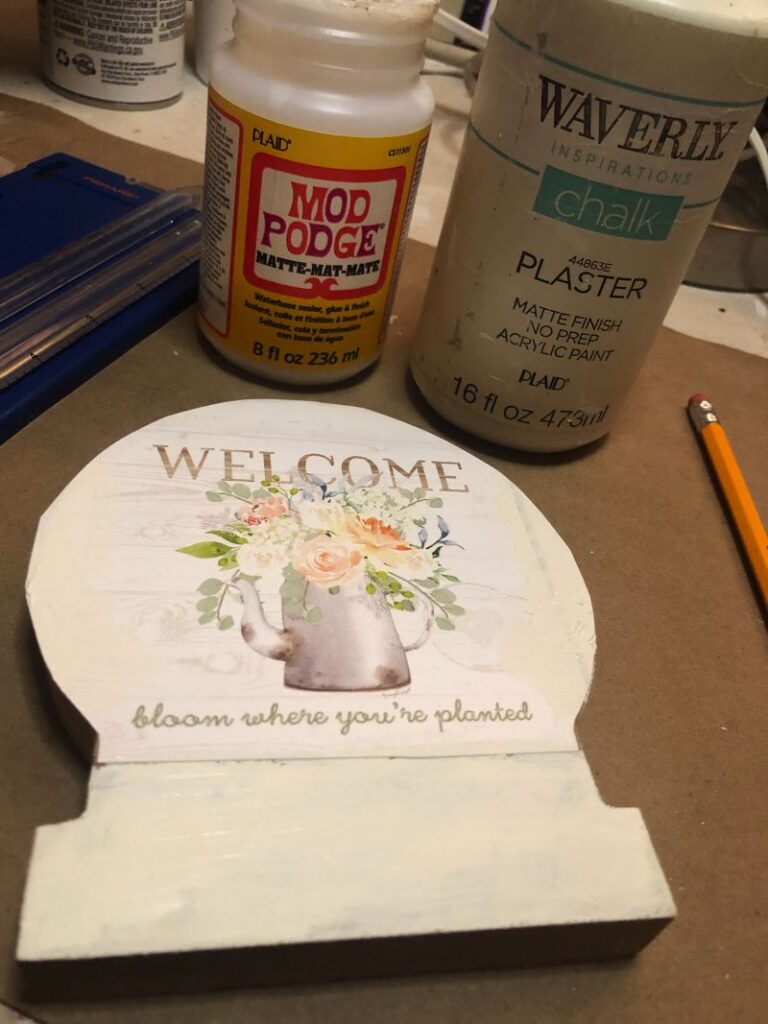
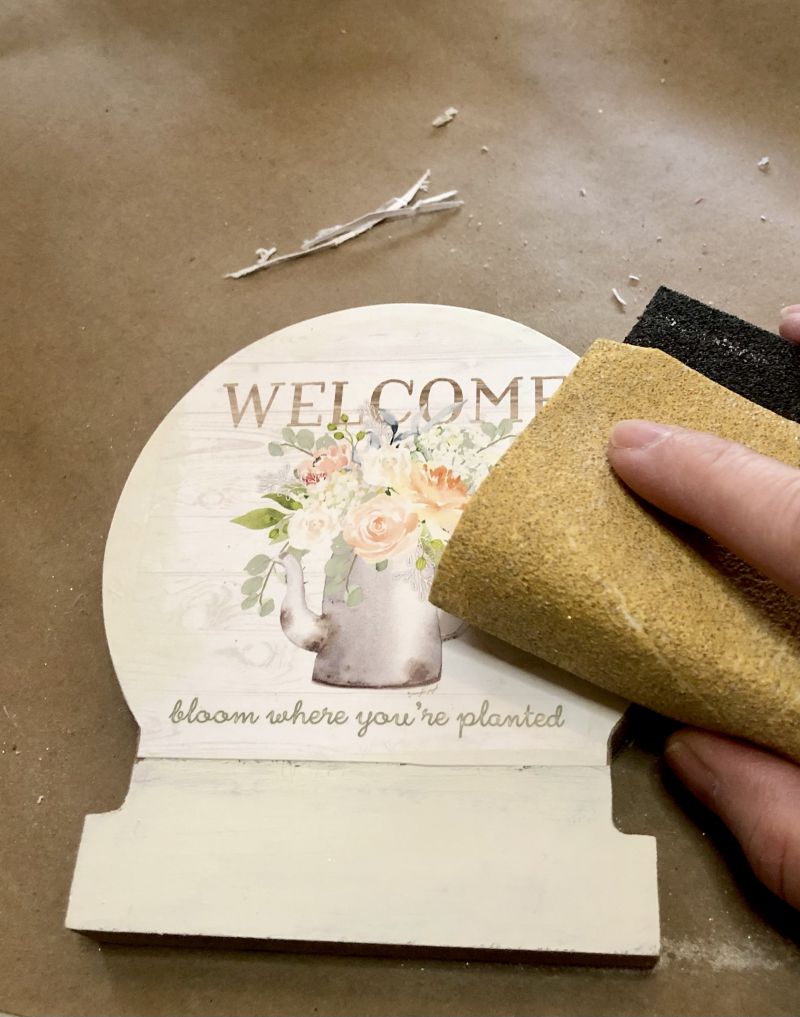
When the paint and Mod Podge had dried, I used some sandpaper around the edges to smooth it and remove any excess paper.
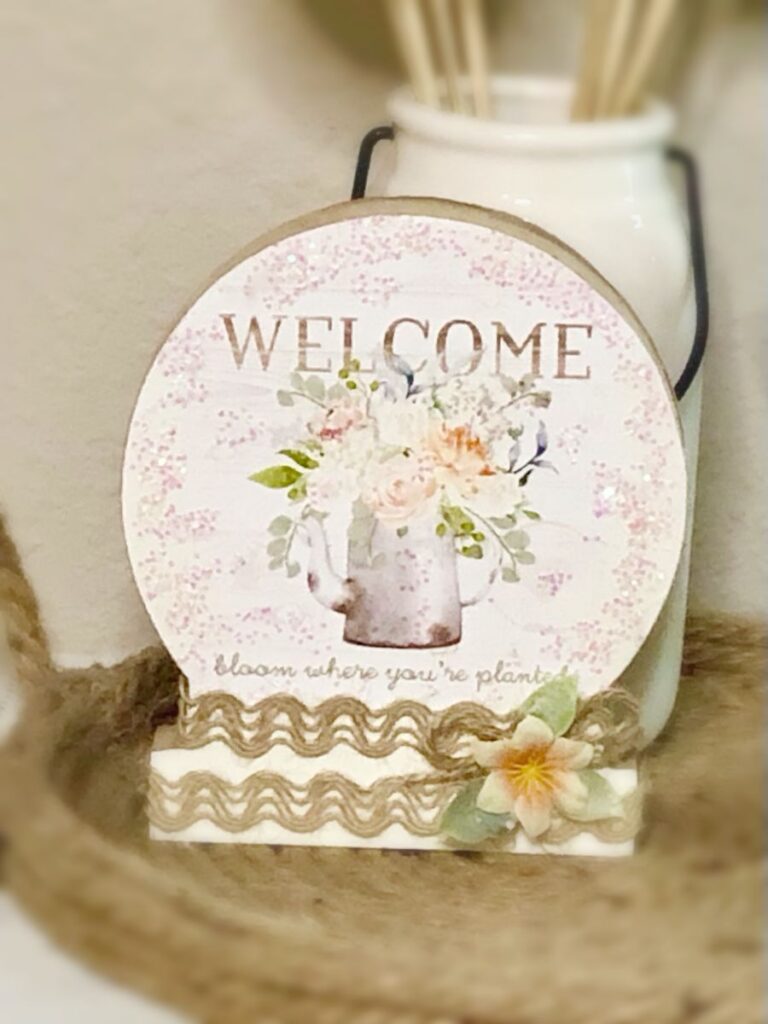
Since this is a snow globe project, I decided to add some “snow” i.e. iridescent glitter. I just dabbed some Mod Podge on the globe wherever I though needed some snow and sprinkled the glitter onto it, allowing it to dry before going on.
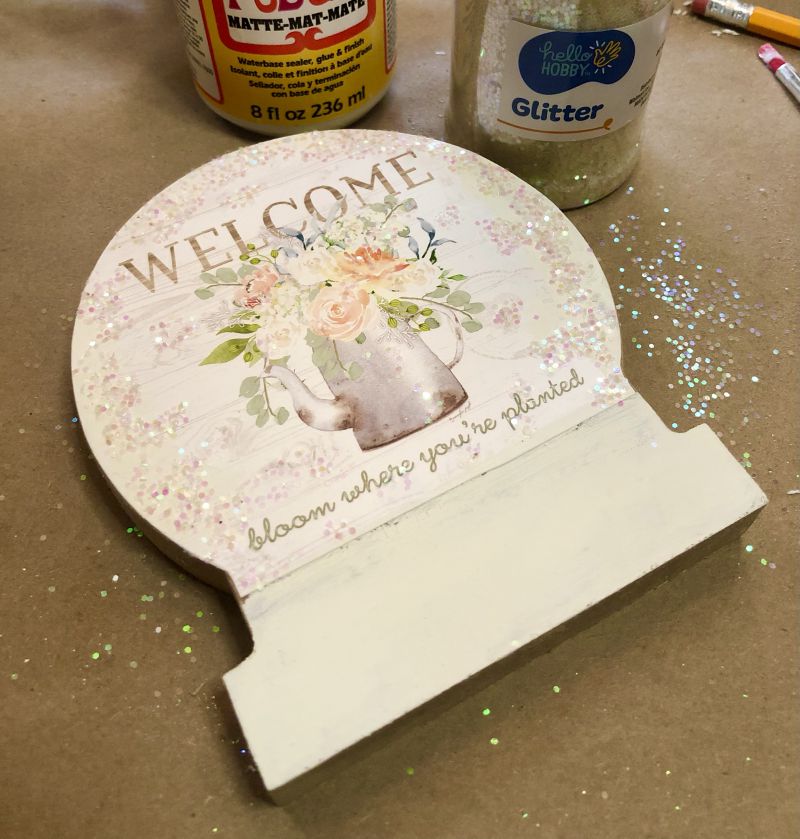
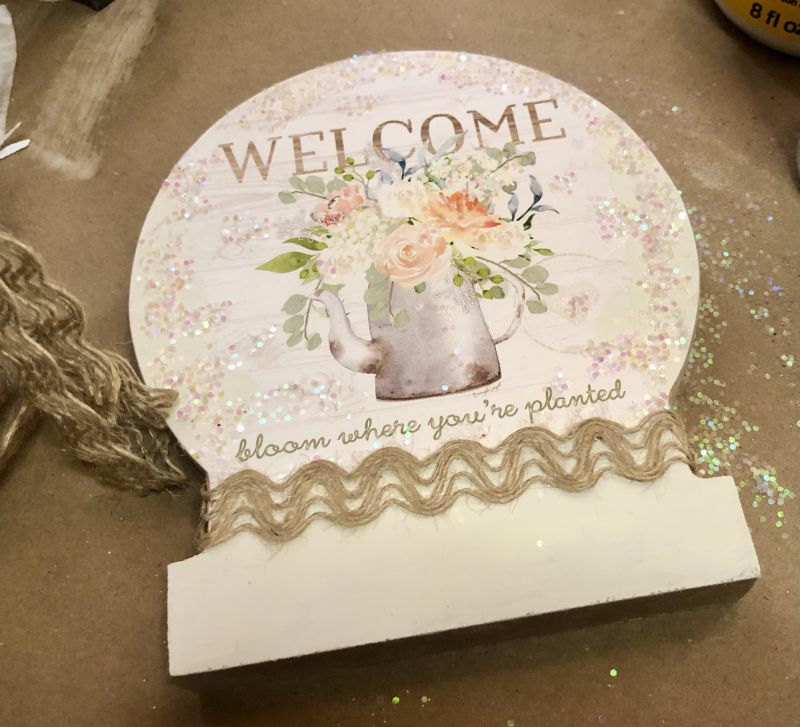
For the final flourish, I glued some burlap trim (Dollar Tree) and a small floral embellishment.
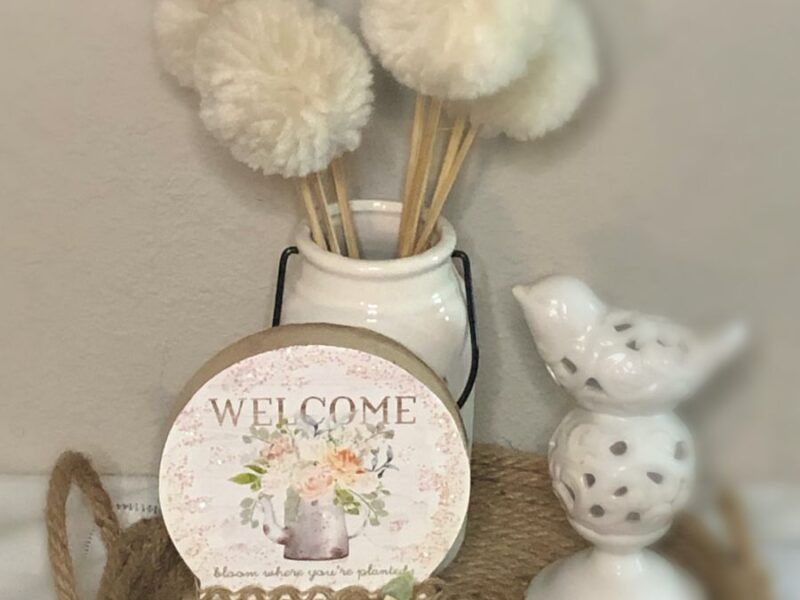
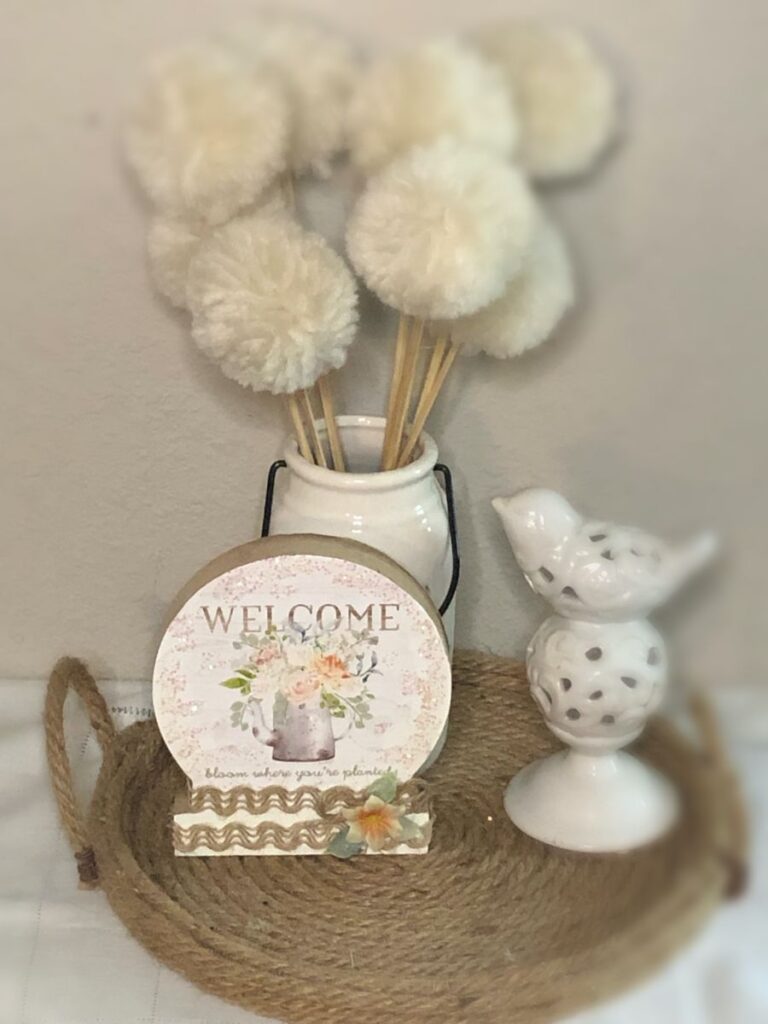
And BAM! I had myself a quick, easy, and super CUTE reversible decor piece.
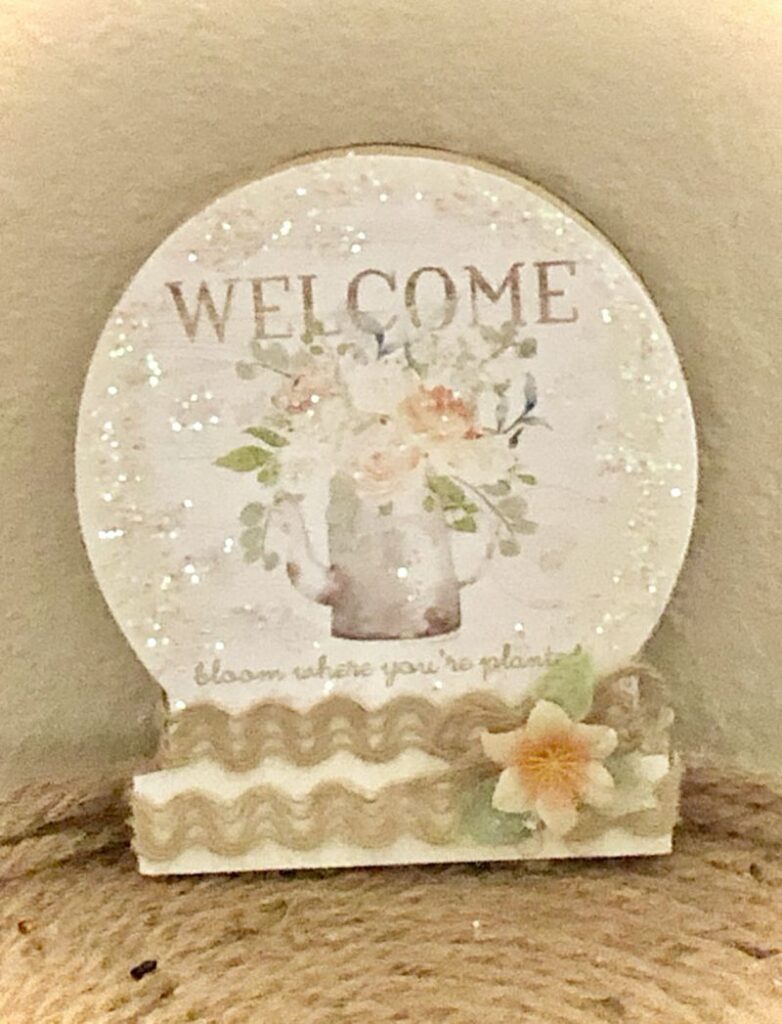
How stinkin’ CUTE! I just love how this turned out. I am just so PLEASED with it!
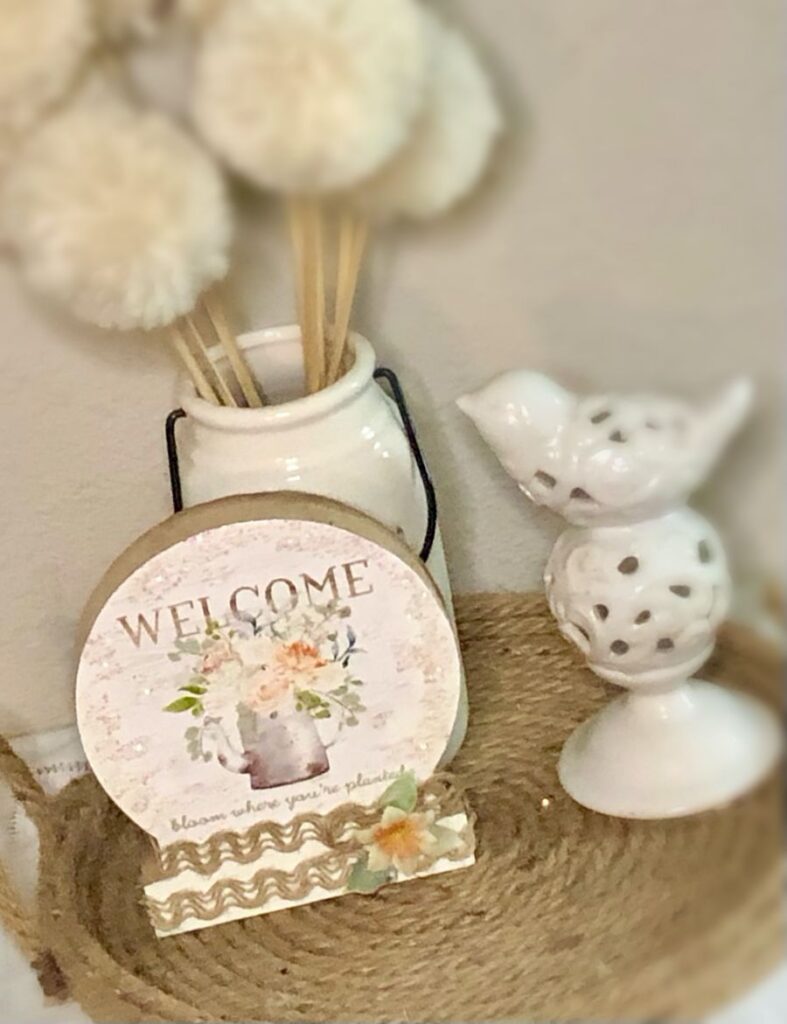
Find out how to make the rope tray pictured above right here.
I hope I’ve inspired you to try this quick little makeover project. It doesn’t have to take a long time or lots of money to create beautiful decor for your home. And this piece proves the point.
Until next time….
Happy Crafting!
Pamela
 DIY Lemon-Themed Decor using a Calendar Page
Love all your creations. They are so pretty
Thank you so much. So glad you like them!