
Hello Sweet Friends,
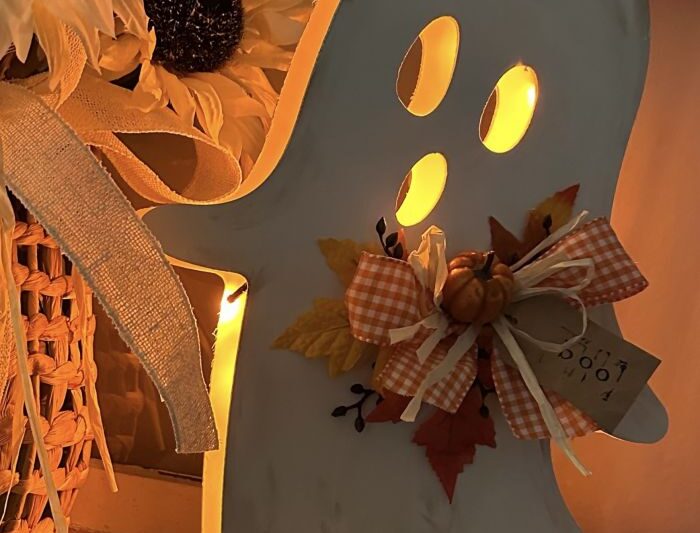
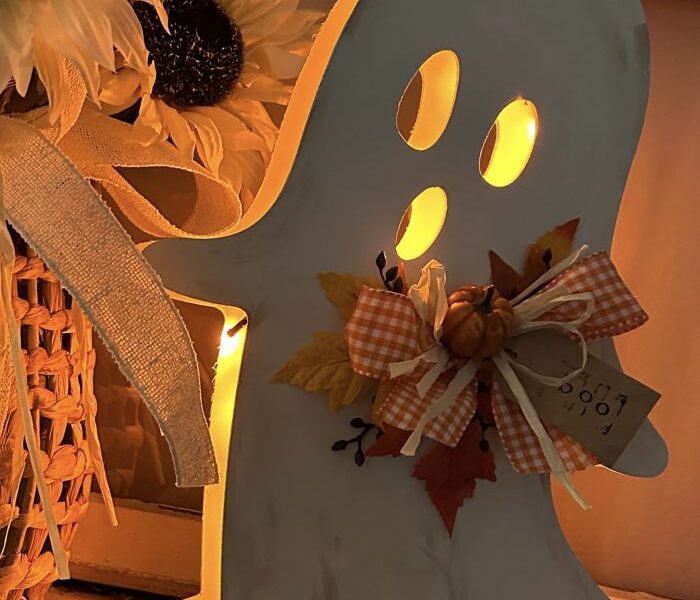
I’m back with some Halloween fun! Today, I have the CUTEST craft idea for you; a light-up ghost. And best of all, it is made with mostly Dollar Tree supplies, so it is a very budget-friendly craft.
When I browse the craft supply aisles at Dollar Tree, I’m always trying to come up with new ideas that I haven’t seen before. This light-up ghost idea fills the bill. I hope you enjoy!
Follow along for a supply list and instructions to create one for your home.
Supply list for light-up ghost
- two wood cut-out ghost shapes from Dollar Tree
- twelve tumbling blocks from Dollar Tree (similar to Jenga blocks)
- white paint
- DT mini string lights (batteries)
- E6000 and glue gun
- embellishment, optional
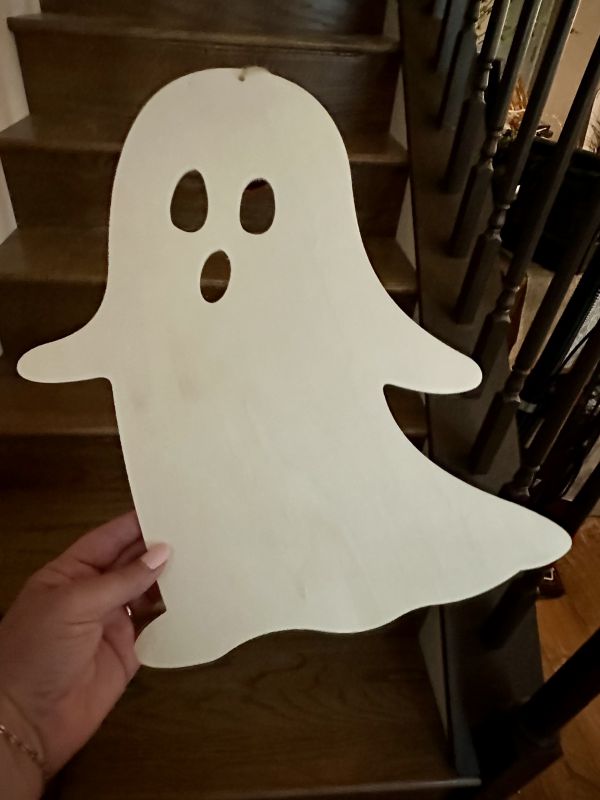
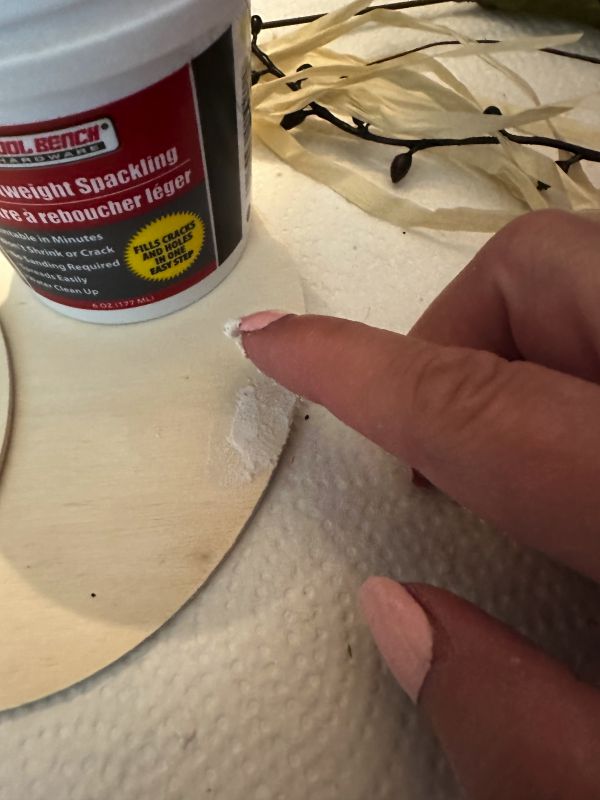
Before painting the ghosts, I removed the twine hangers and filled in the holes with a little spackling and let it dry.
Then I painted the two ghosts and the twelve tumbling blocks with white paint. I used Waverly chalk paint in the color plaster. Once the paint had dried, I glued the tumbling blocks together in sets of two, so I had six sets altogether.
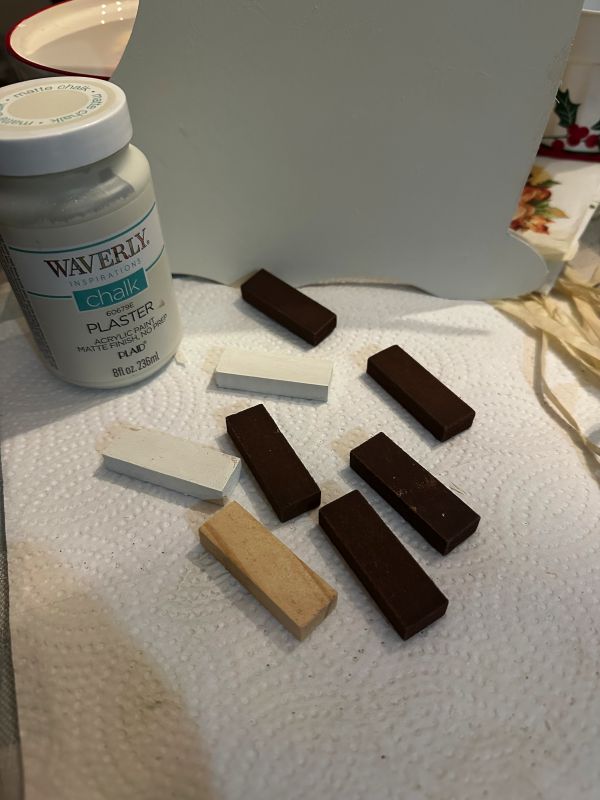
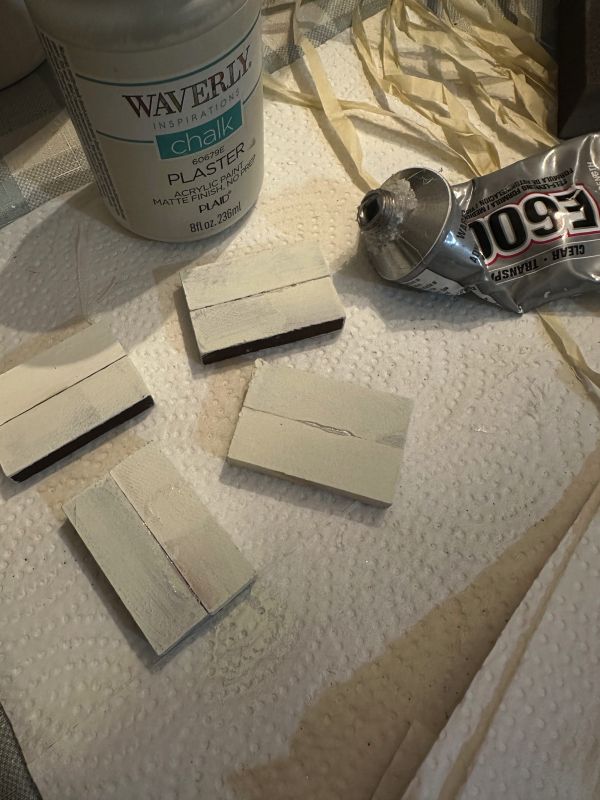
Using a combo of hot glue and E6000, I placed the six sets of blocks between the two ghosts. The hot glue had immediate hold and the E6000 for long term hold.
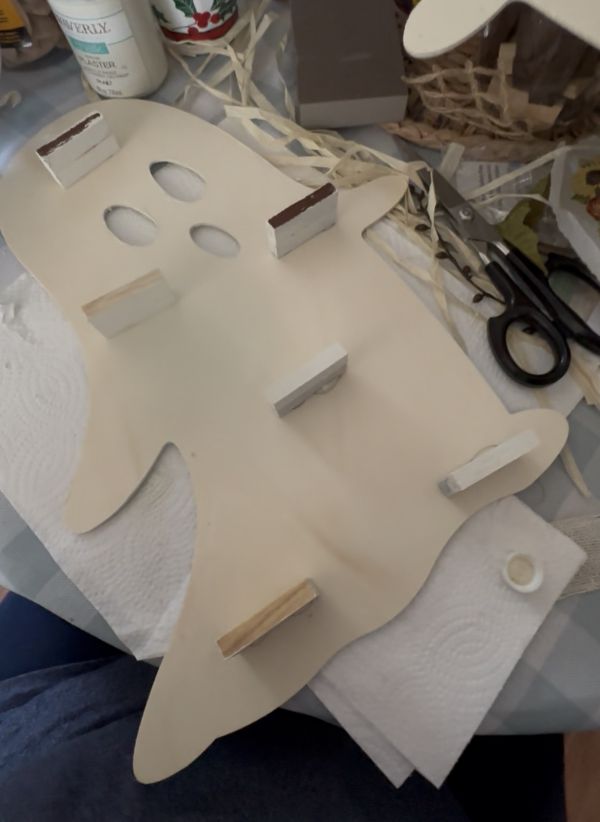
And here is a picture of the two ghosts after they were painted and glued together. I let it set for a little white before going on to the next step because I wanted to make sure the glue was dry. The ghost is now freestanding.
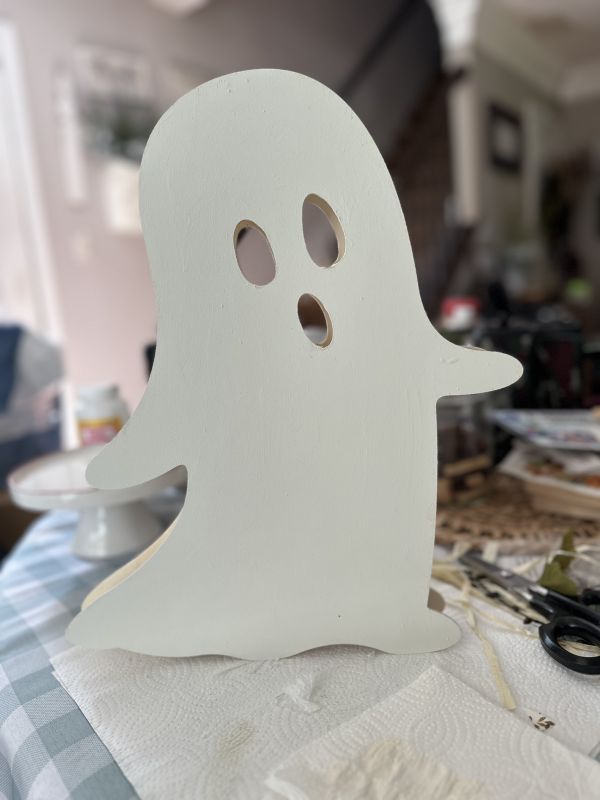
Using antique wax, I added to the edges of the ghost. Then I added some string lights from Dollar Tree in between the two ghosts so it would show through the eyes and the perimeter.
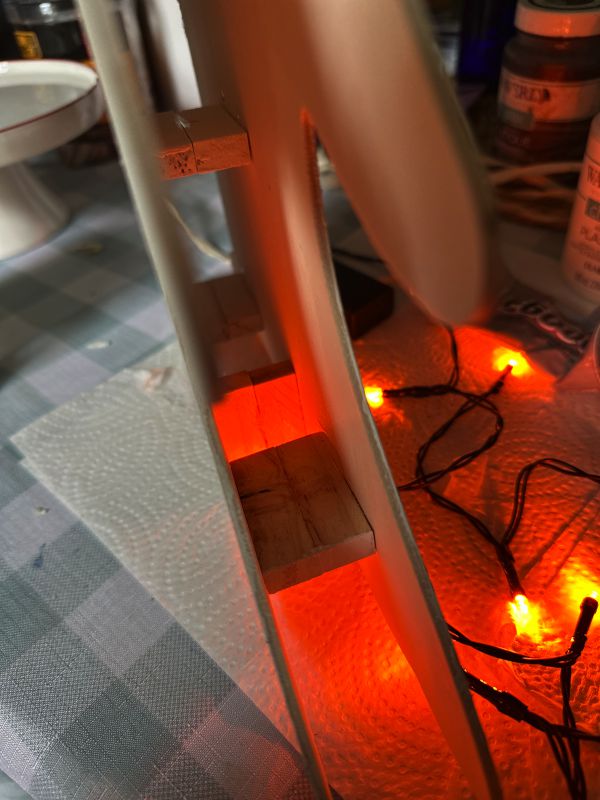
I used a little bit of tape to hold a few light strands in place, but this optional.
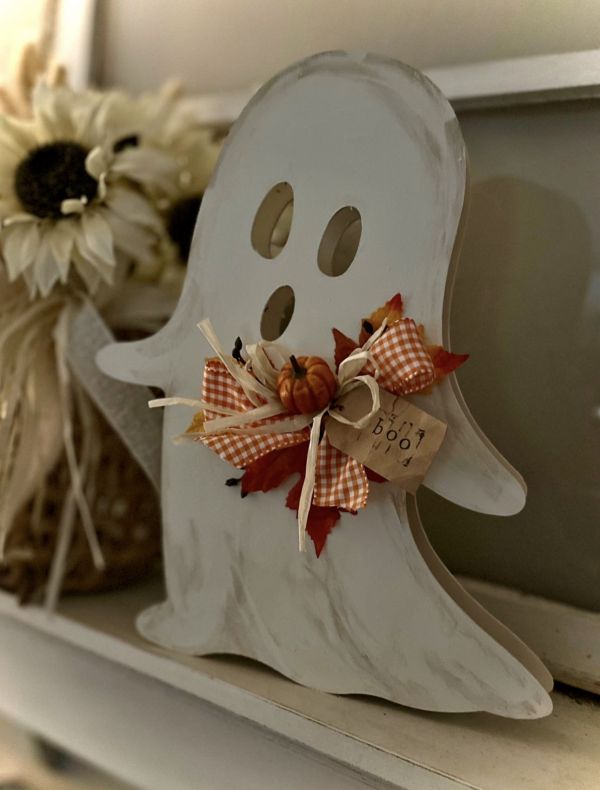
Then, for a final embellishment, I glued on a bow, a pumpkin, fall leaves, and also a tag with the word Boo! stamped on it.
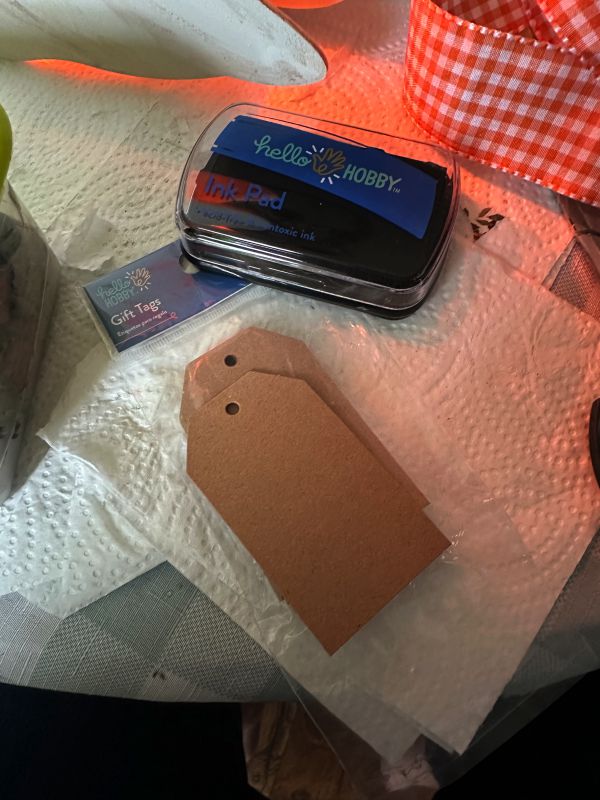
And the finished project turned out so CUTE!!
During the day, the ghost looks like this.
And at night, the ghost looks like this!
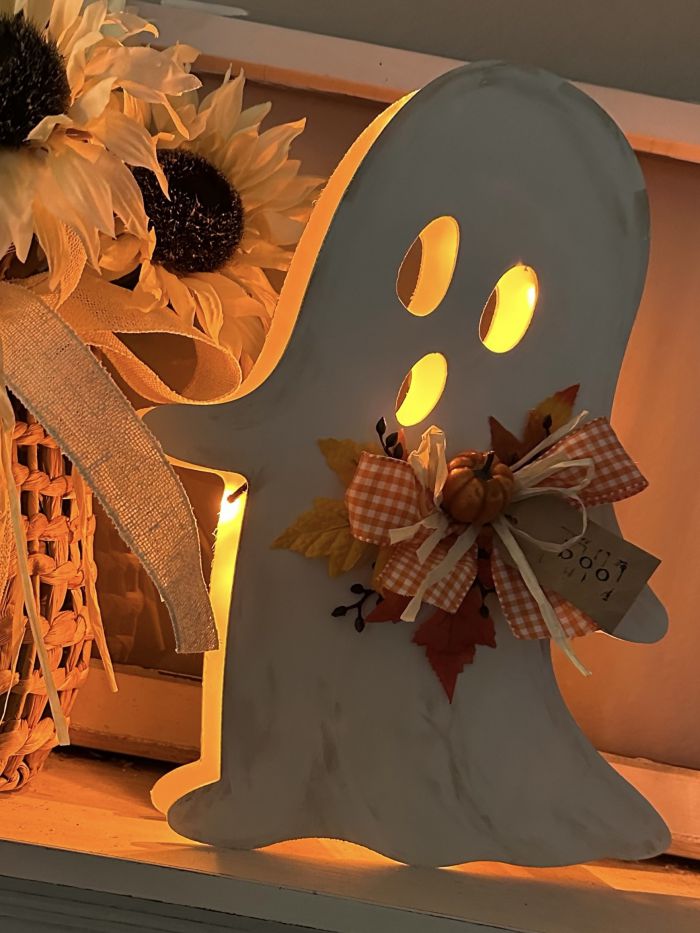
Didn’t this project turn out super CUTE?
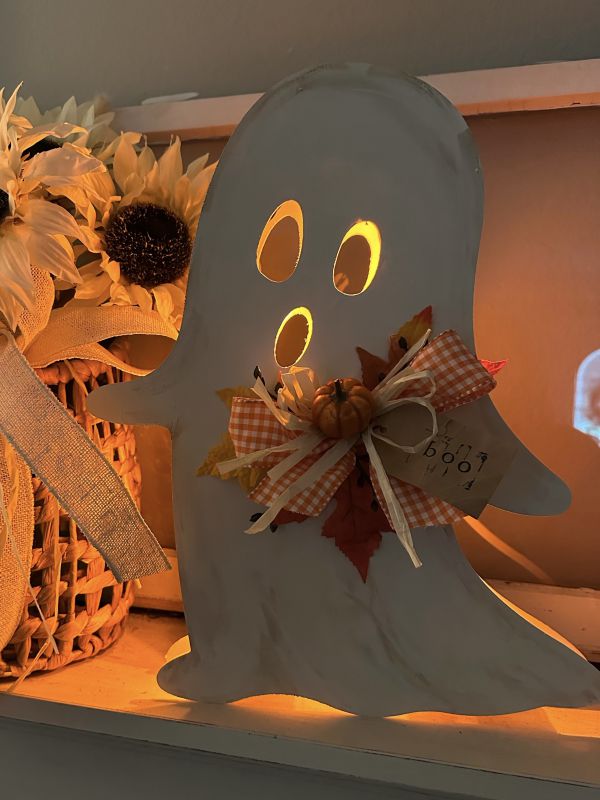
I am so HAPPY with the finished project and I hope you like it to. The wood cut-outs at Dollar tree come in many different shapes so I think this idea could be applied to just about any one of them. I hope I’ve inspired you to create something cute for your home.
Until next time…… Happy Crafting! Pamela
If you like this DIY ghost, you may also like this Boo bucket craft.
 How to Make Coffee Stirrer Stars